Urban Industrial Vintage Laundry Room Makeover Tips, Tricks and Sources
I recently shared the Reveal of our Urban Industrial Vintage Laundry Room makeover! I had so much fun with this space for the One Room Challenge and I promised to share some tips, tricks and sources for some of the products used. We did this transformation on a budget and without a contractor!! Because of these amazing products and hopefully some of my tips, you can too! I hope to inspire you to try a DIY or two. Beware…plenty of ugly before pics will be shared. 😉
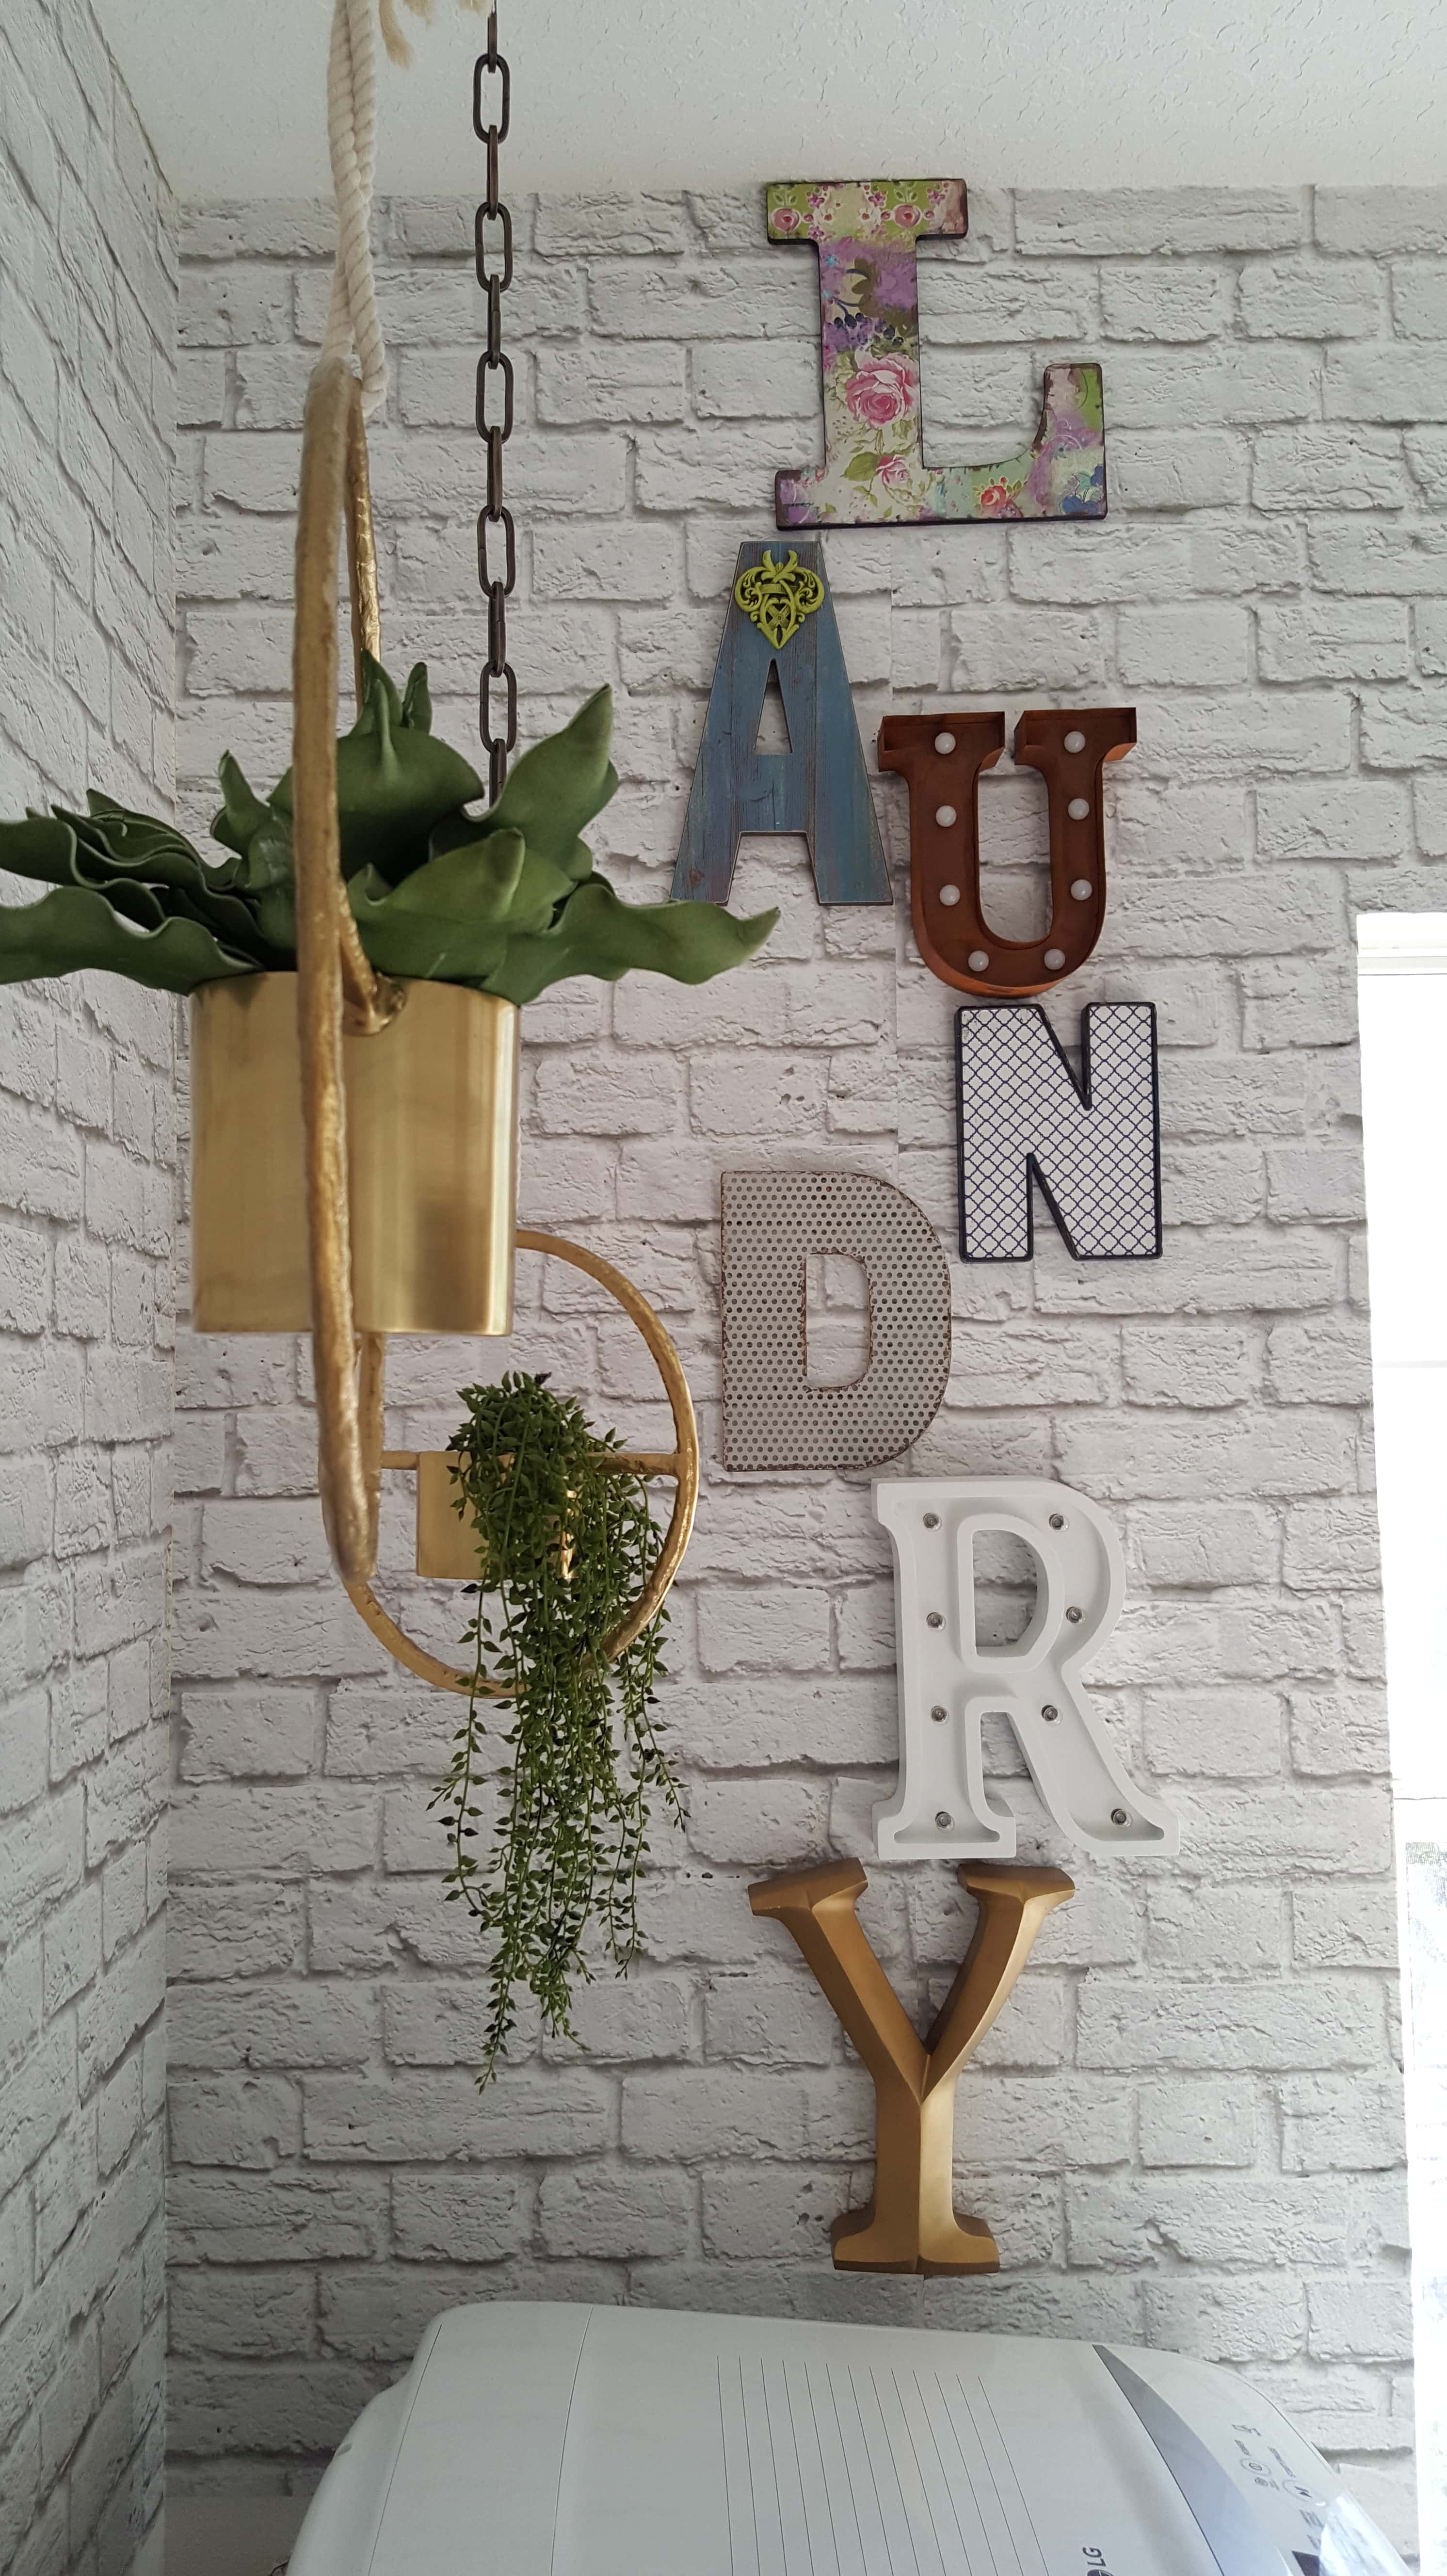
When starting such a makeover, start from the top and work your way down. In this case, that meant starting with the lighting.
Lighting 101
It may seem like nothing to pick out new lighting. Let me just give you a couple of things to consider when choosing a fixture:
- Double check the size of the fixture and in this case the diameter of the fan. Items look great online but can be deceiving. ALWAYS read the measurements and specs.
- Triple check the weight of a fixture. Be sure the item can be supported properly. I’ve had to rethink my selections a couple times because of this.
- Will the lighting provided be sufficient in the space? Is the light being provided primary or complimentary? Will it be sufficient? We don’t want you squinting! 😉
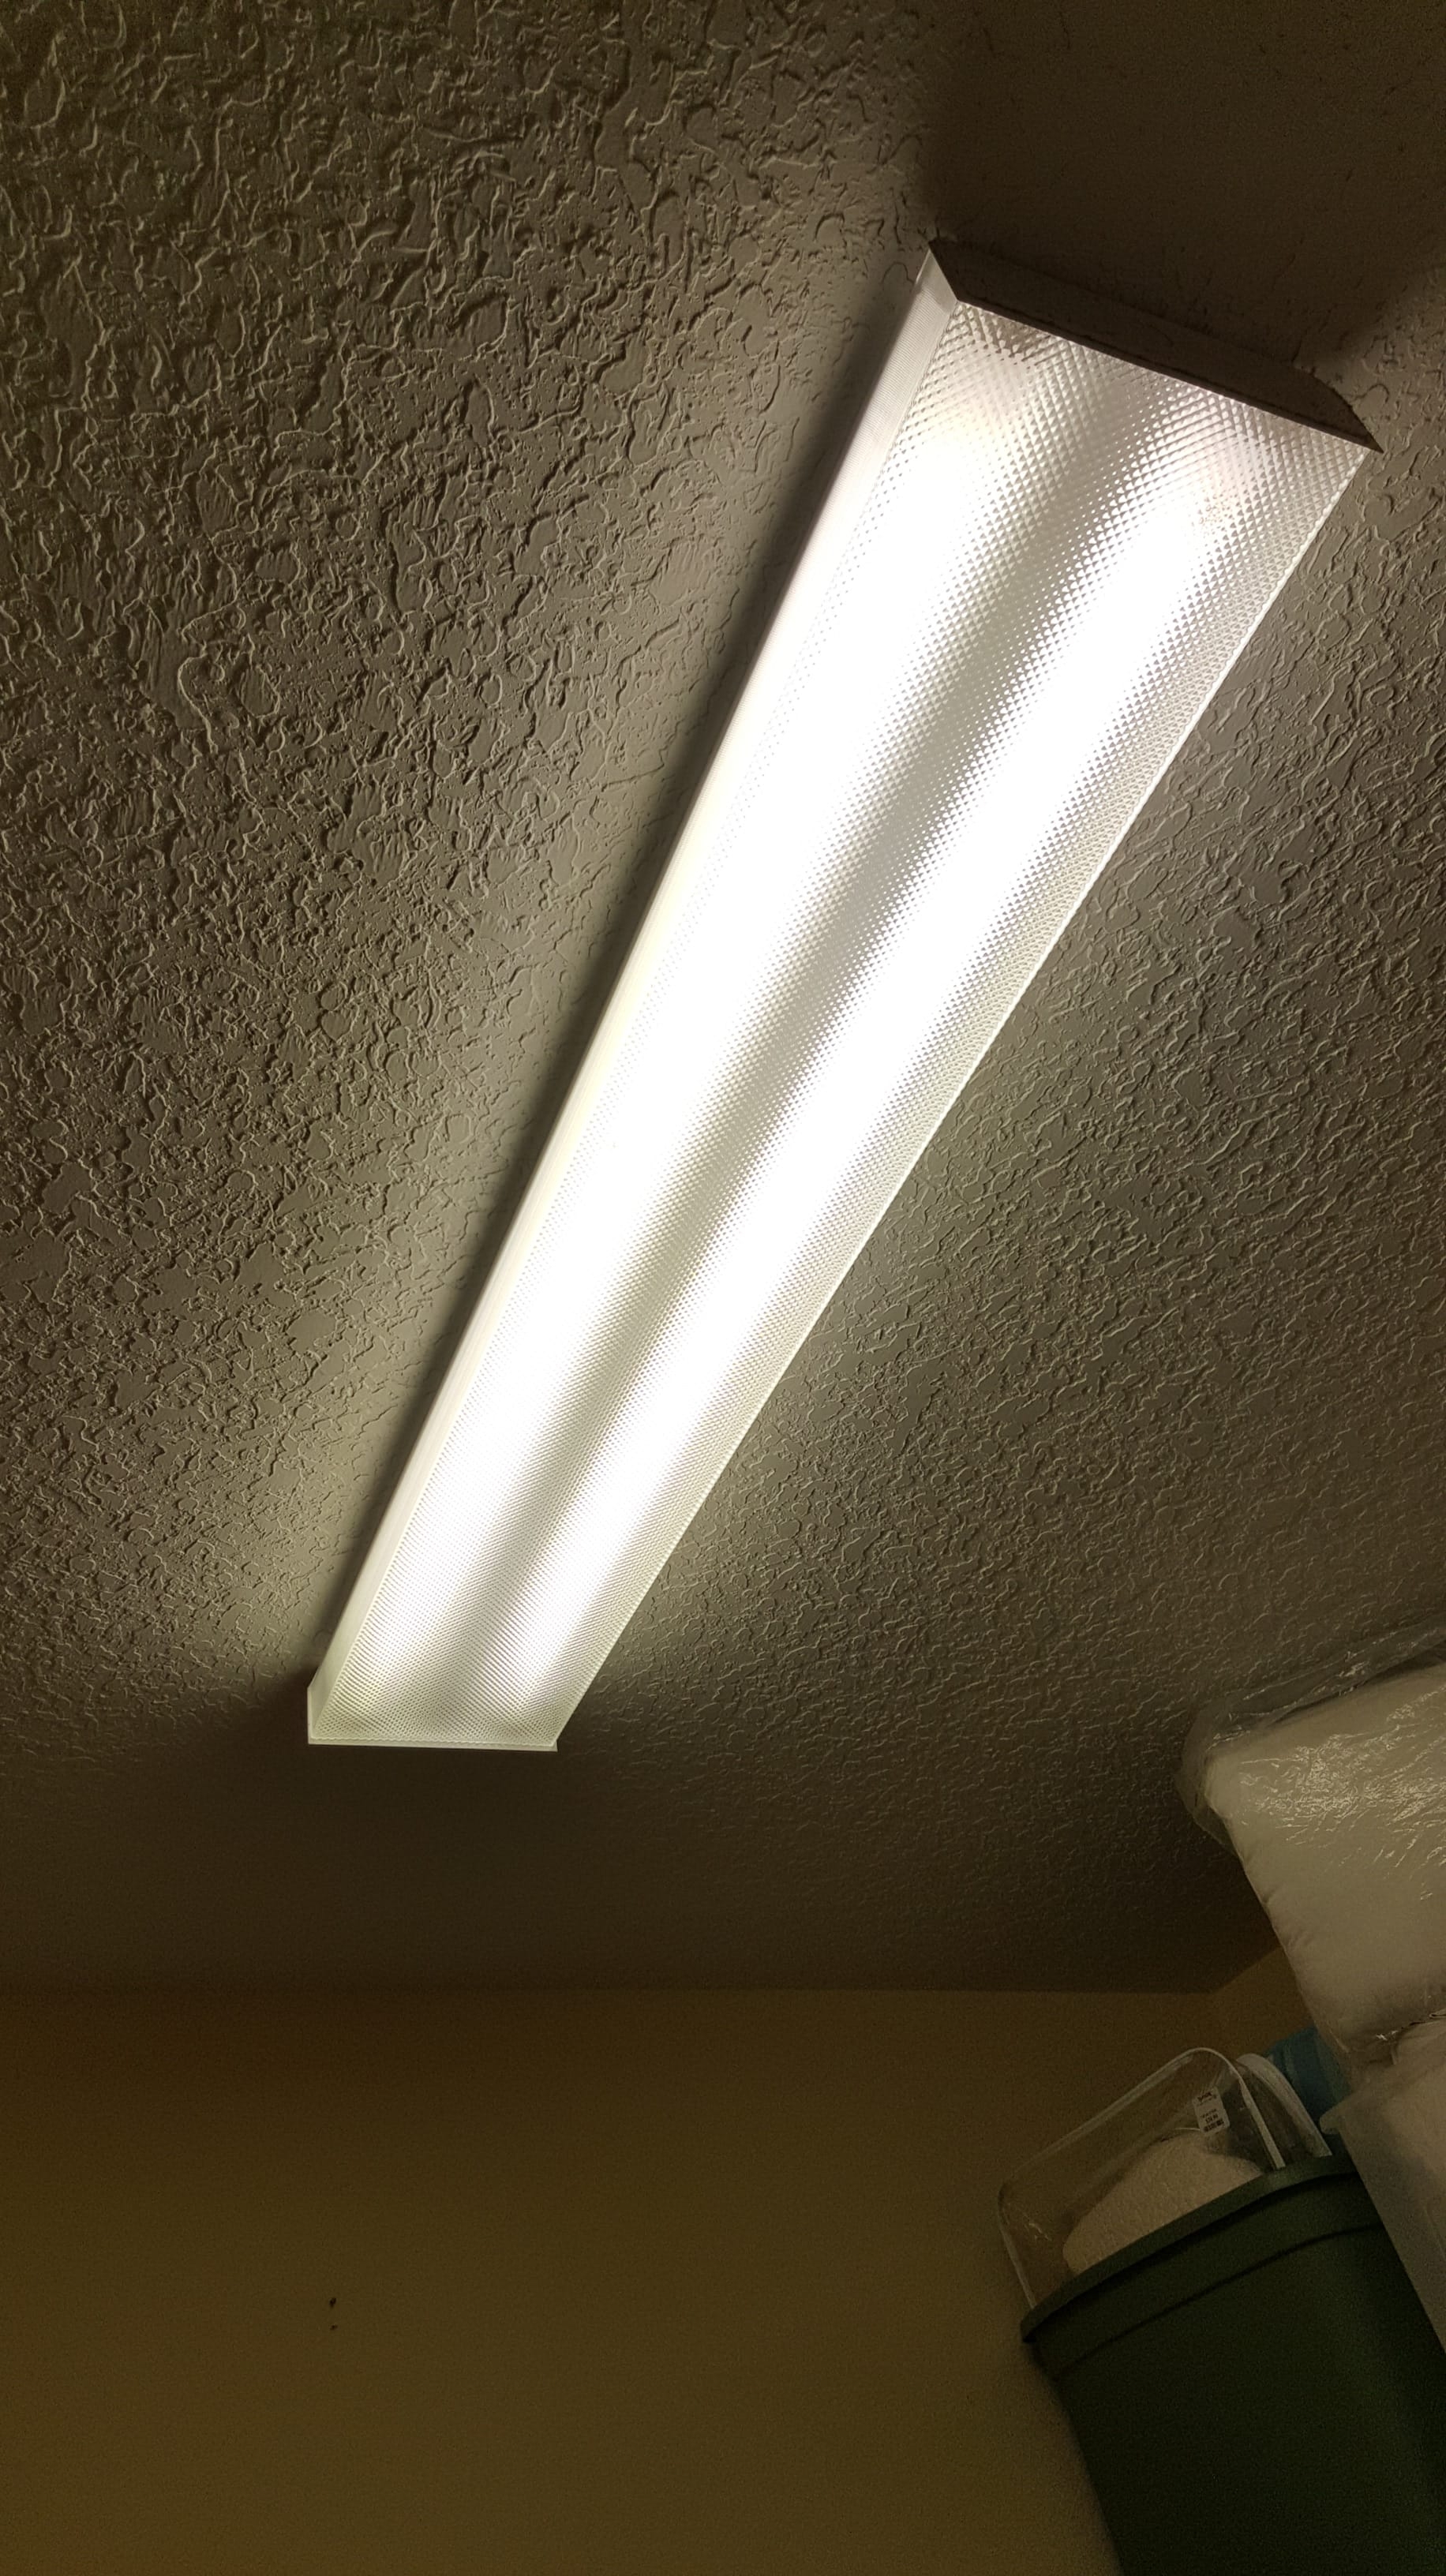
So here is the ugly standard light that we had in the room.
*This post contains affiliate links, at no additional cost to you.
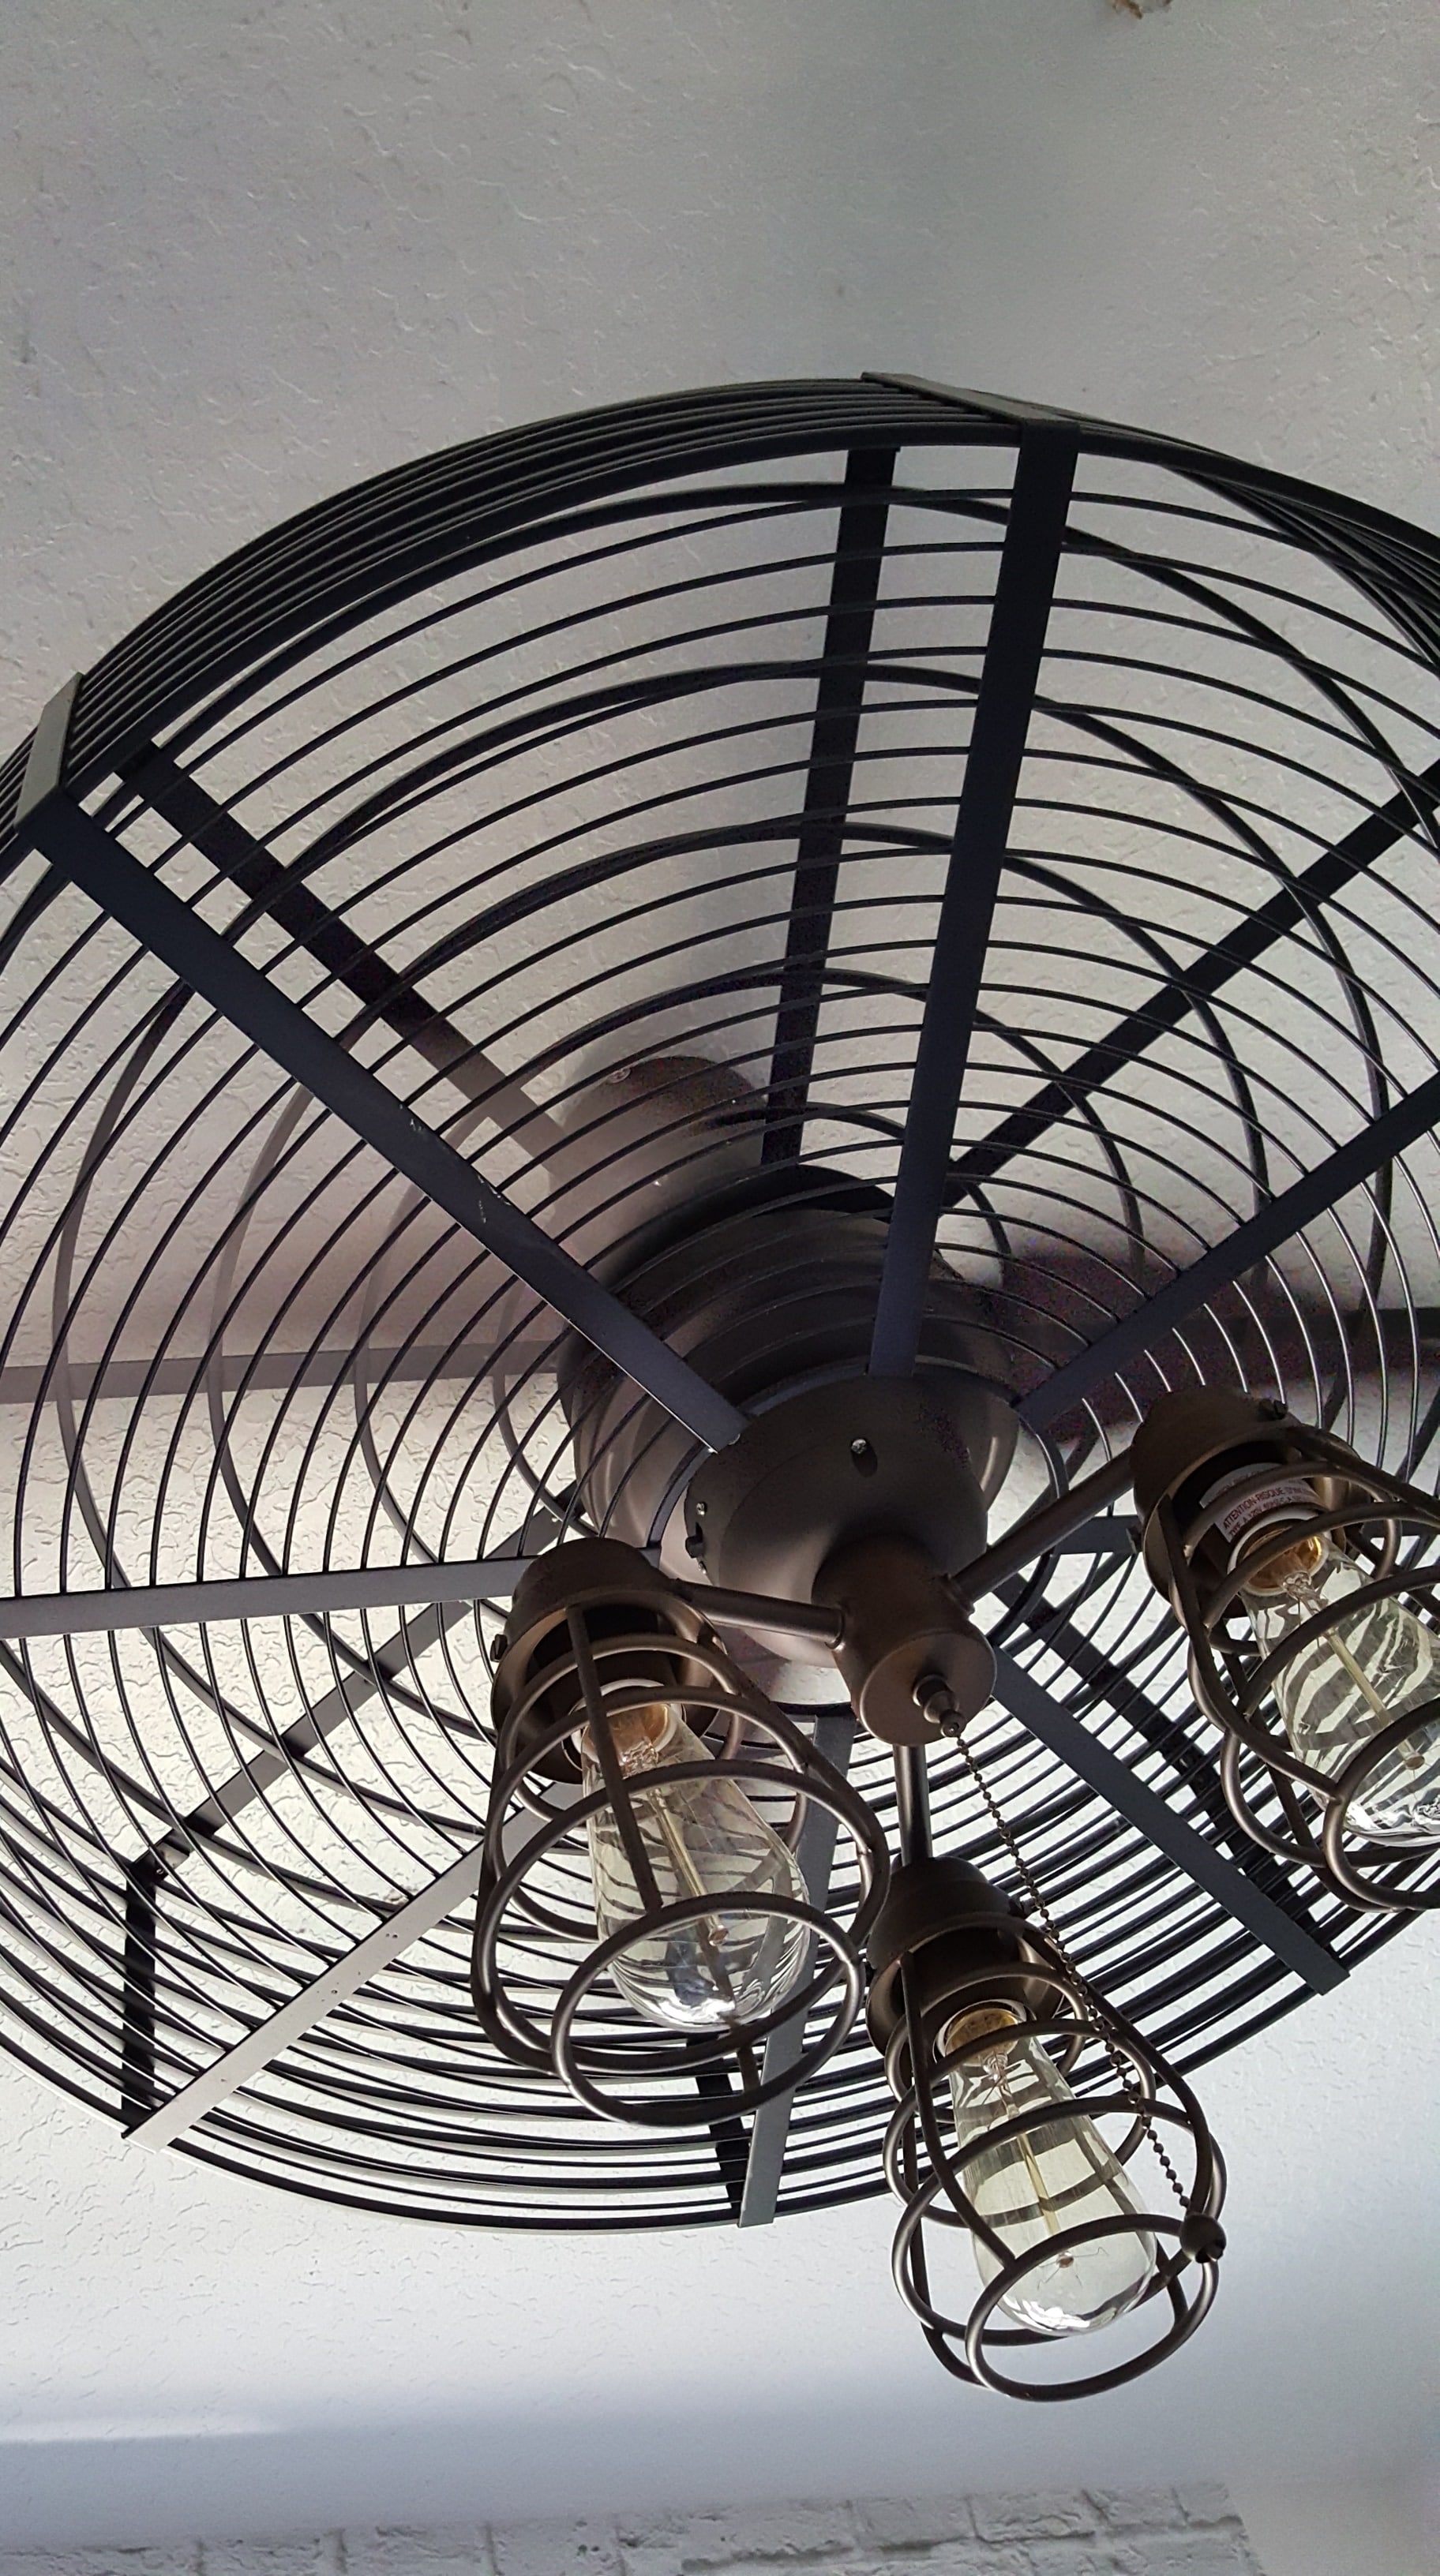
And here is the beautiful Industrial Fan with Edison Bulb lights that we chose from Lamps Plus. I highly recommend a fan for a laundry room if you have the space. Especially if it’s on the 2nd floor in Florida! 😉
If Walls Could Talk
Ok, moving on to the walls. We had a lot of wallpapering to do so that was next on the list and having a wonderful fan in the room made it much more pleasant. I have to admit…I was intimidated by the idea of wallpaper. I had never done it before and really didn’t want to mess it up. But Milton & King Wallpaper not only provides you with an excellent product but even better instructions and videos.
Here are a few personal tips:
- Give yourself a nice open area to roll out the paper when measuring. I used a thick foam board underneath the paper when cutting so I didn’t cut something I shouldn’t, meaning carpet. 😉
- READ the Instructions included!
- WATCH this video !! This is a definite…it helped me tremendously.
- Get all the supplies mentioned in the video. You’re gonna need them!
- Bribe a friend or family member to help you because it will make the job that much easier. Also cover your hair…nothing worse than specks of wallpaper paste in your hair! 🙂 Trust me!
- Be sure to add plenty of wallpaper paste to your walls, if not you’ll have bubbles and patches that aren’t sticking. Slap it on and be generous.
- When brushing the wallpaper smooth after hanging, run your hand along and feel for bubbles and areas that need to be smoothed out.
- Here’s another tip…we saved materials by not going all the way down to the floor behind the washer and dryer, (a.) since no one will see it and (b.) because of heat and moisture.
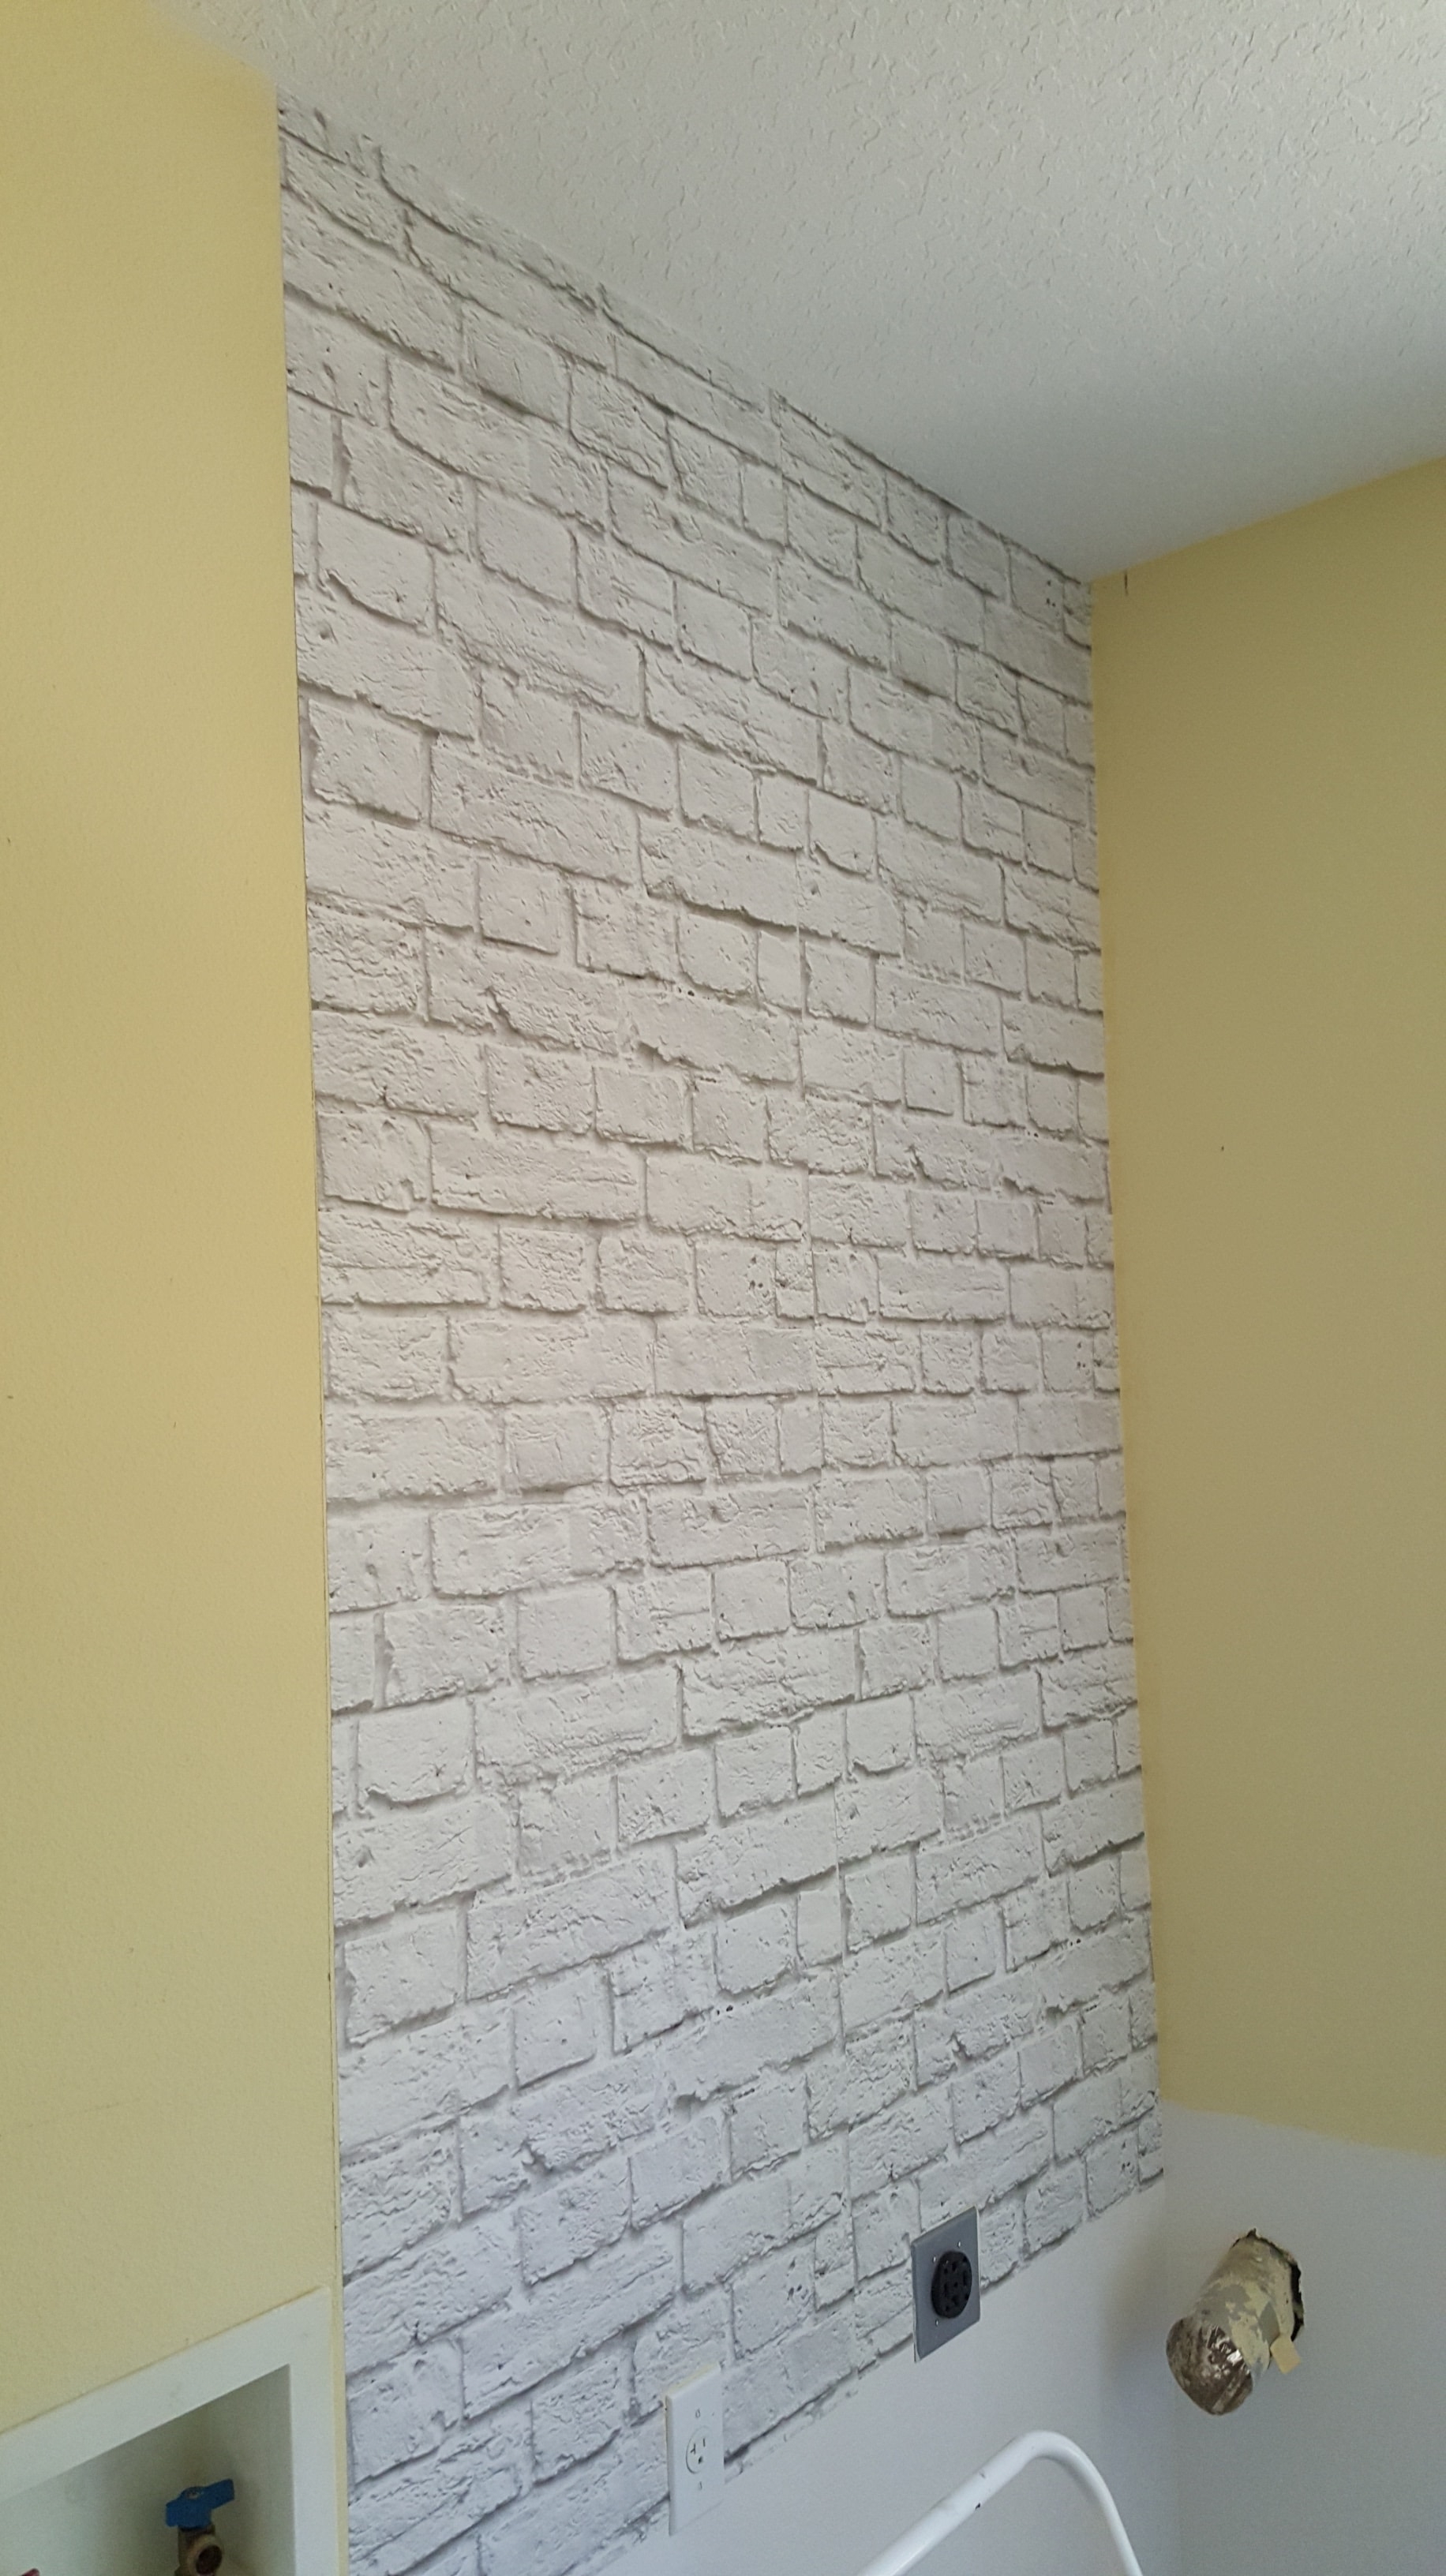
Here’s what the walls looked like before, boring, painted yellow, typical Laundry room.
Here’s the amazing transformation using my Soft White Brick from Milton & King Wallpaper.
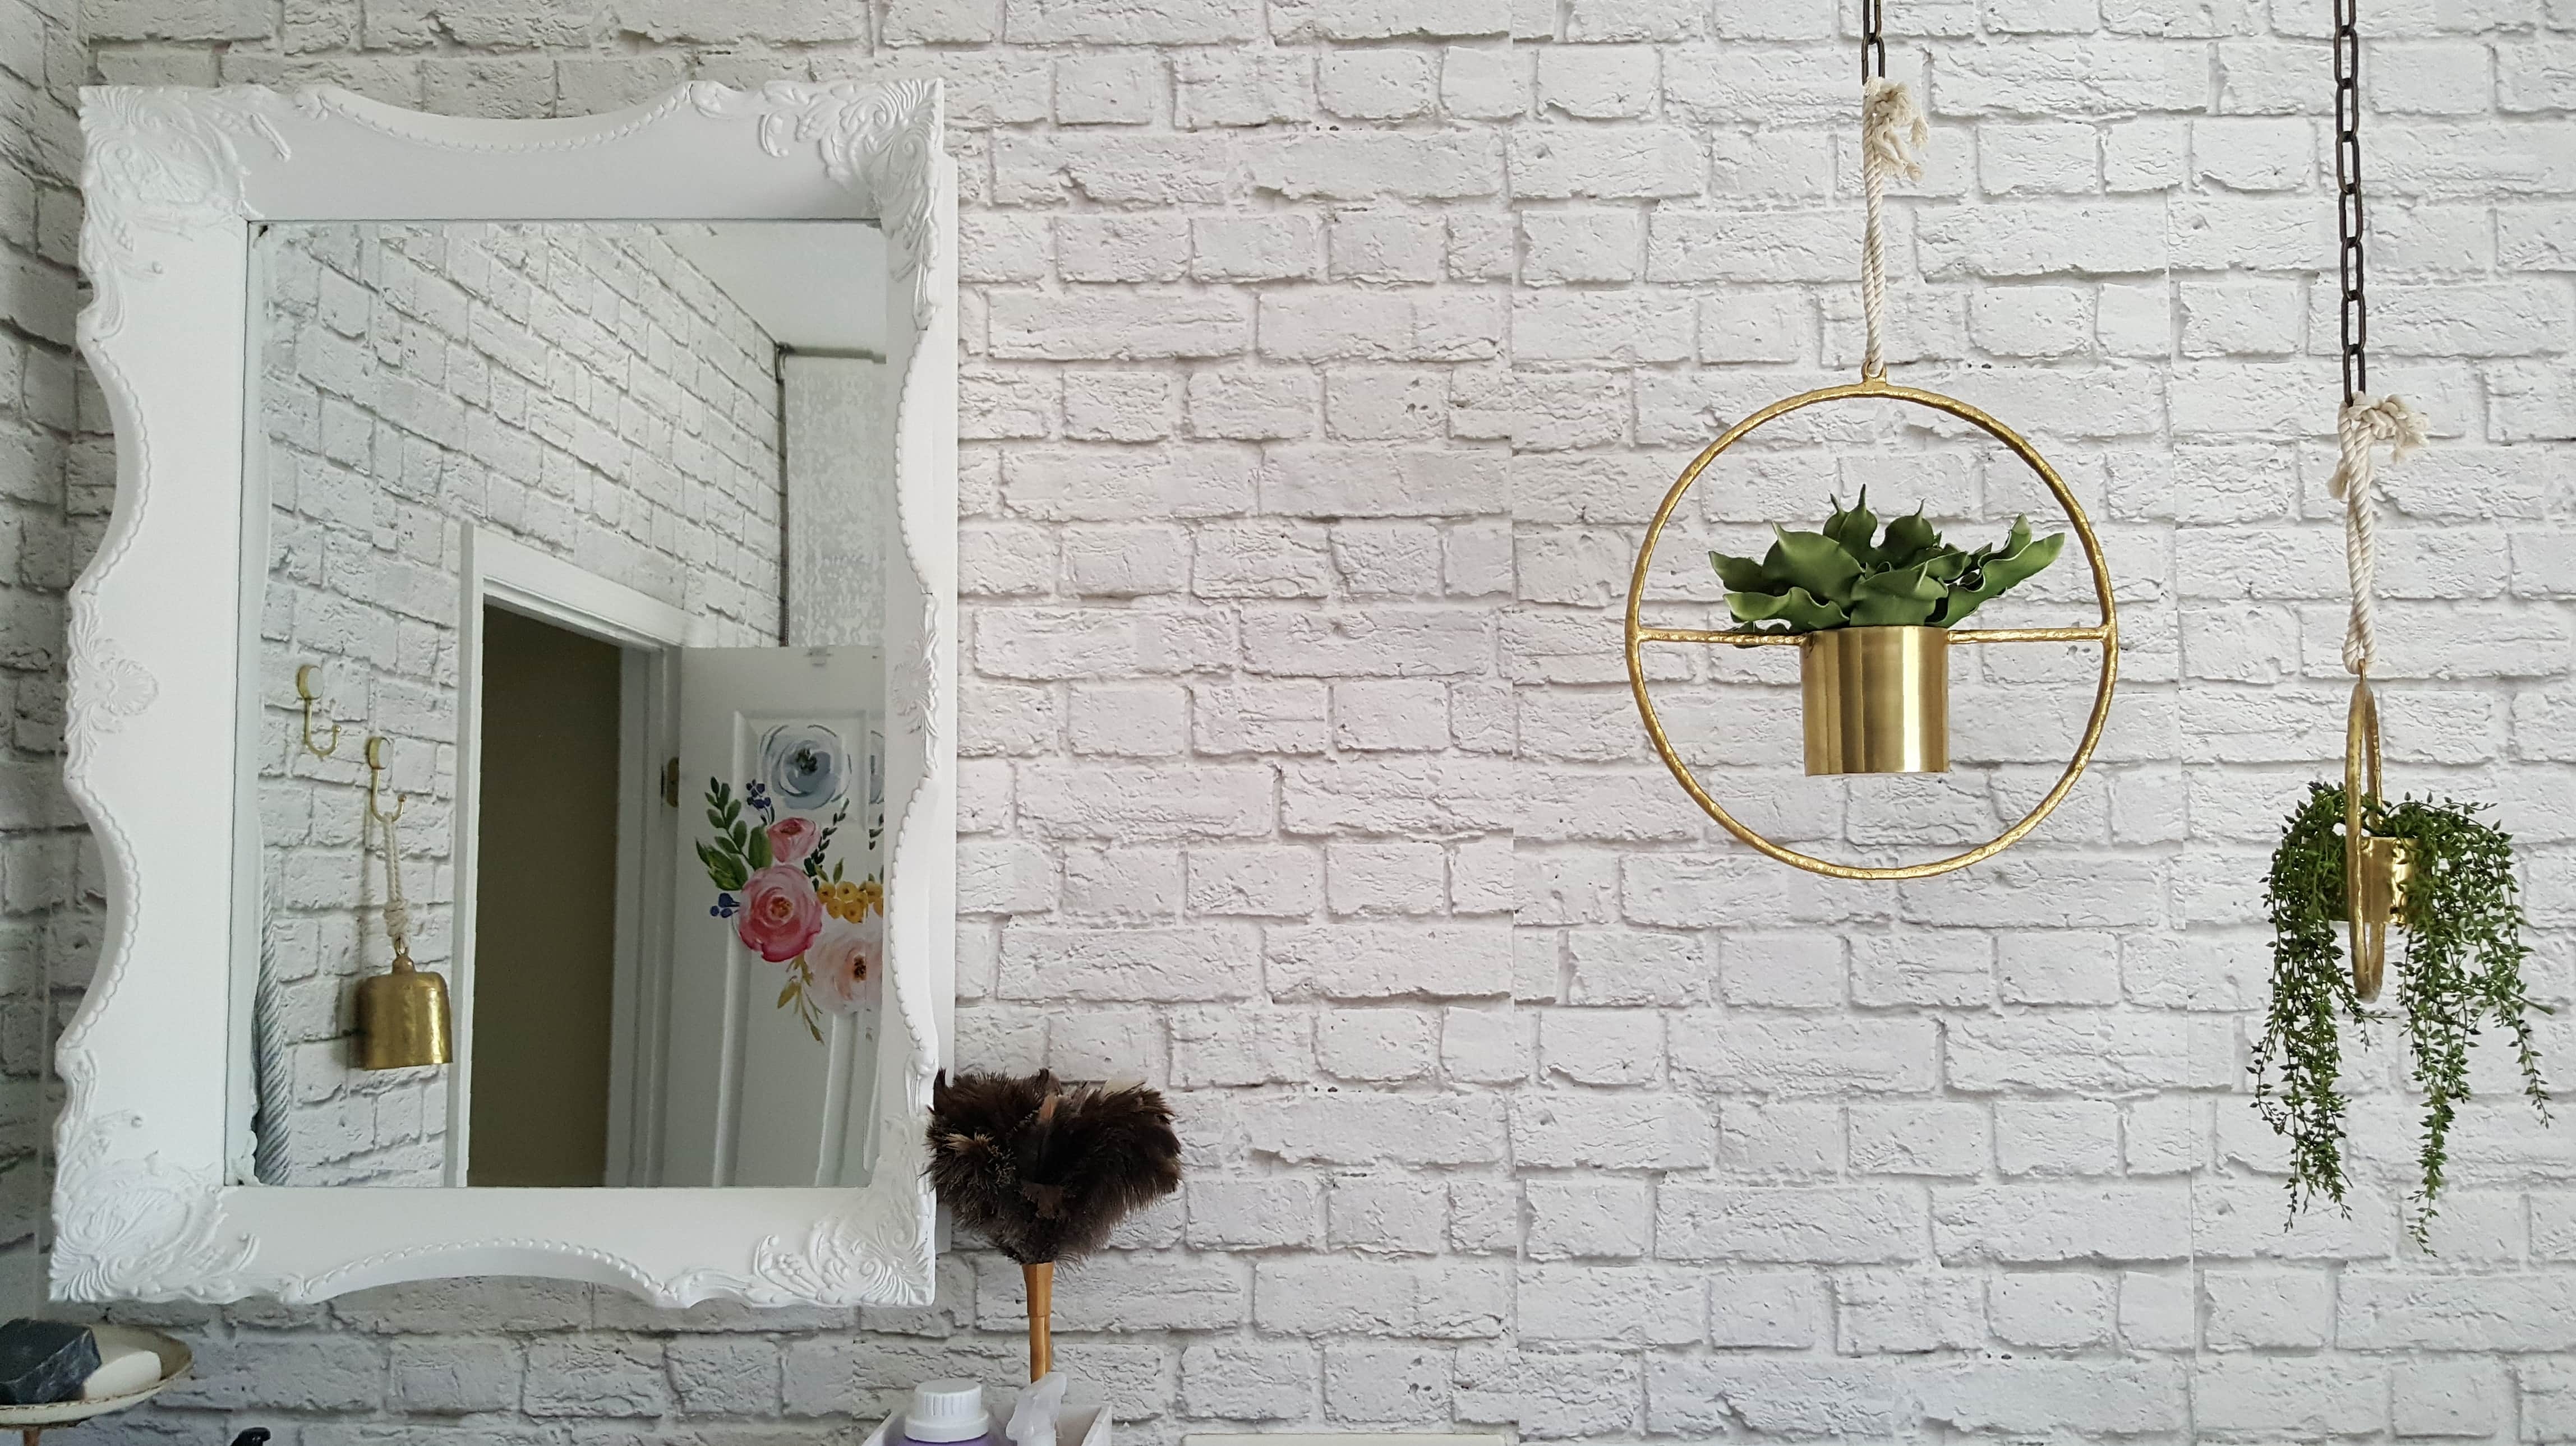
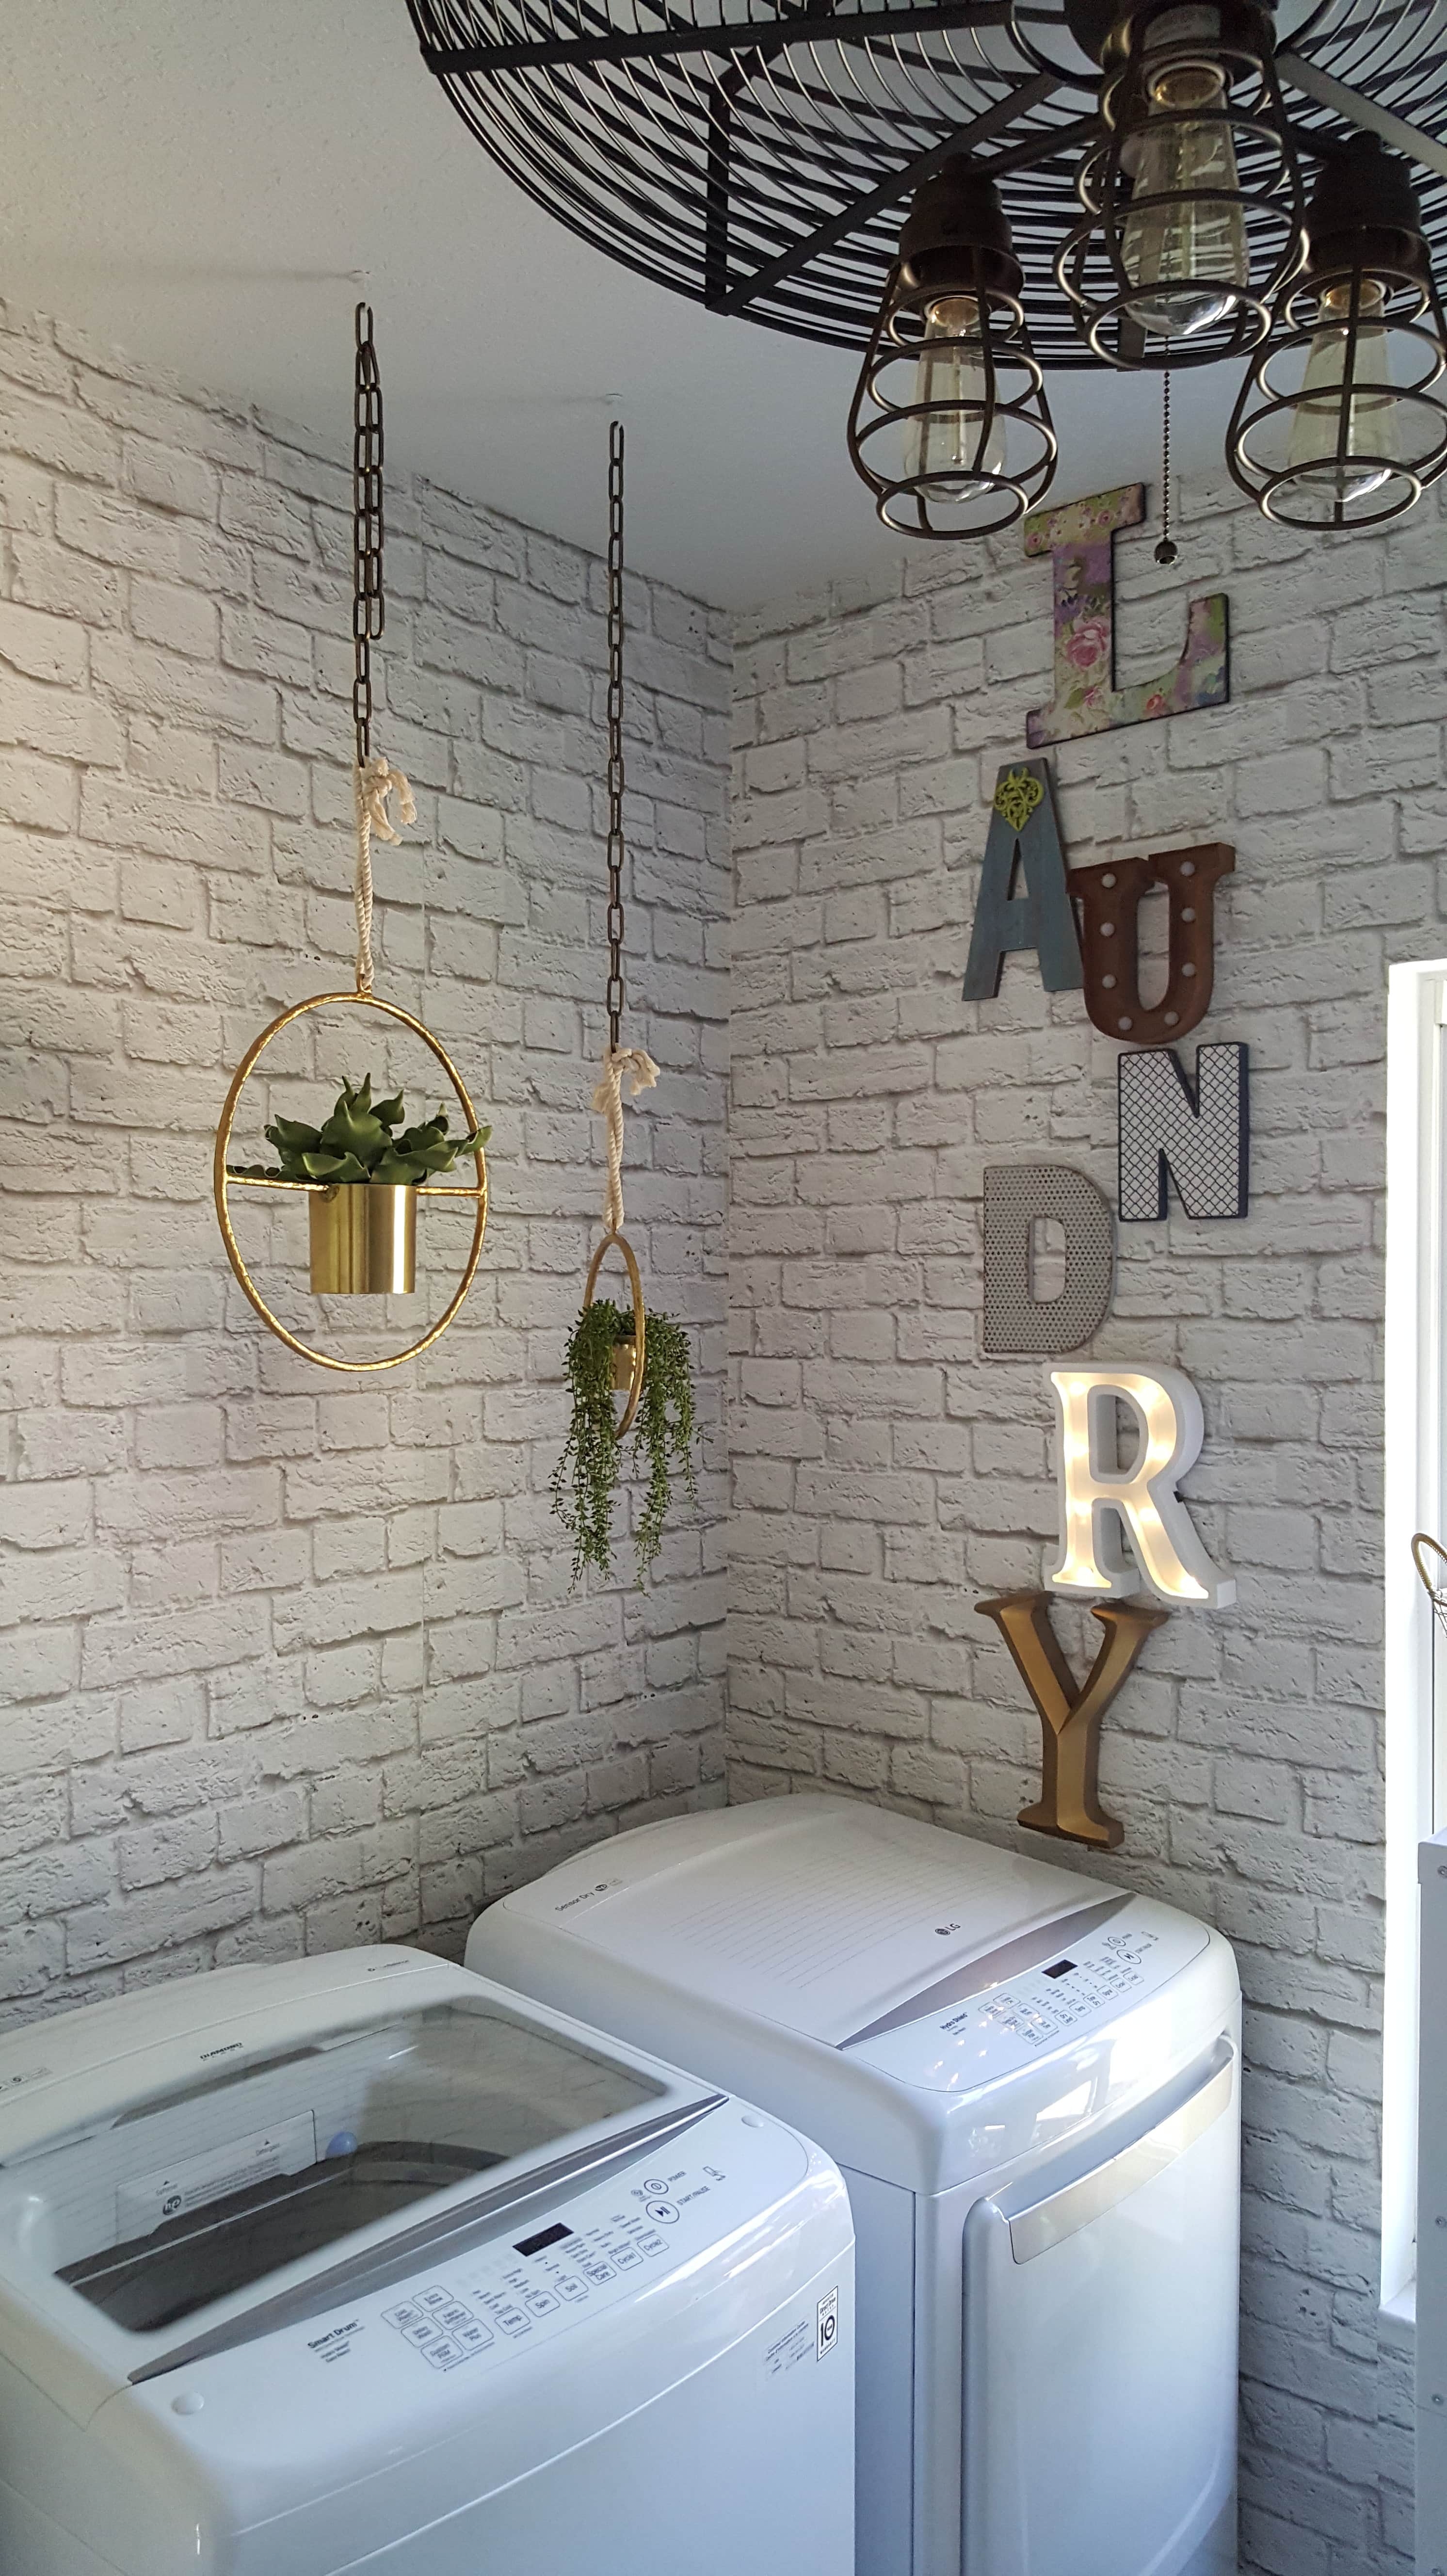
From Blah to Wow!
When I was researching products for this space, I came across some really good ones. Even better were the companies and people behind the products. I wanted to do something to my Formica countertops to give them a new look. I found a company called EZFauxDecor that had the perfect thing! They carry heavy duty films that look like granite, stainless steel, and marble. People ask me if it’s Contact Paper…I have to say No…it’s so much more! I used the White Marble.
Here’s what I learned:
- READ the enclosed instructions. Check out their website and watch the video clips before starting.
- Definitely, add a couple drops of dish soap to the water. You’ll understand after reading the instructions.THIS IS A MUST!
- Apply in one continuous piece. Don’t cut and create seams.
- Spray both counters and back of film with soapy water when applying.
- Don’t panic when rolling the film out, adjust and readjust as needed.
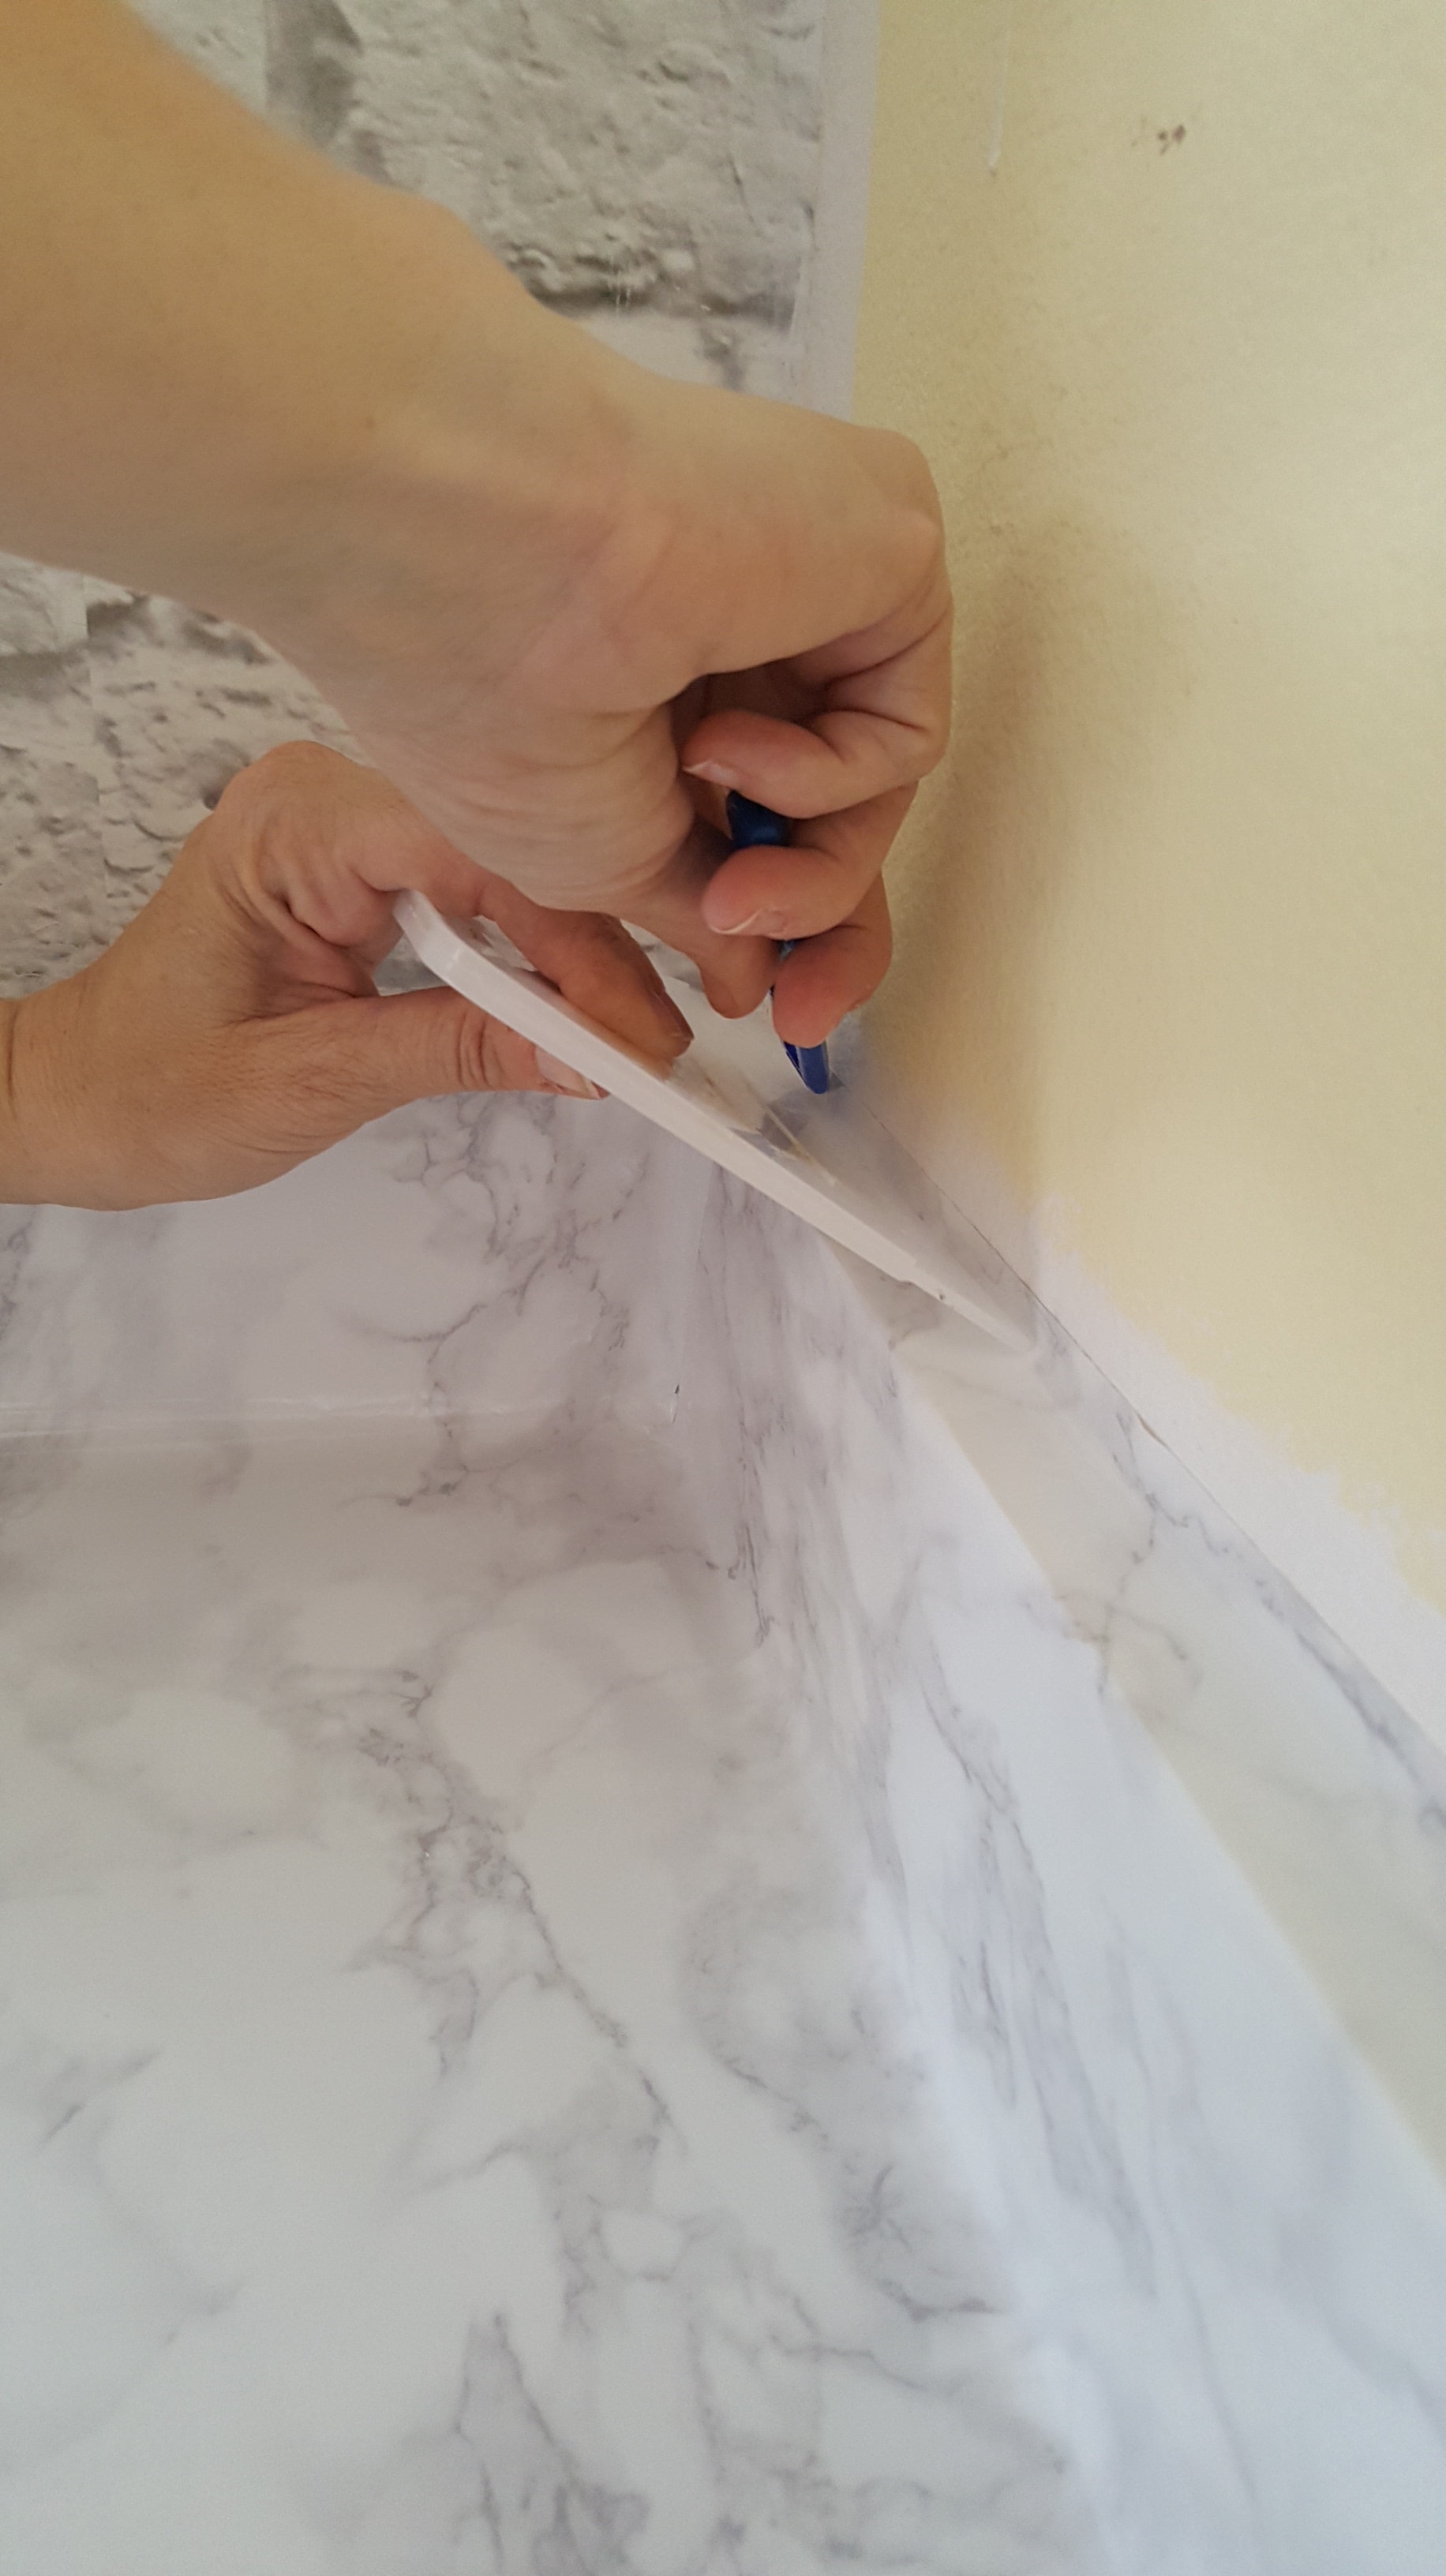
- If you can’t get all the bubbles out when using the squeegee, use a pin or the tip of a sharp knife to pop the air bubble and smooth out.
- Wear a cotton glove and run your hands over the marble when smoothing and checking for bubbles. This helps because the marble is harder to “see” sometimes…but you can definitely “feel” them.
- I let my marble “cure” for a few days and would go in and periodically smooth and check for bubbles. I used the squeegee to run along the edges creating a nice defined line.
Here is the before…it’s a mess because we were actually in the middle of the makeover. I have to remember to get the before photos…BEFORE. 😉
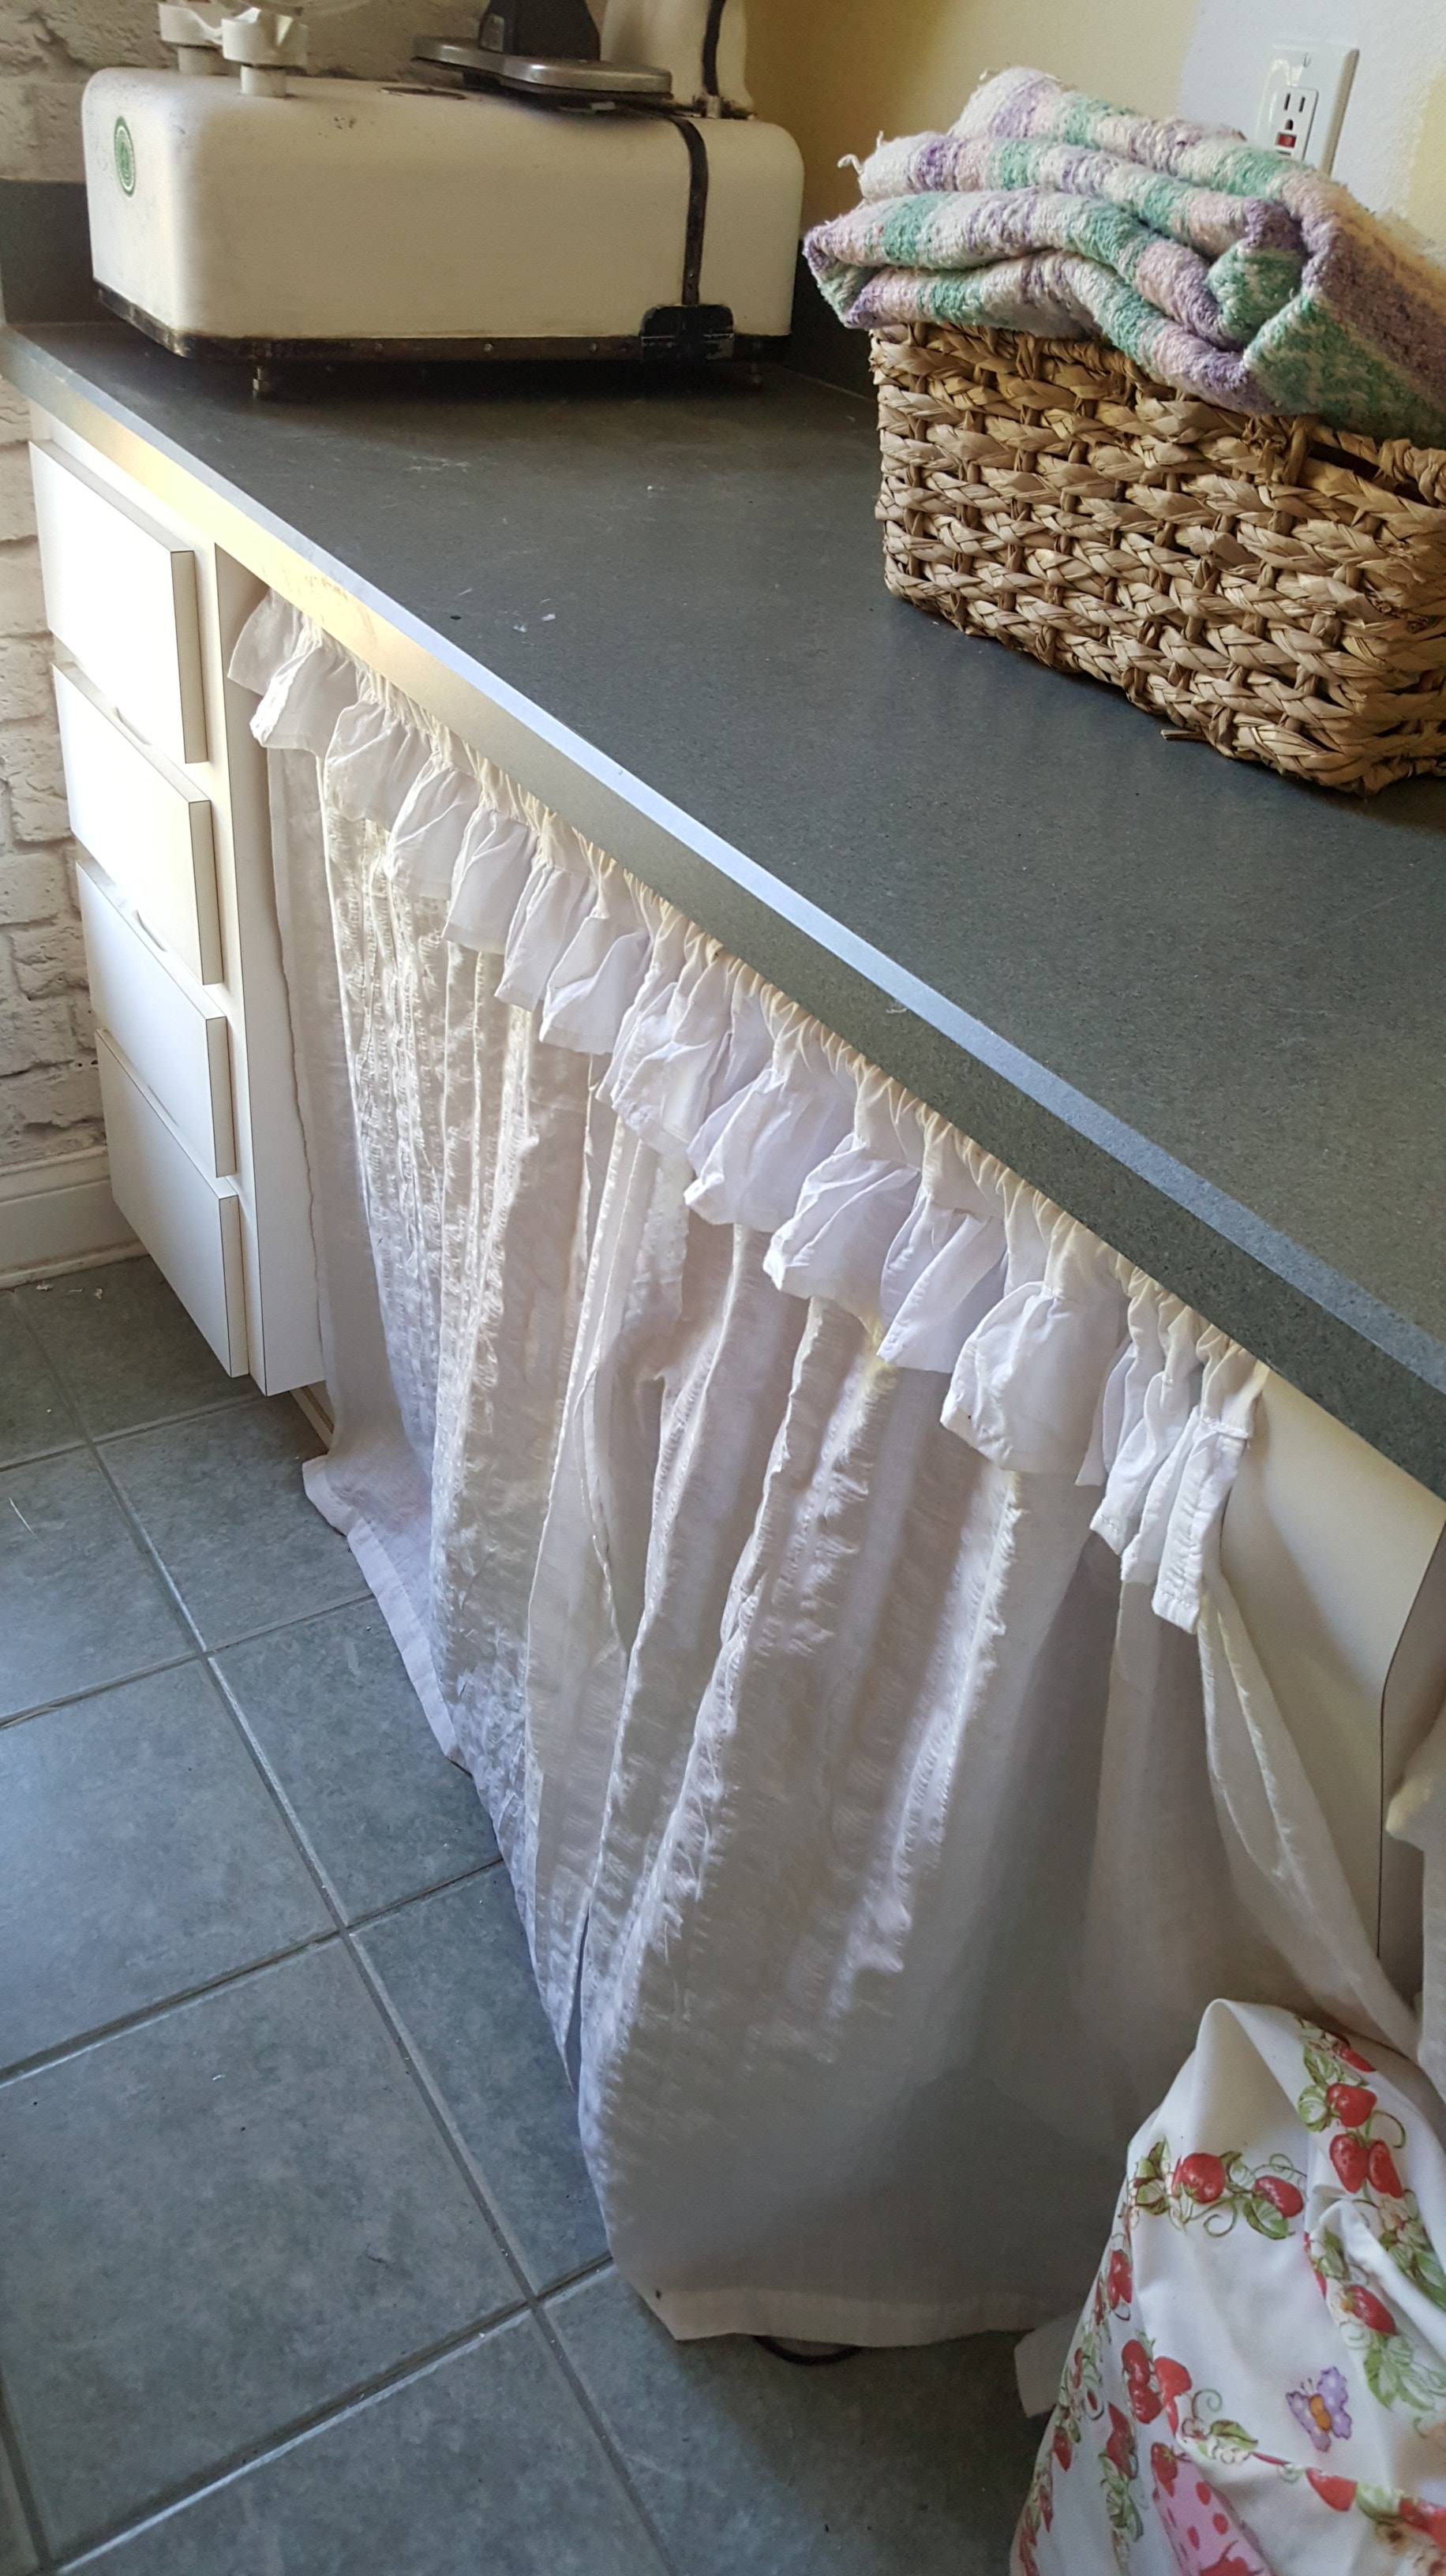
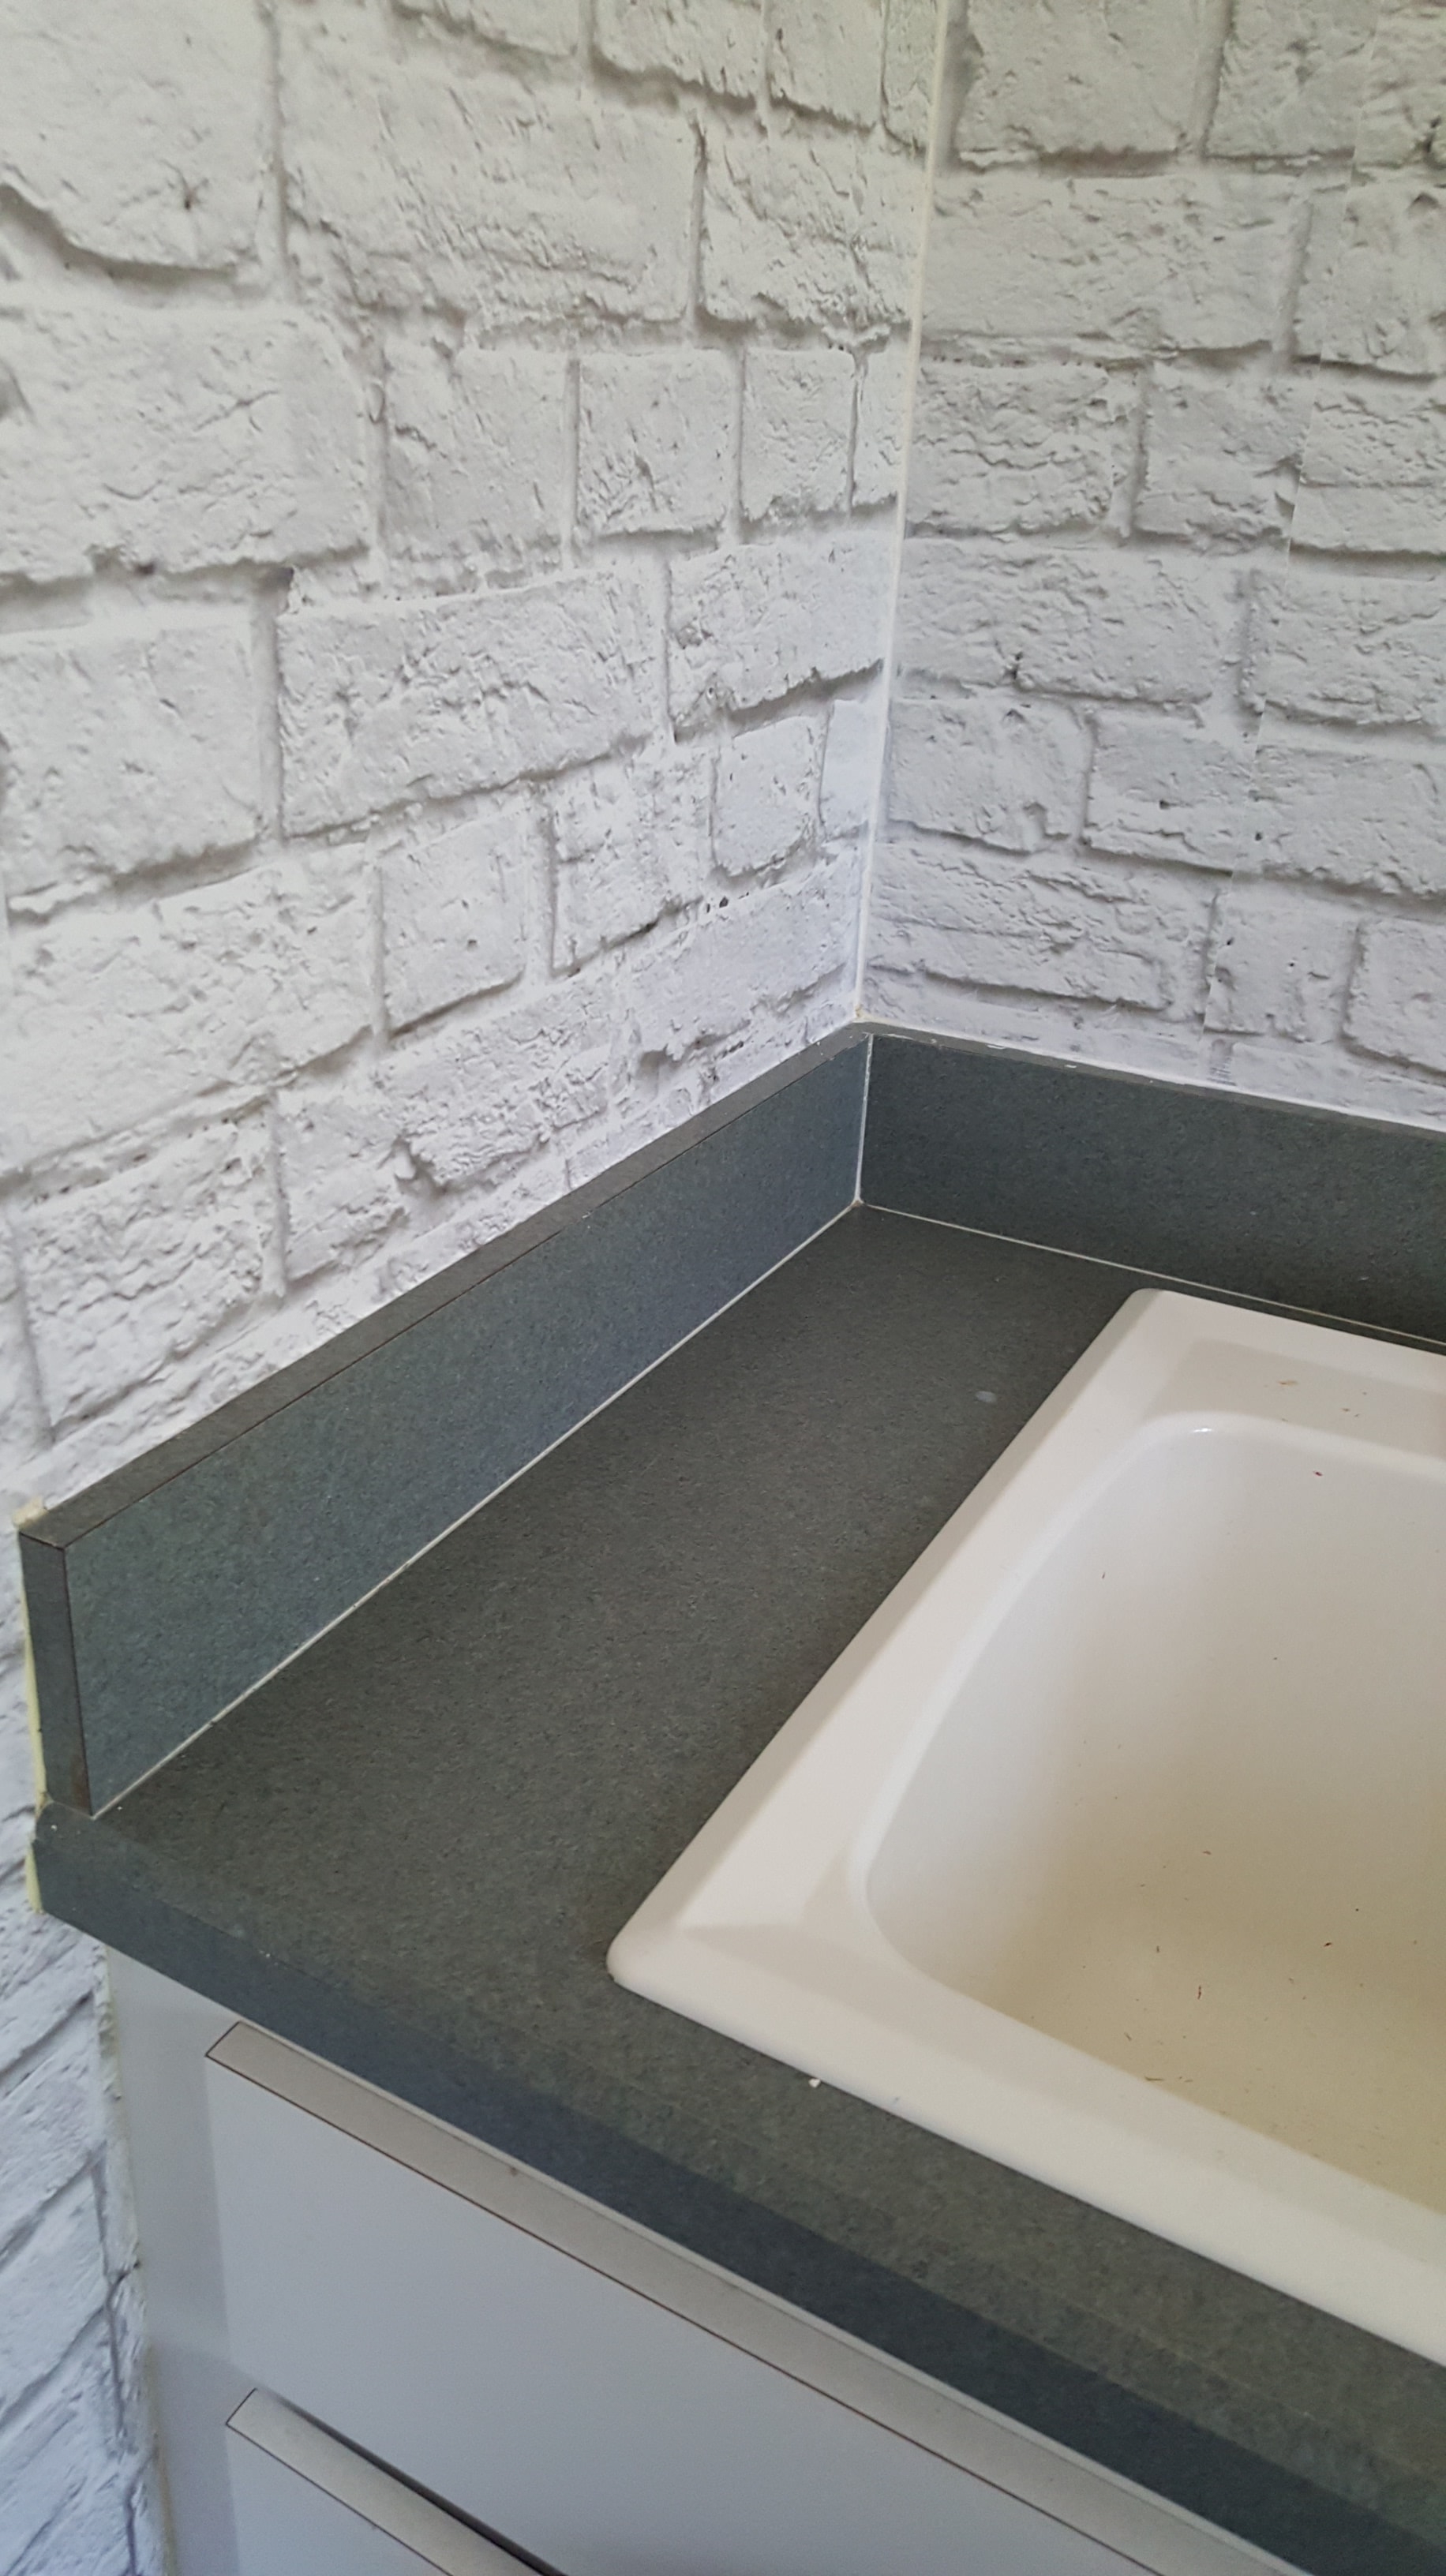
During…
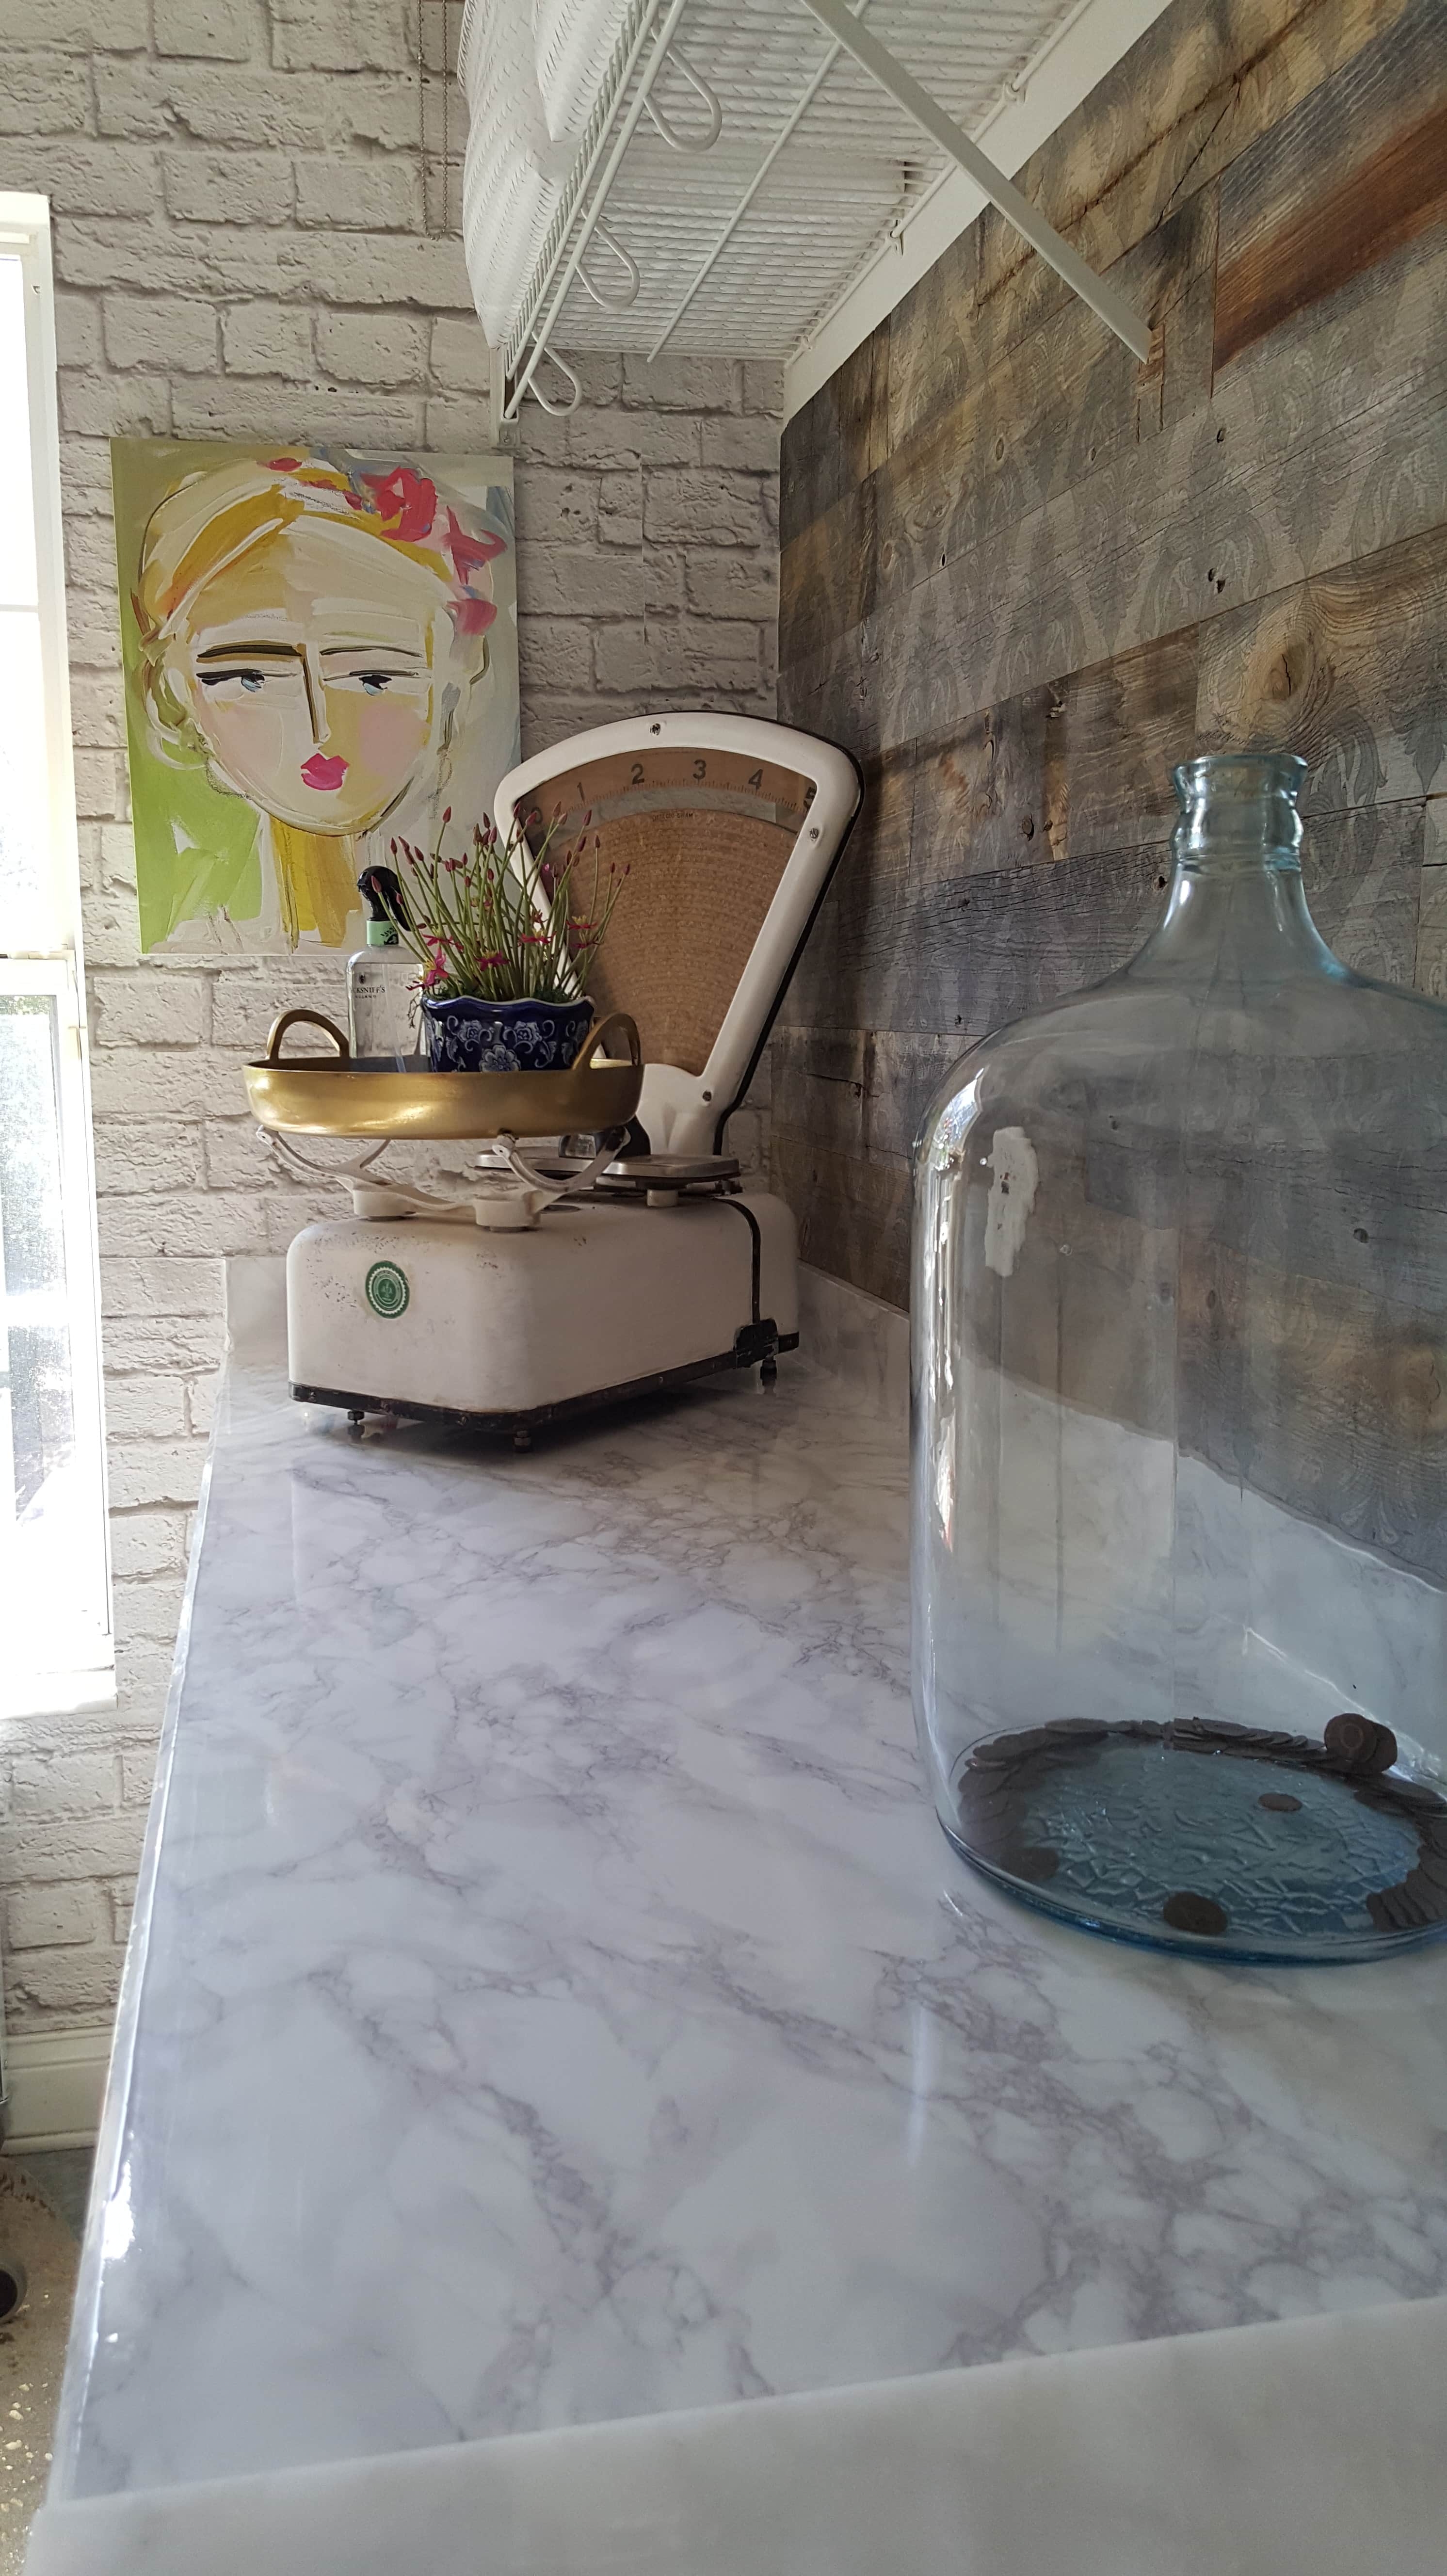
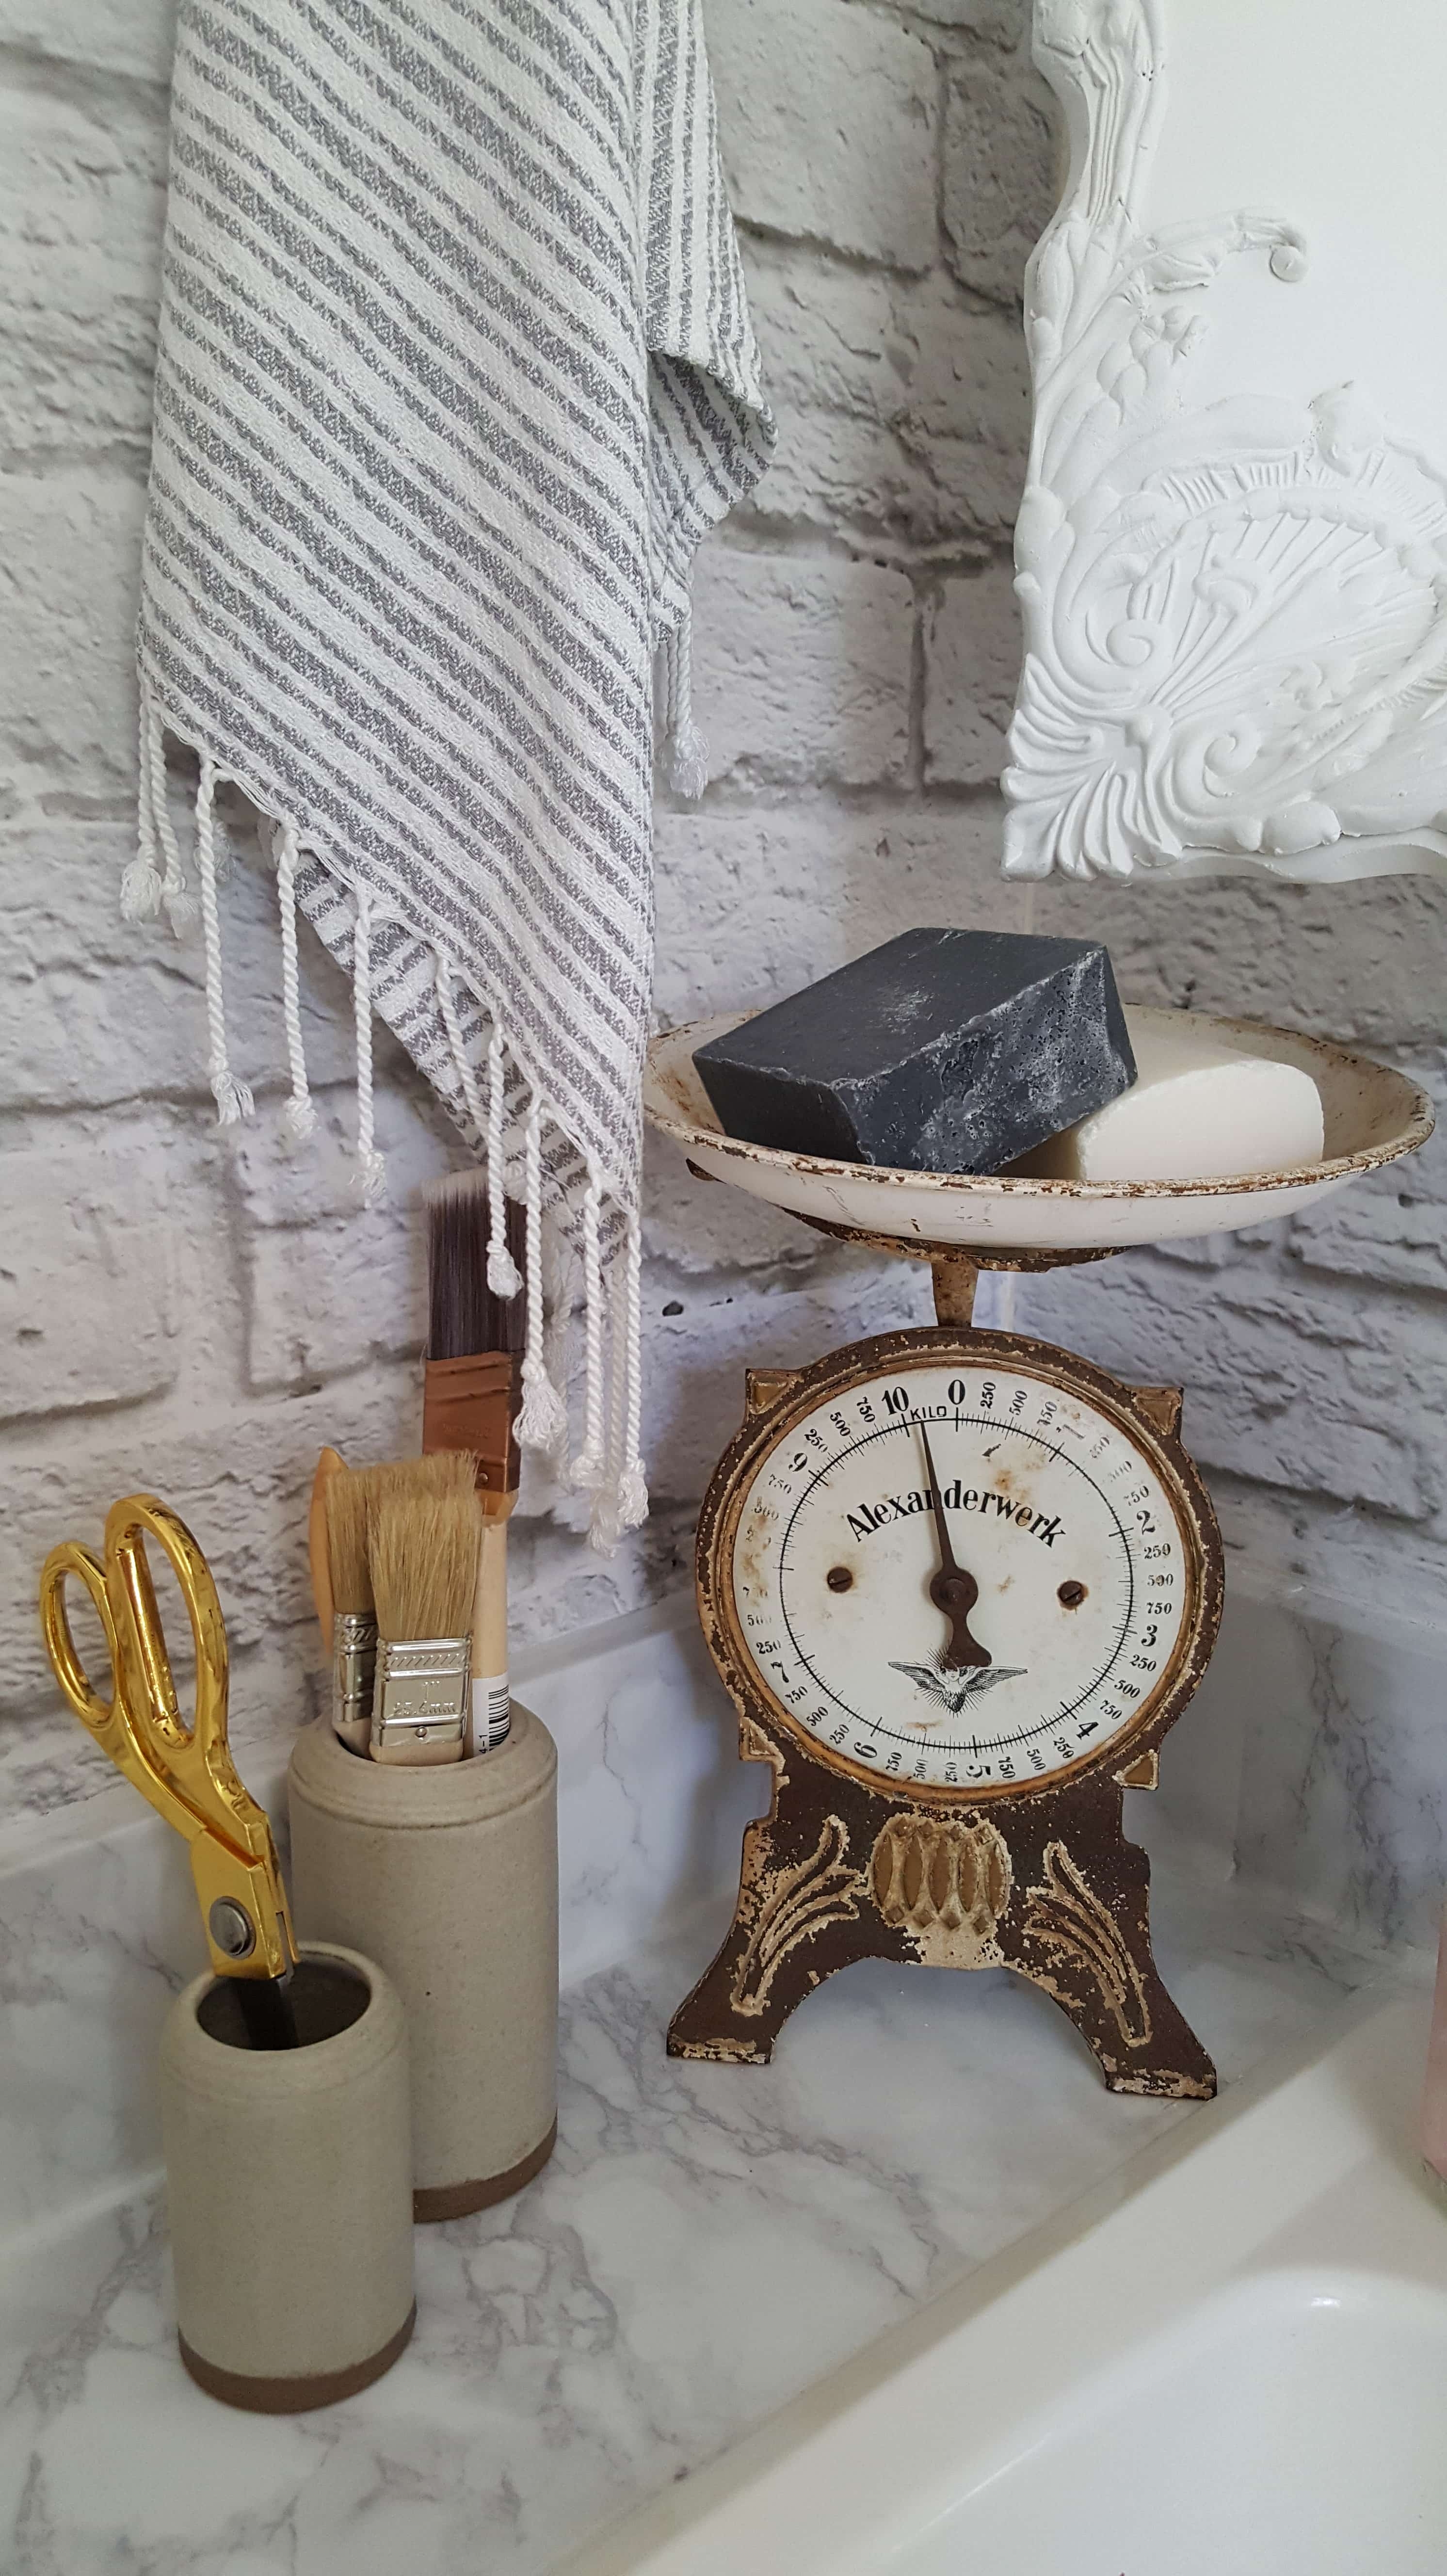
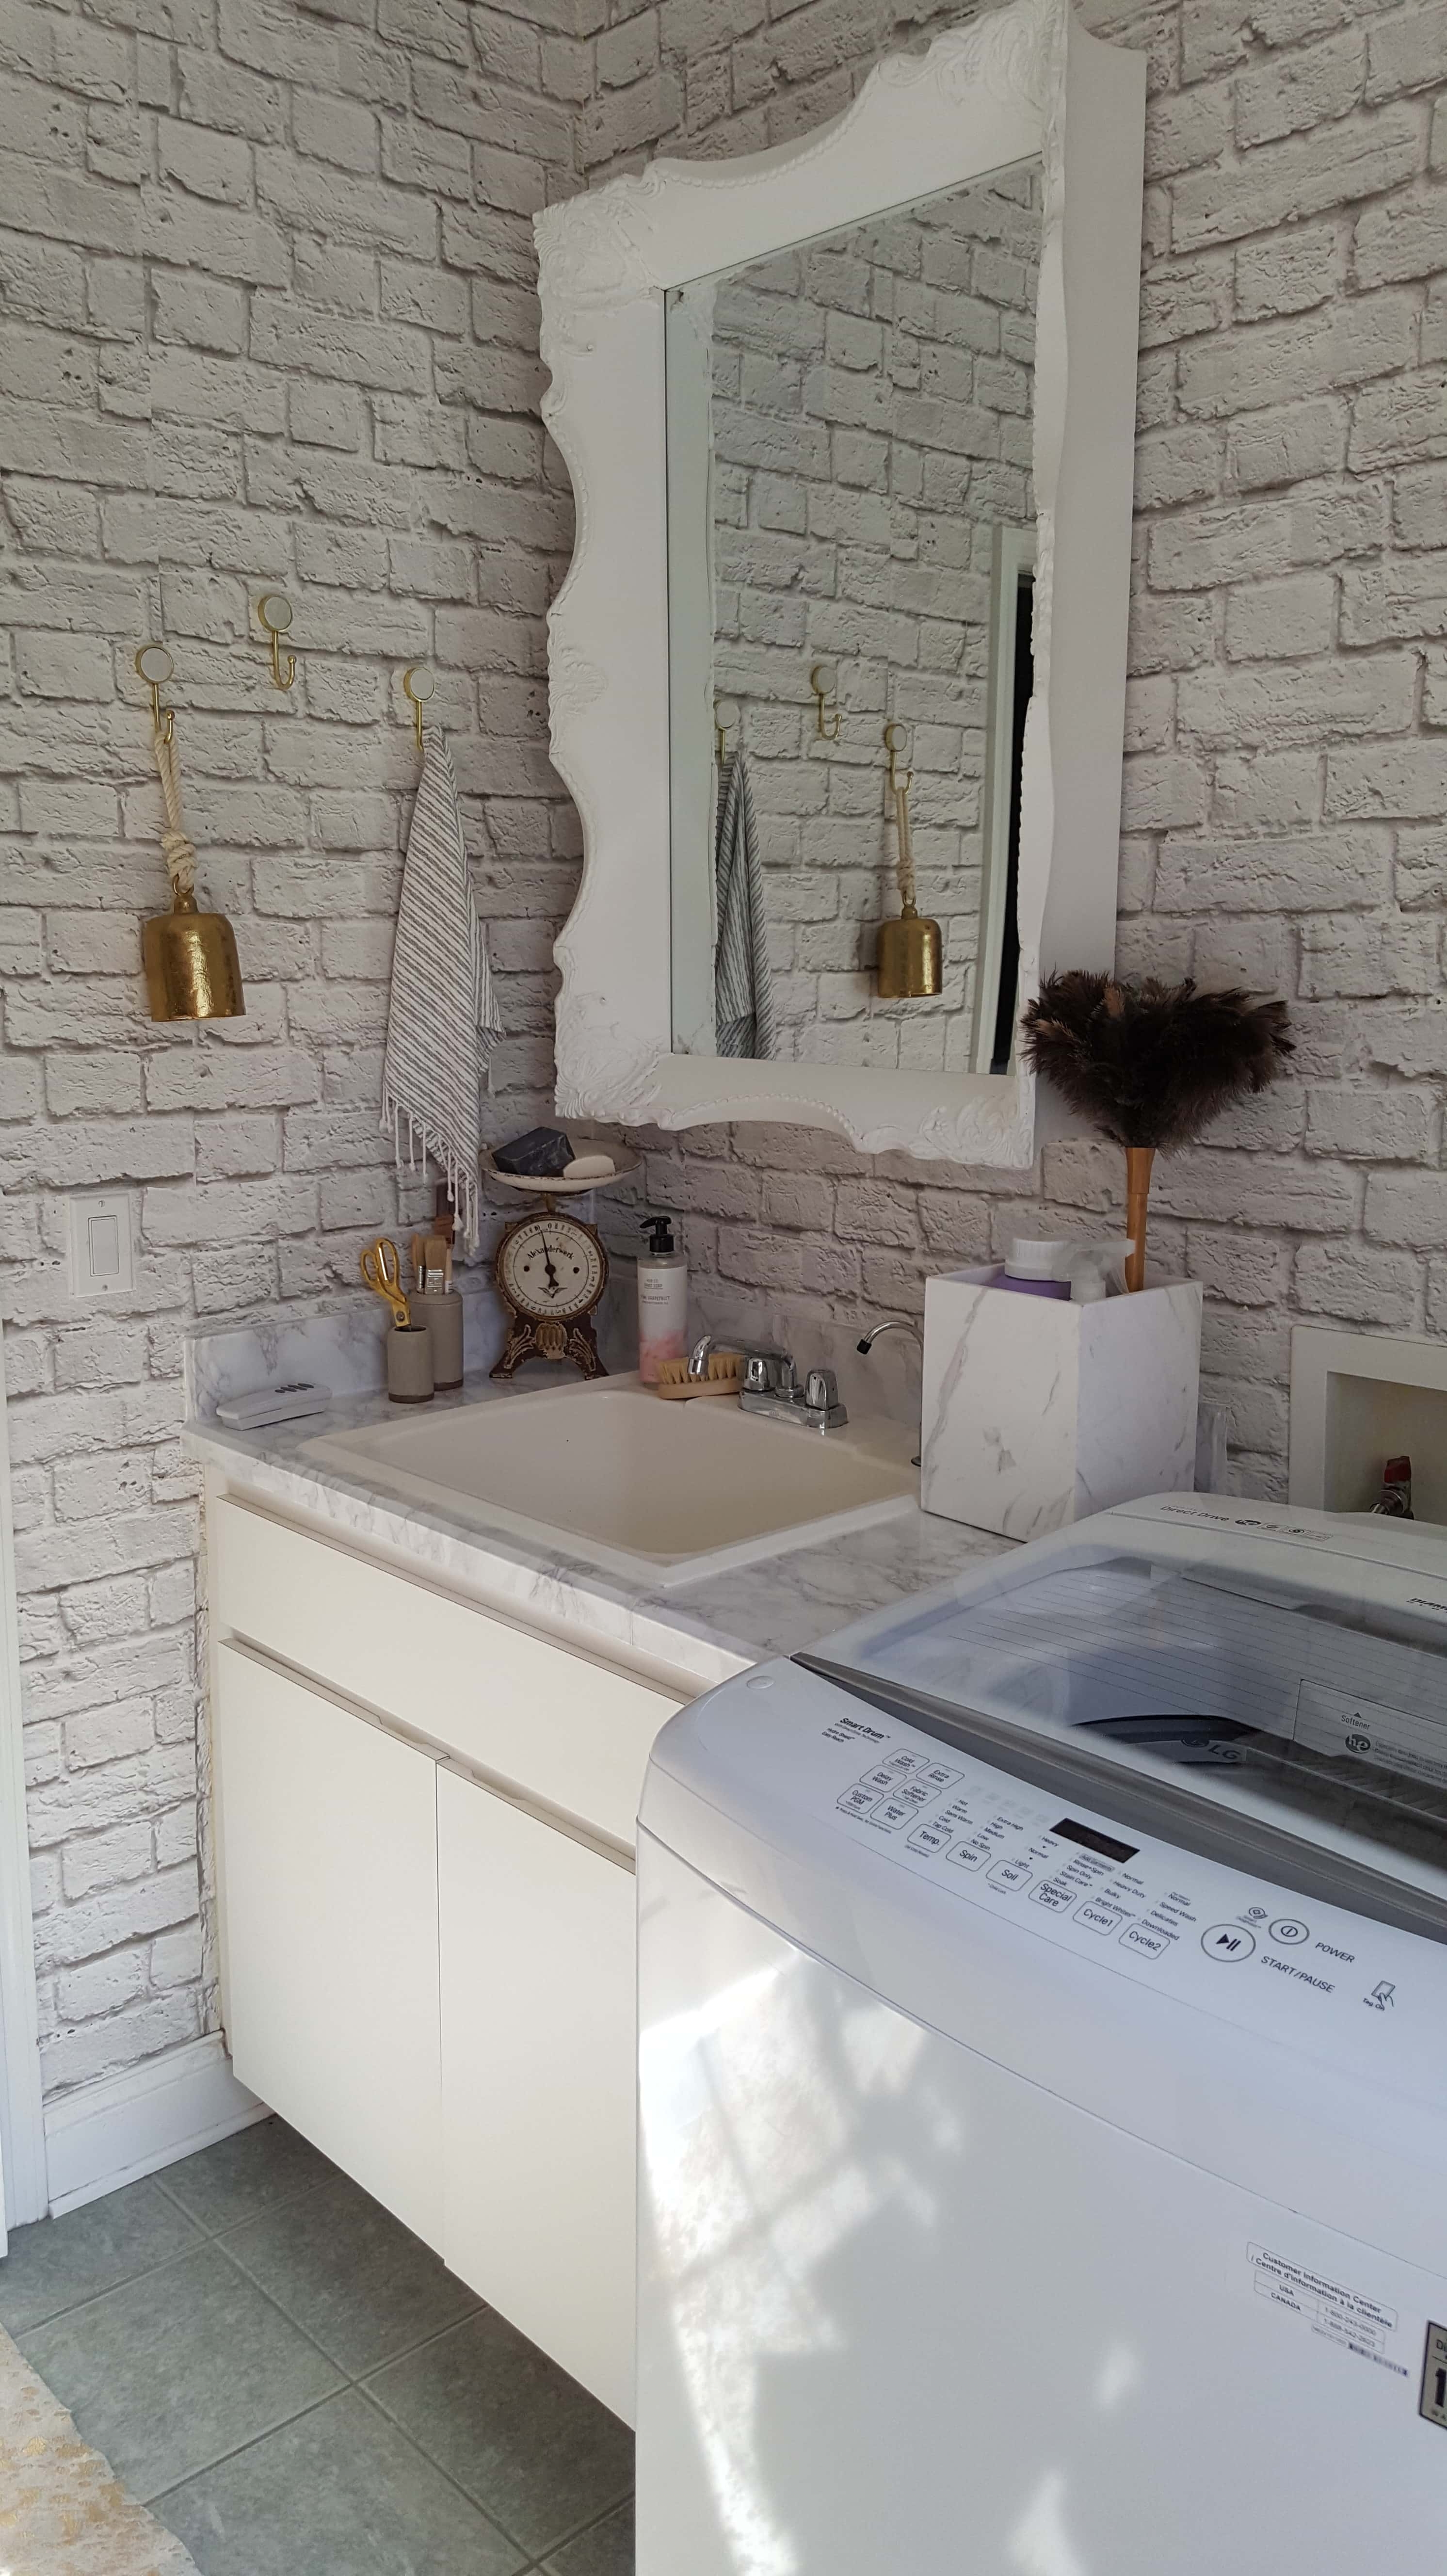
Here is the After.
Let’s Add Some Texture
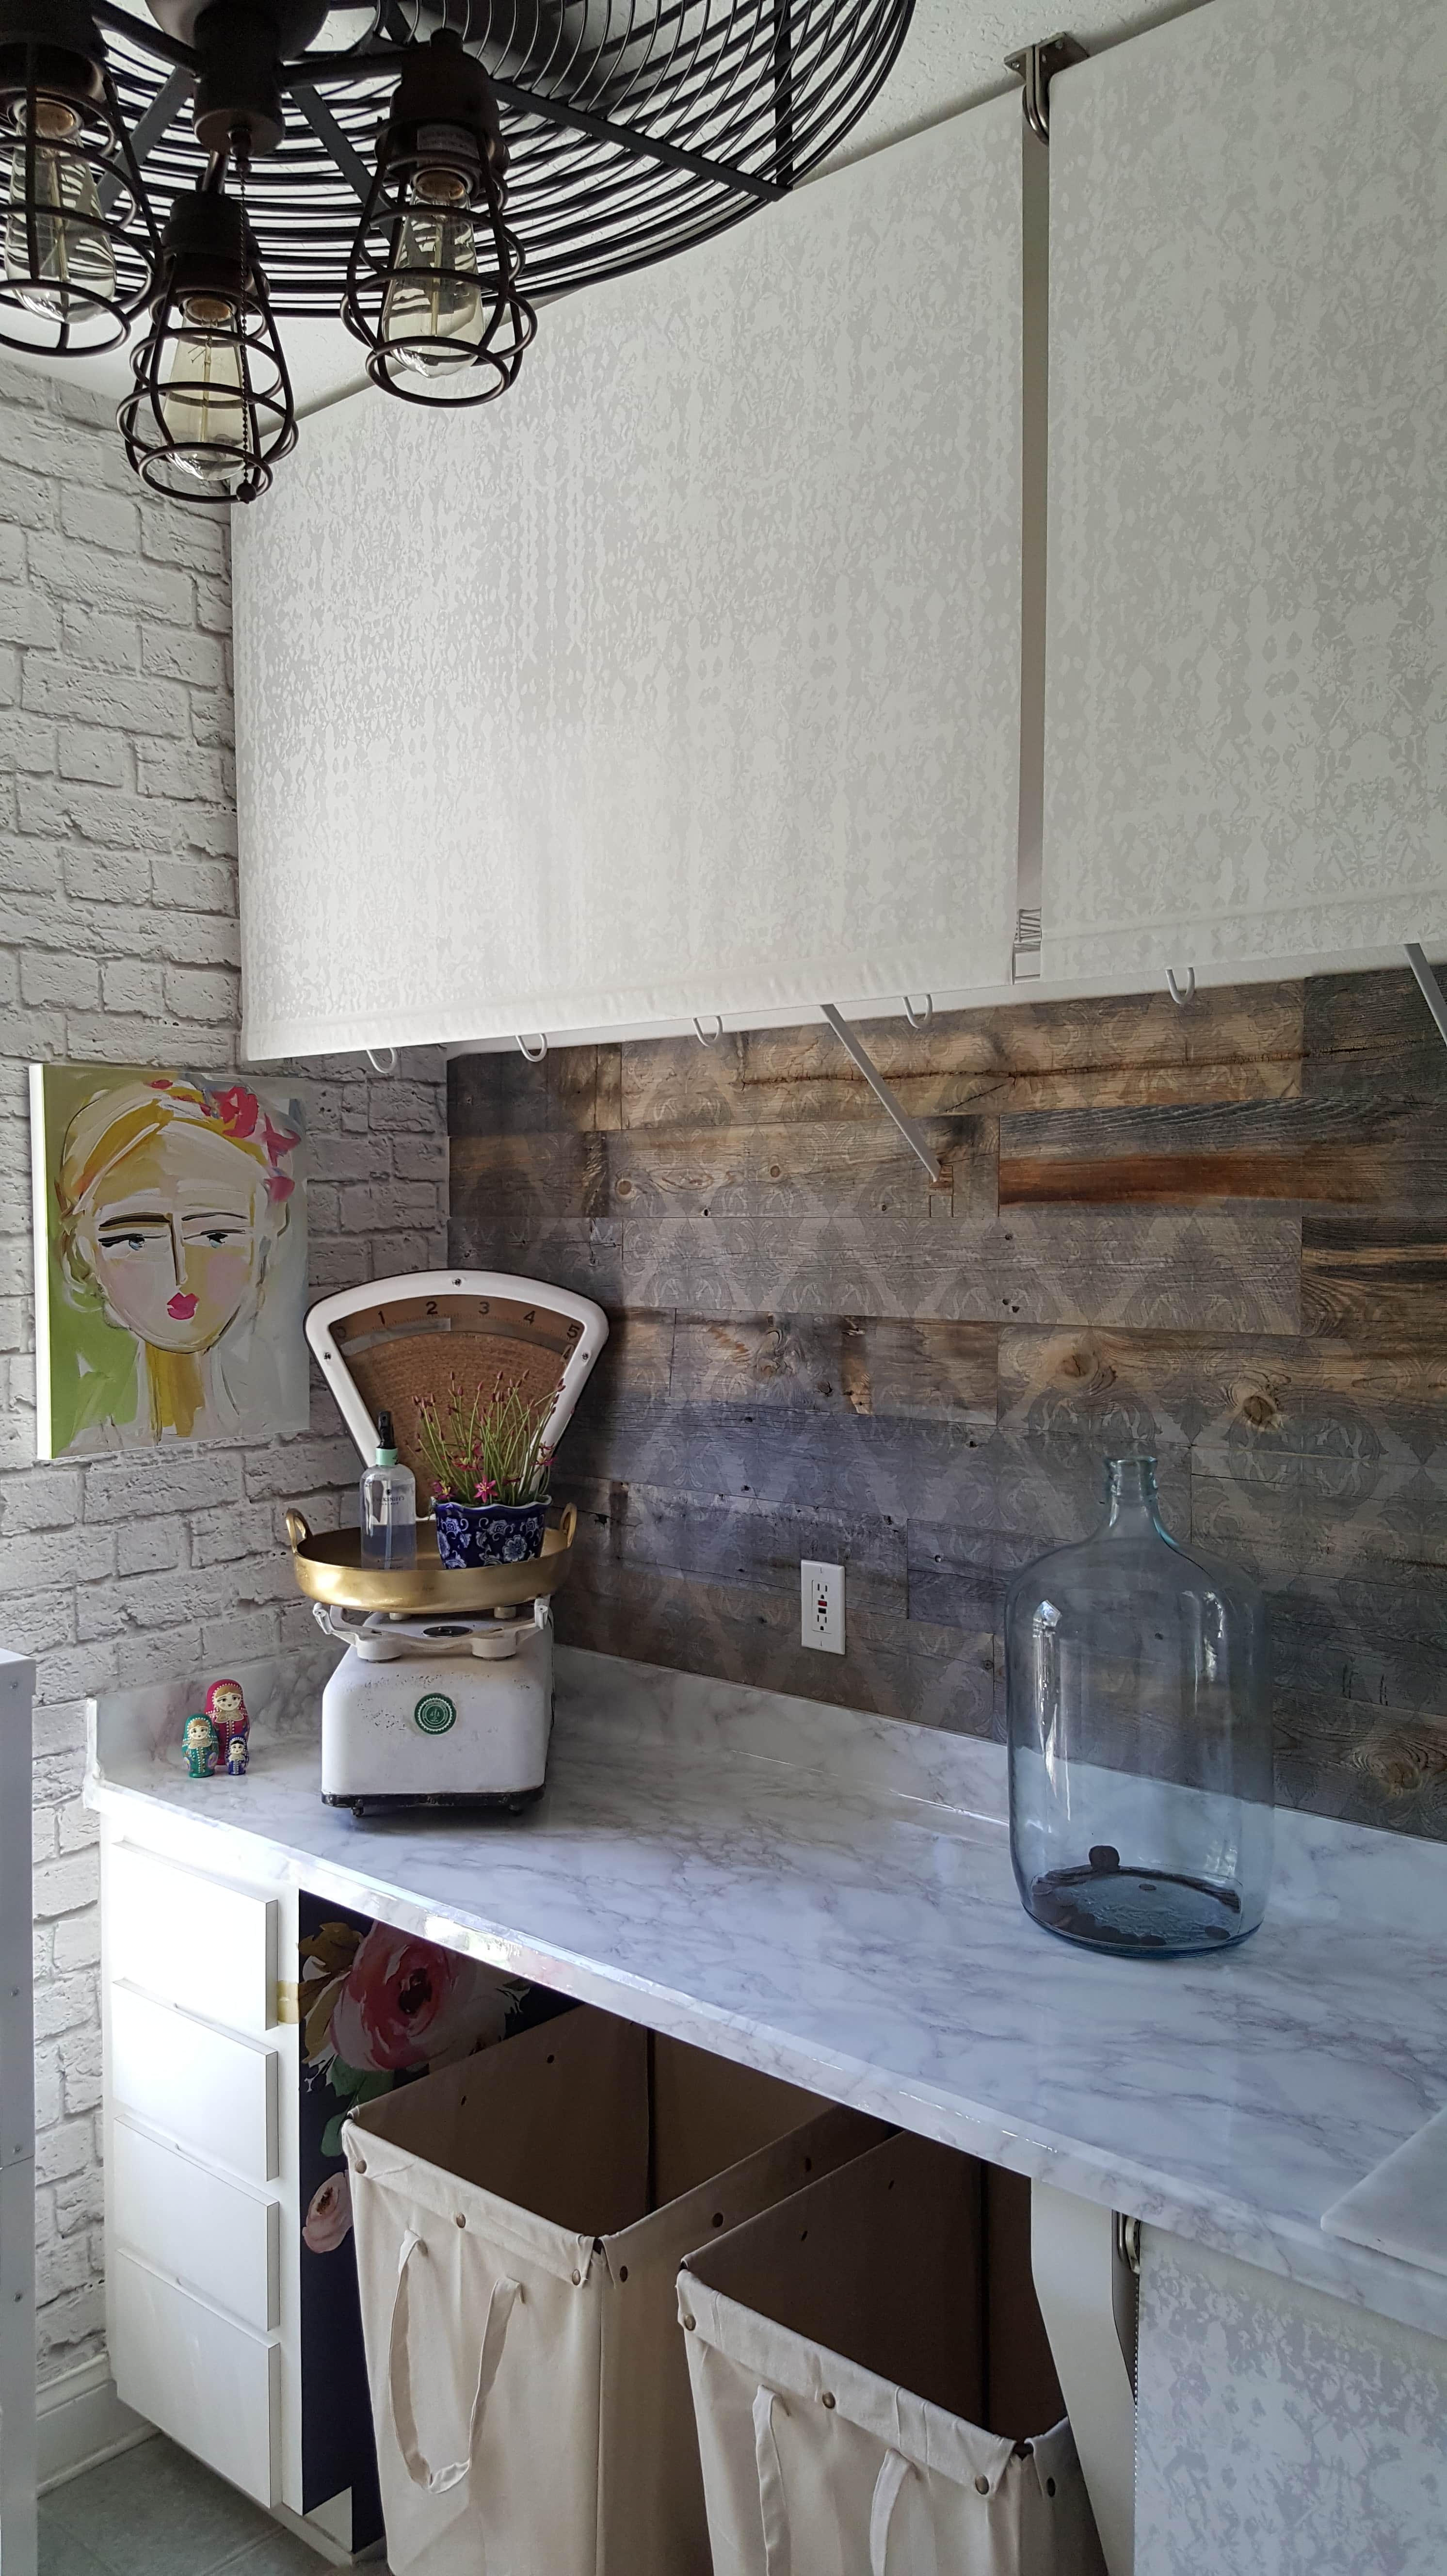
I’ve wanted to work with Stikwood since I first saw it about a year ago. I never really knew where I wanted to use it until I started dreaming up this space. I decided to use one of their PlankPrints…the Victoria. It had just enough interest without the design being too much mixed in with white brick and white marble.
So here’s what I learned while installing:
- READ the enclosed instructions…don’t just assume you stick it on the wall. 🙂 Watch this video for additional tips.
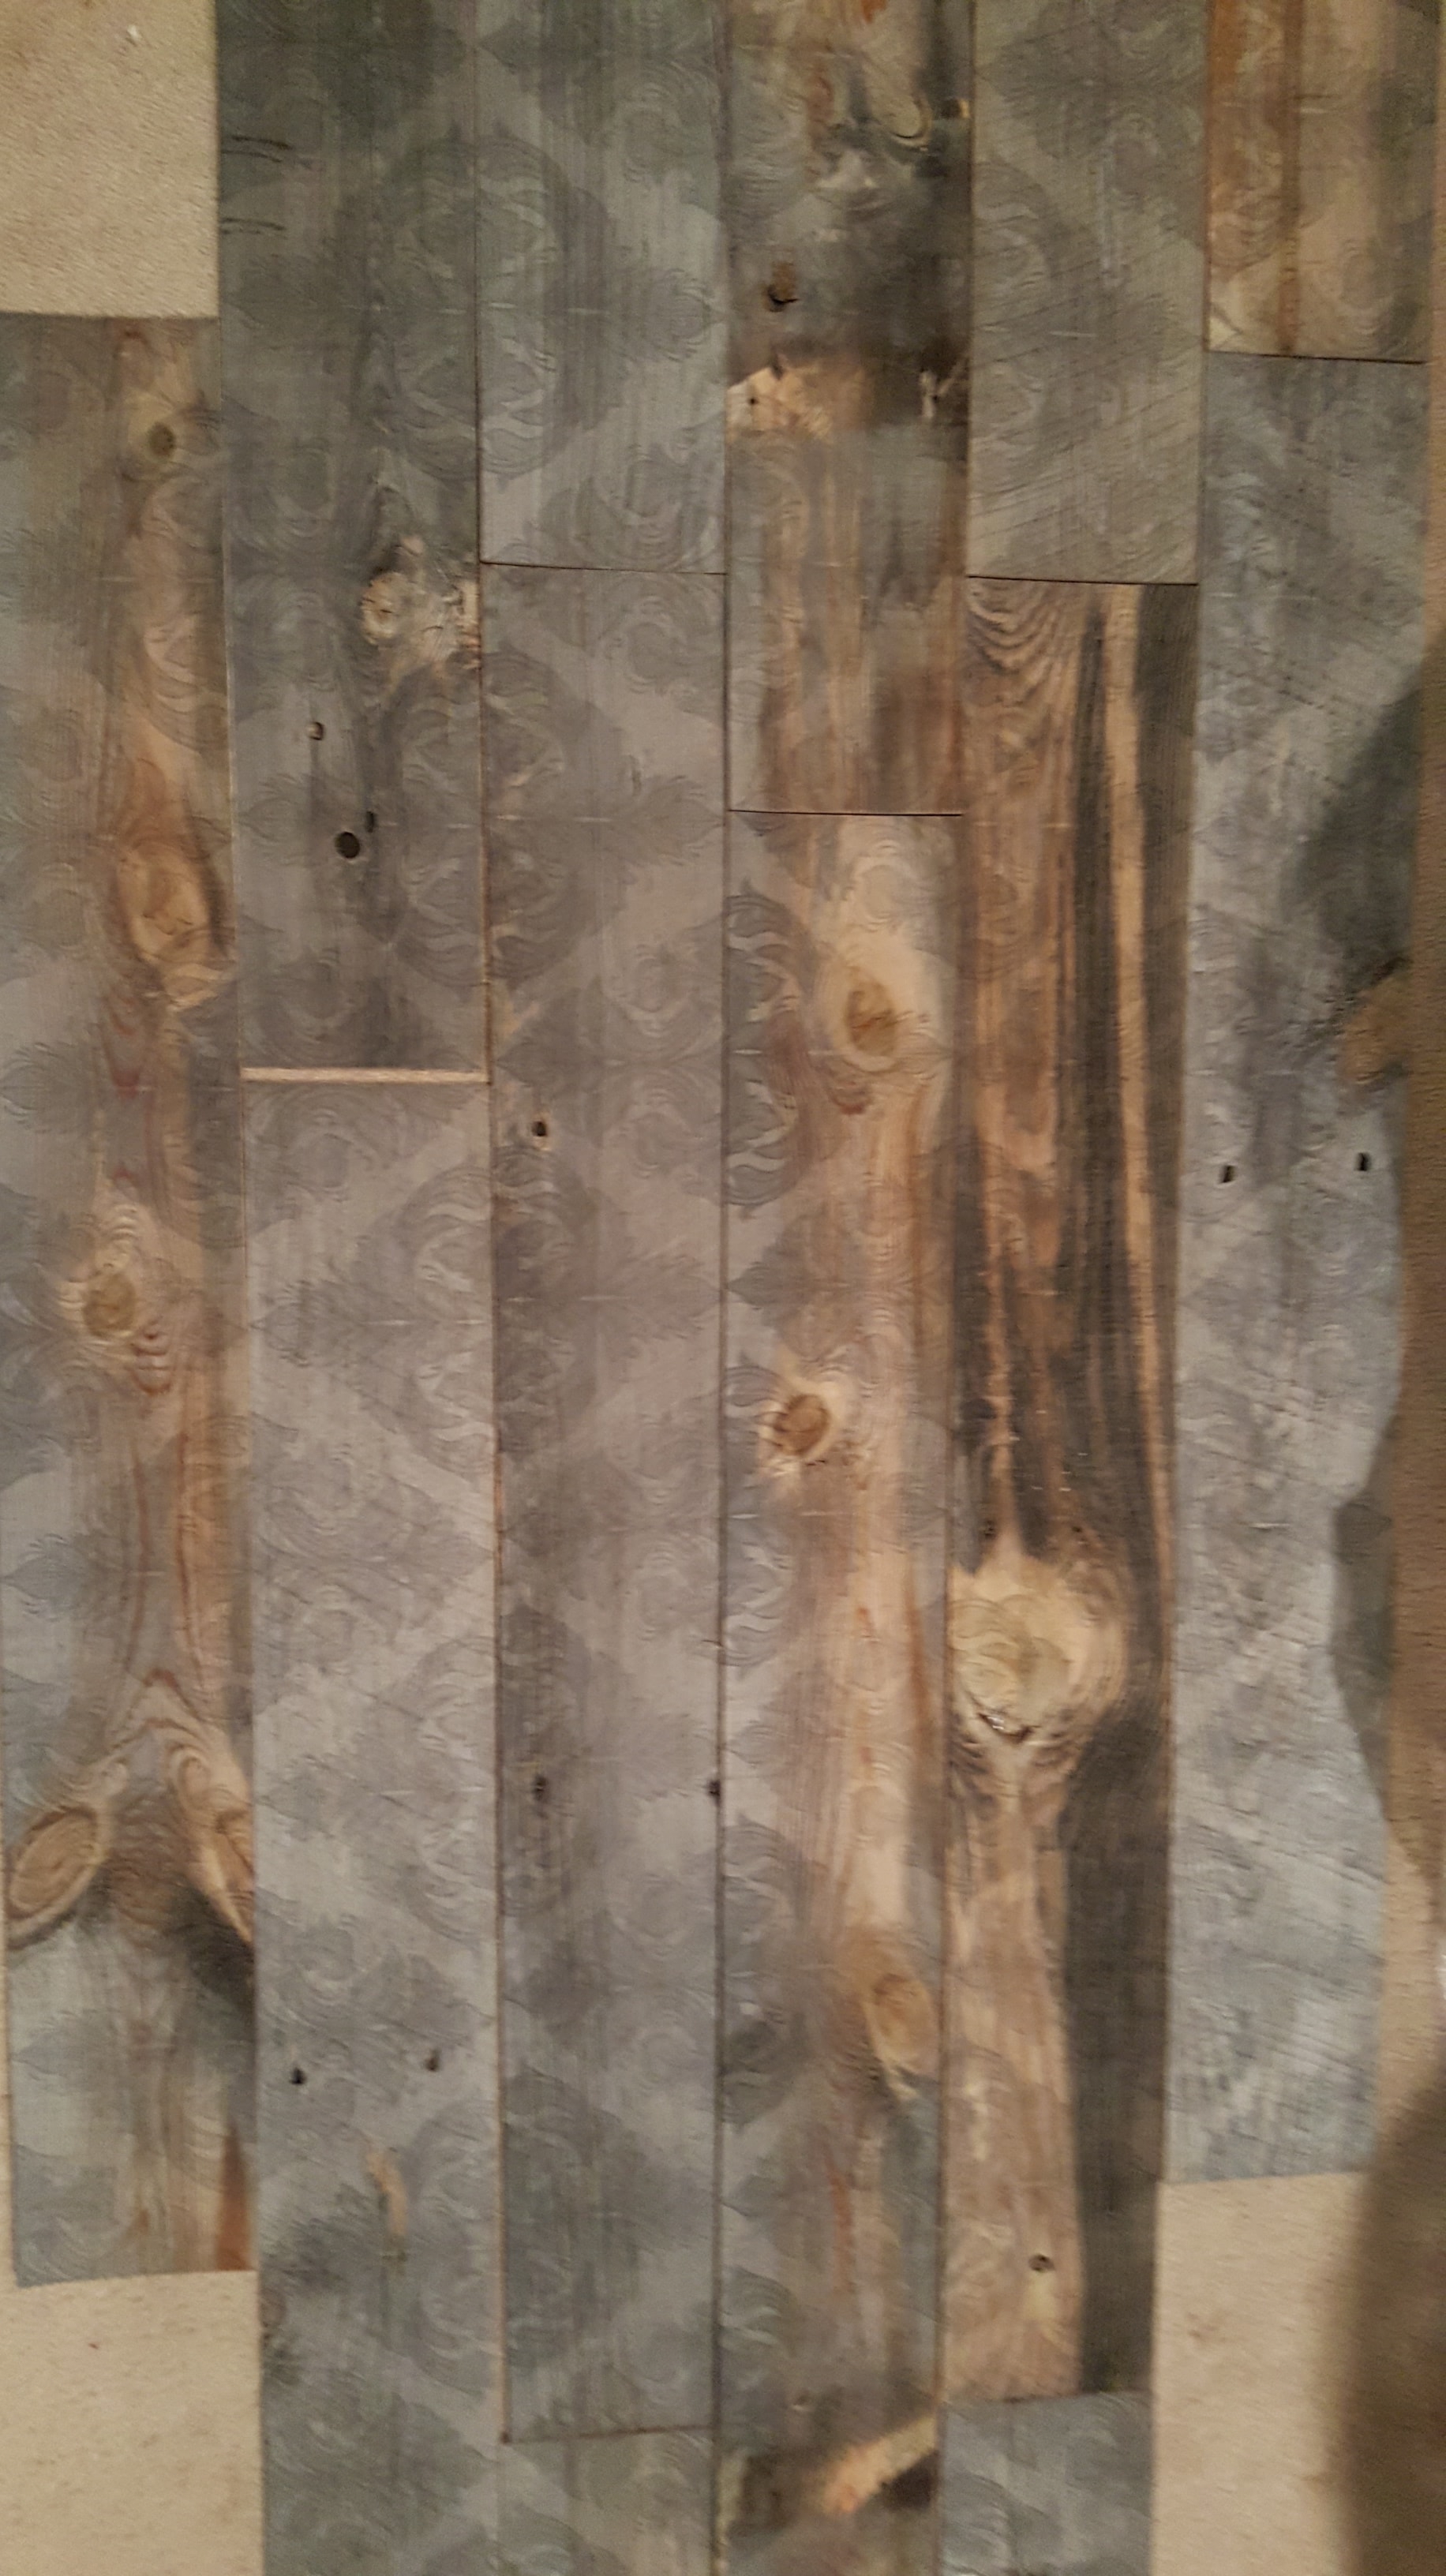
- Give yourself ample room to lay out your pattern (I used our loft floor). Since these boards are made from real wood, each piece is different. I’d suggest mixing up the lighter boards with the darker ones to give it that reclaimed look. And with the pattern, you need to line things up.
- While this job is easy enough to do on your own…it’s more fun with some help. Time to bribe the family and friends. 🙂
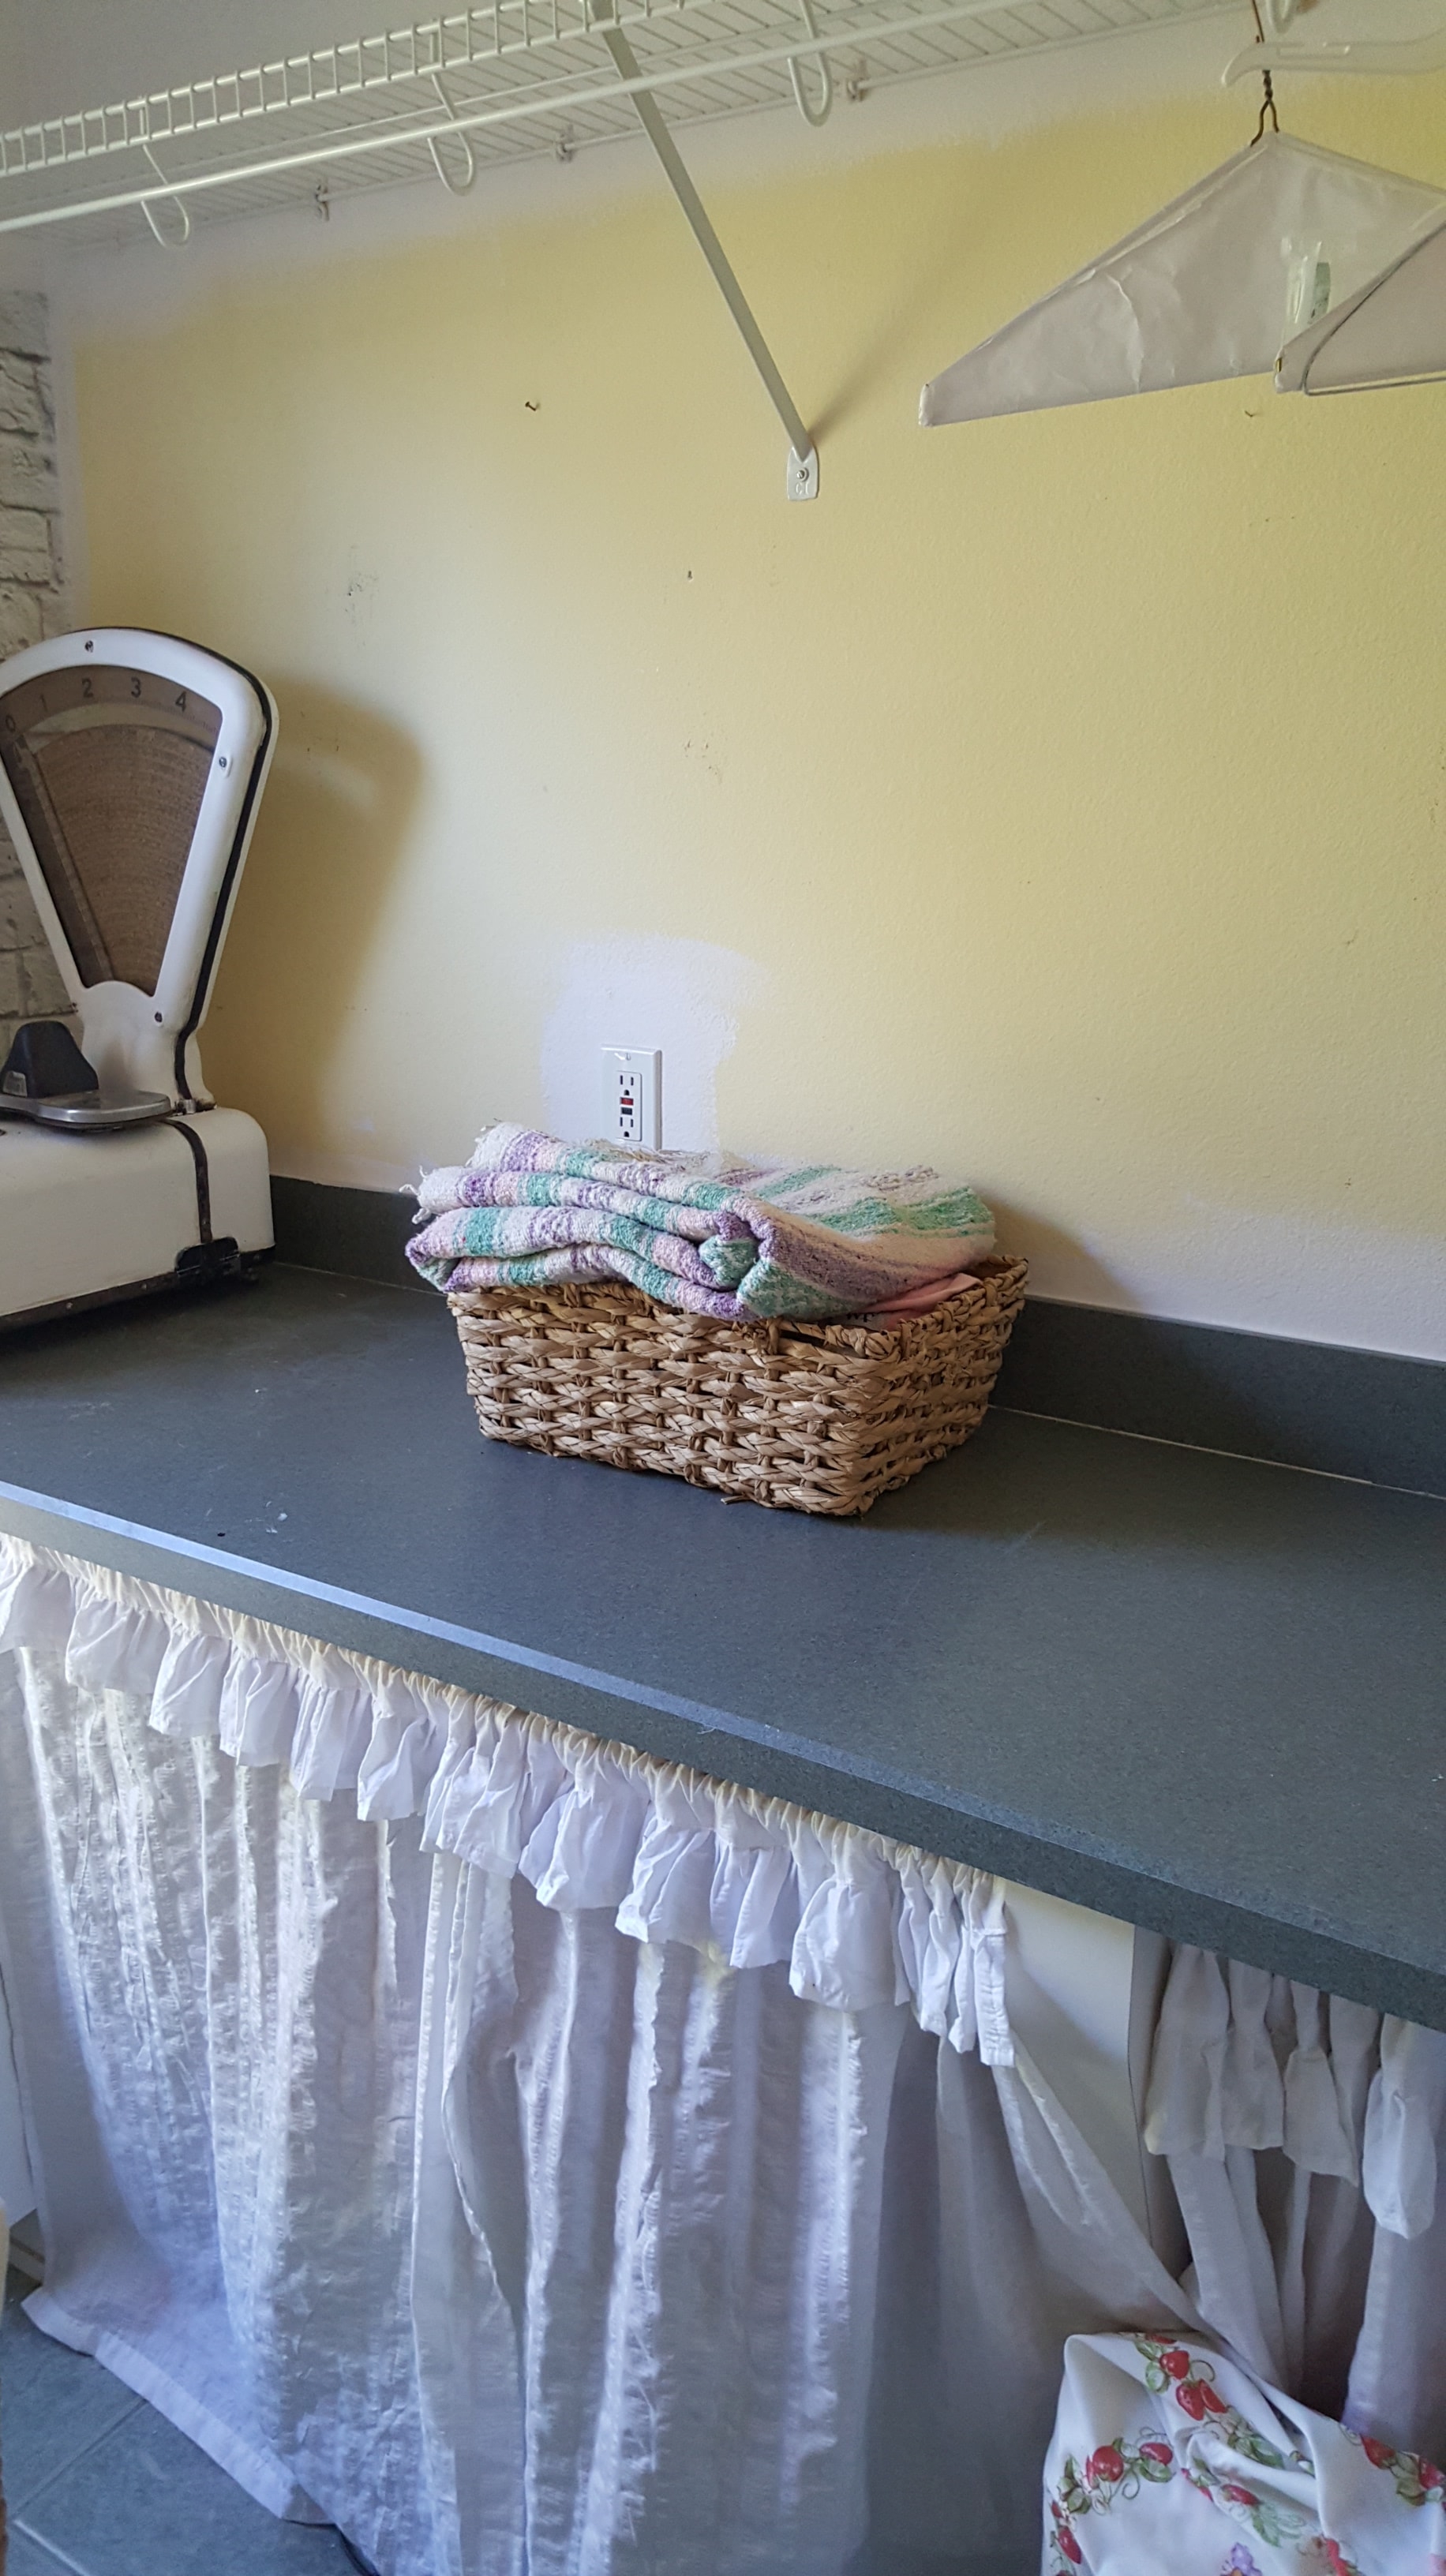
Here’s the ugly Before…
During…laying the pattern out.
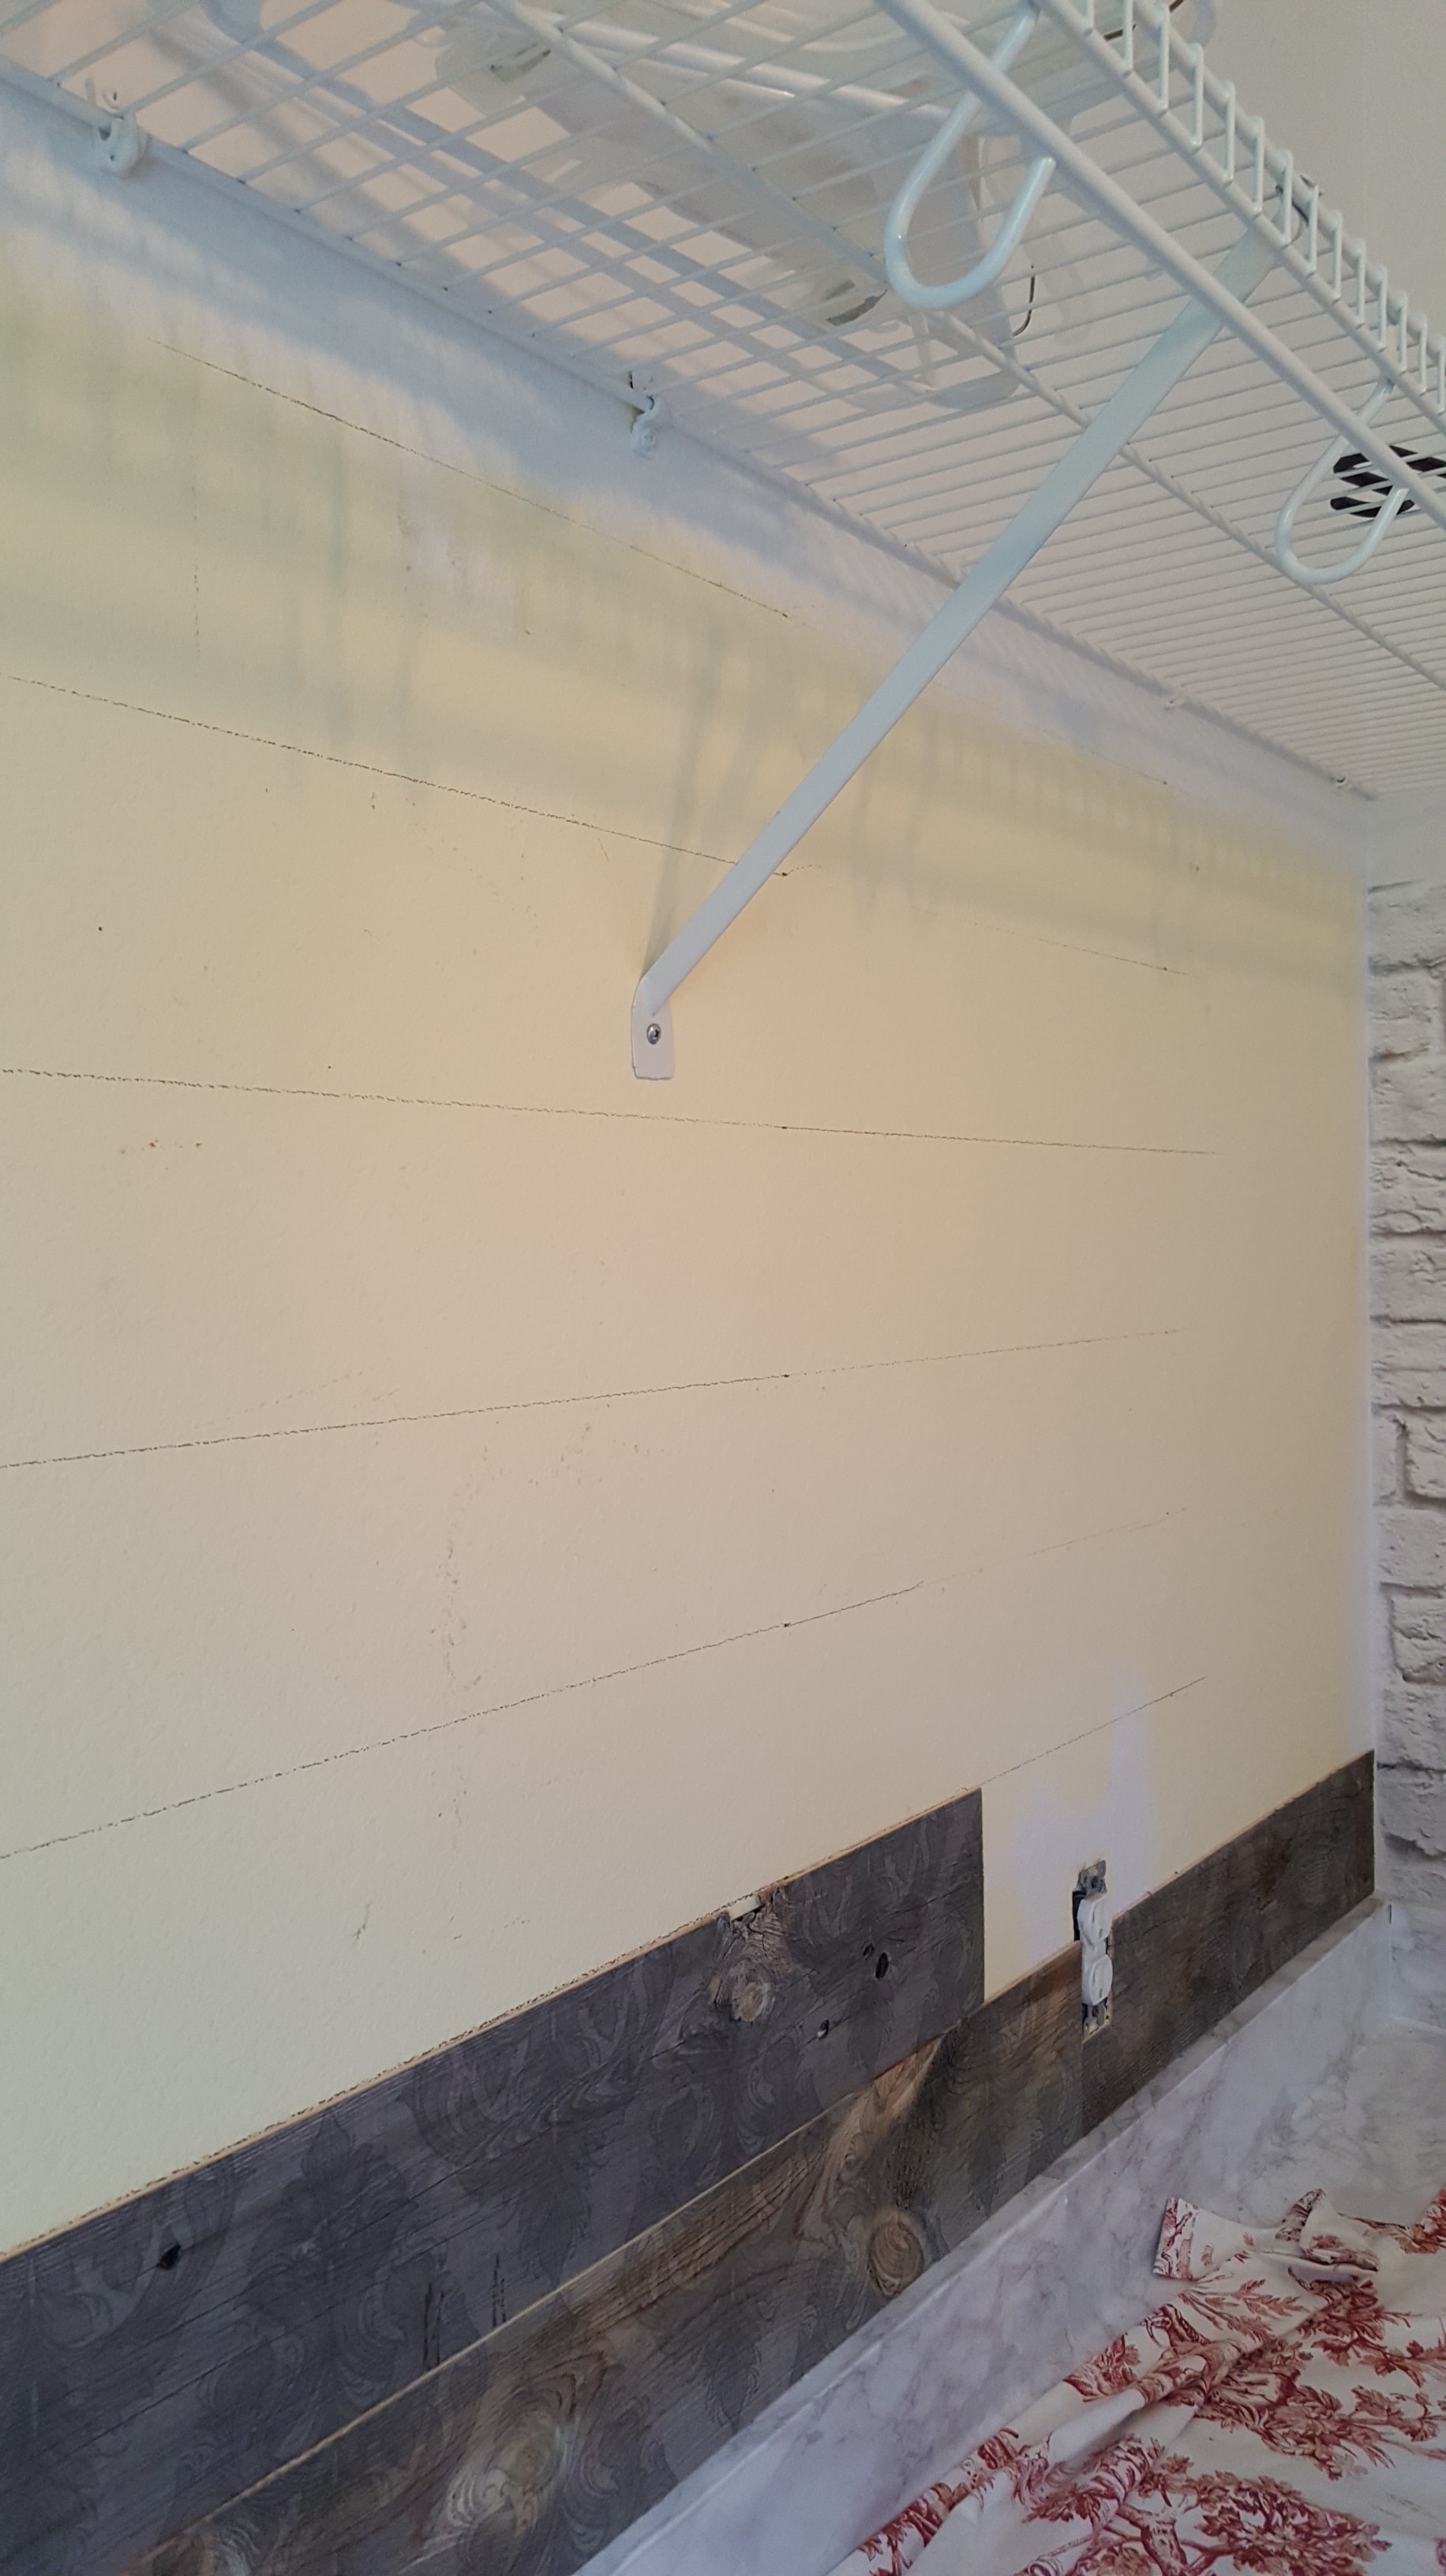
Here’s the gorgeous and so much better…After!
Beautiful Reflections
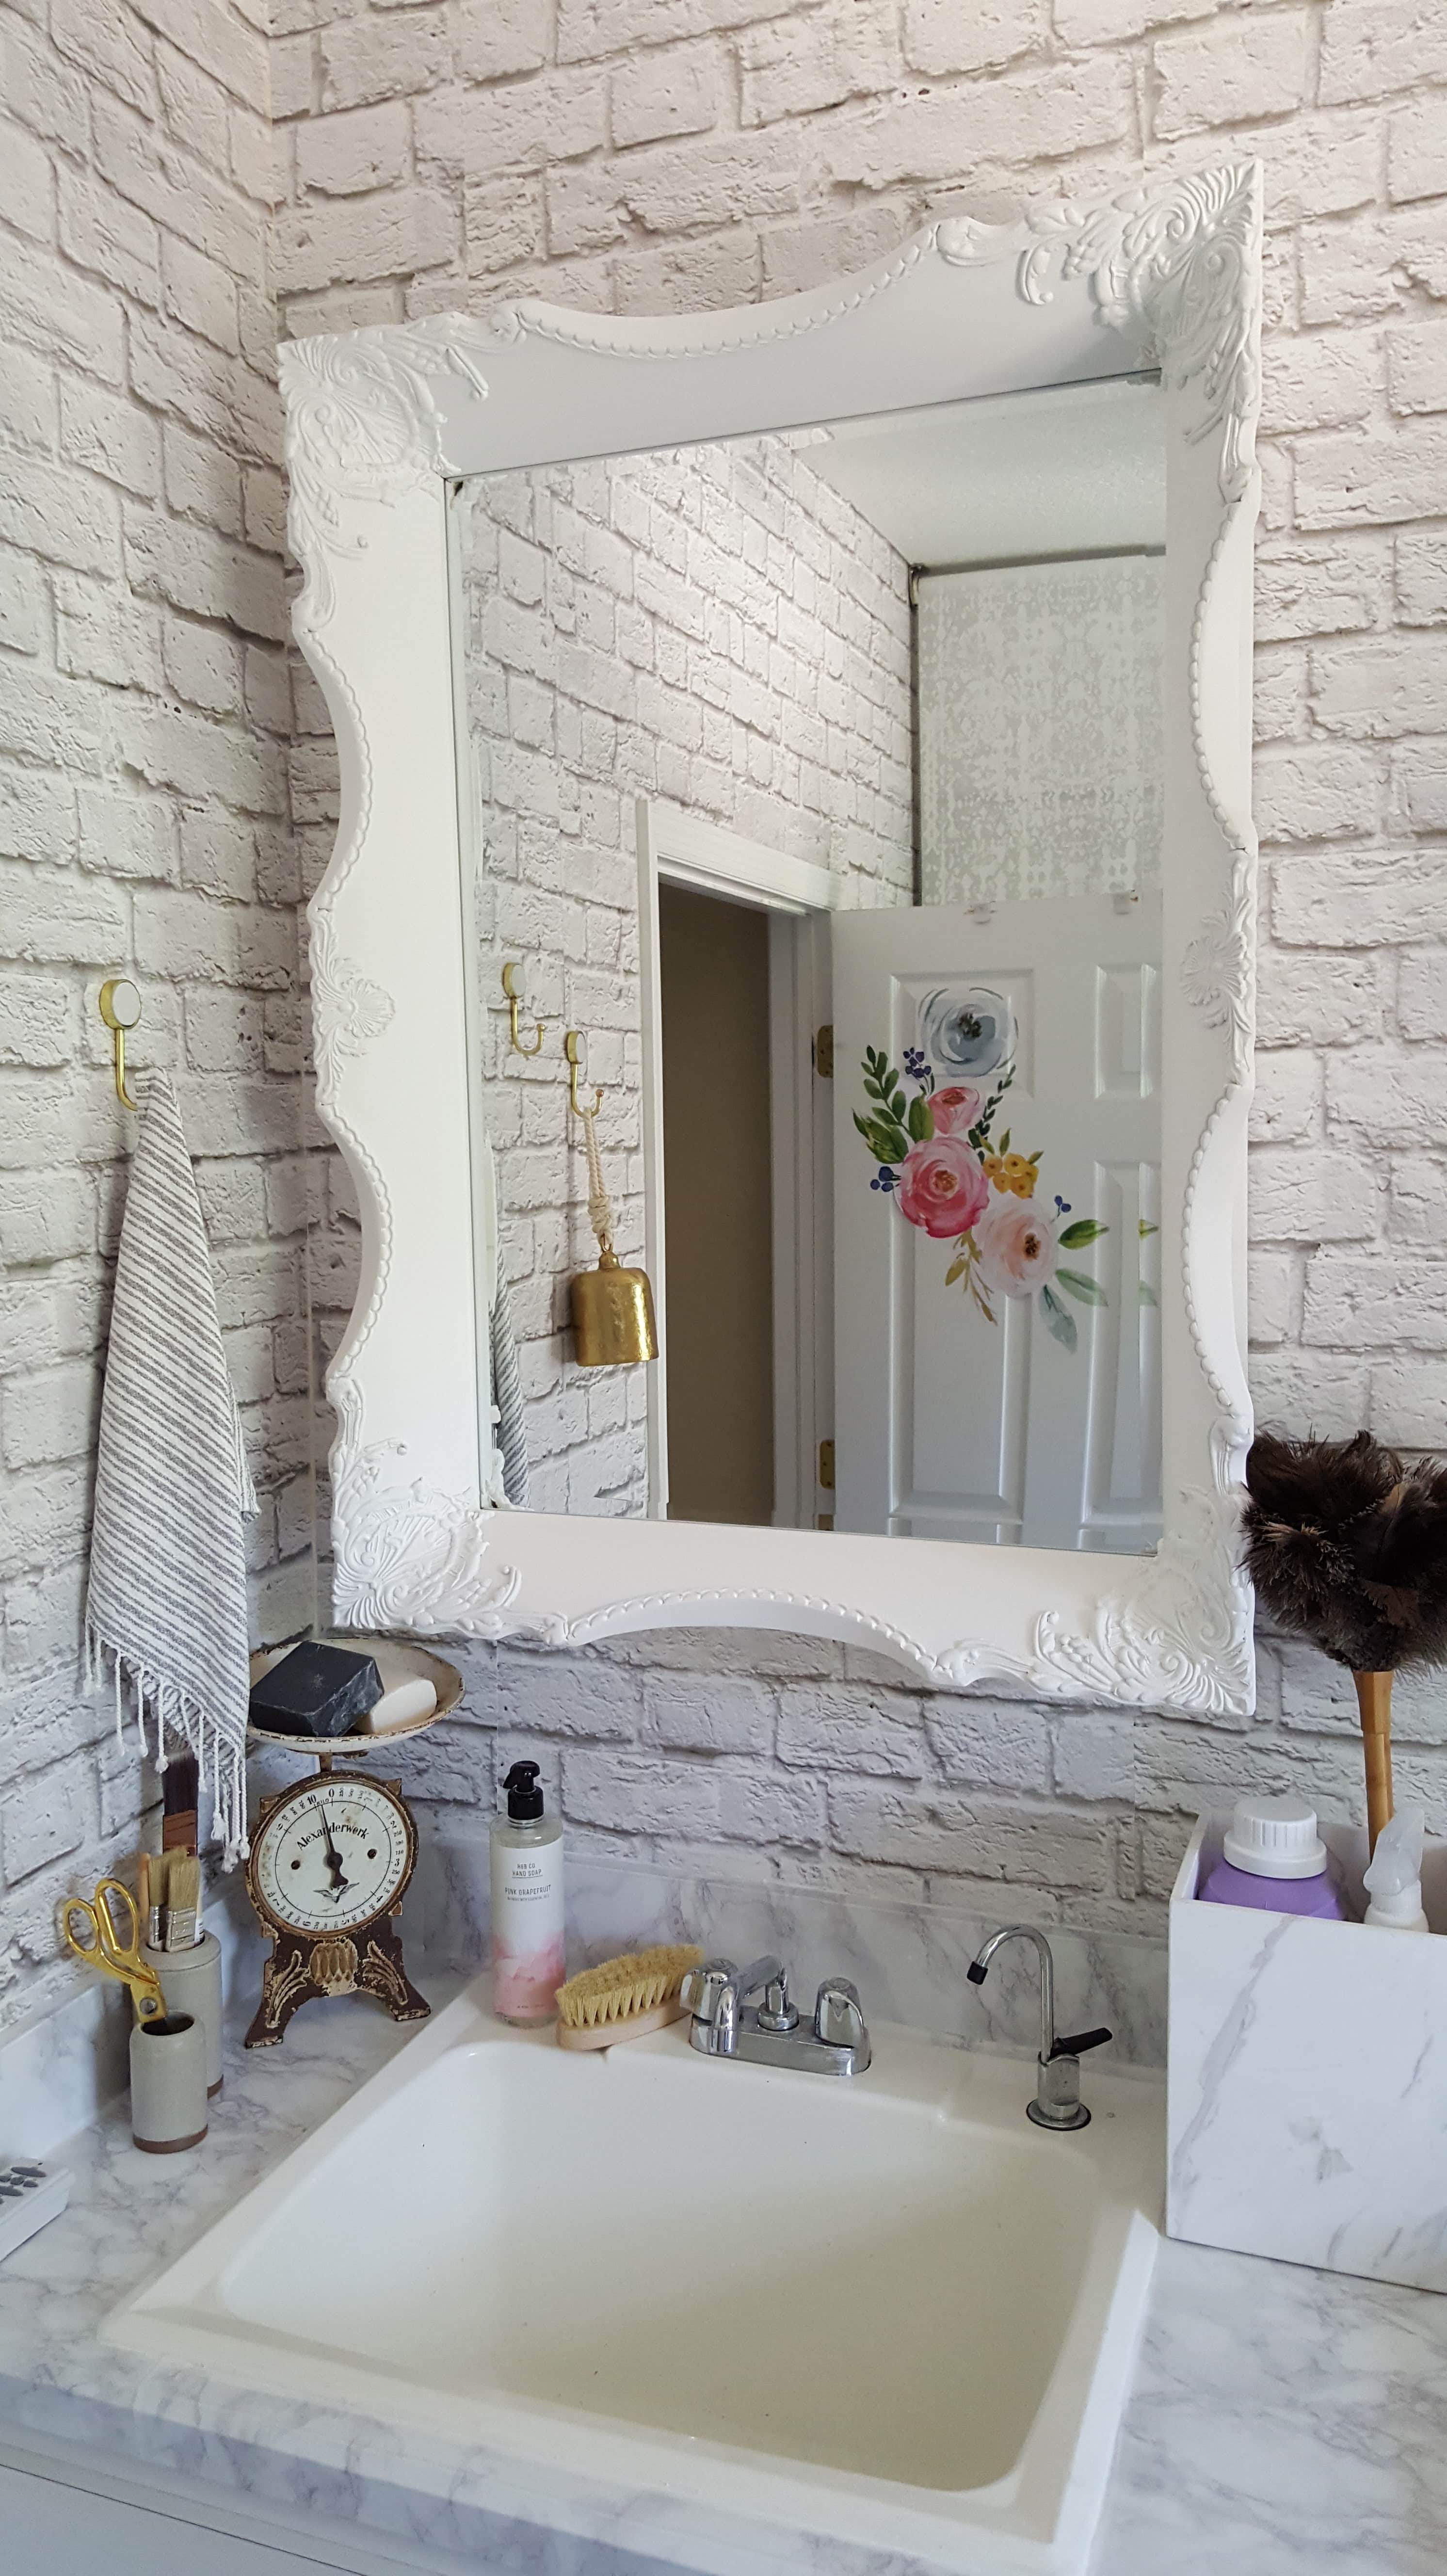
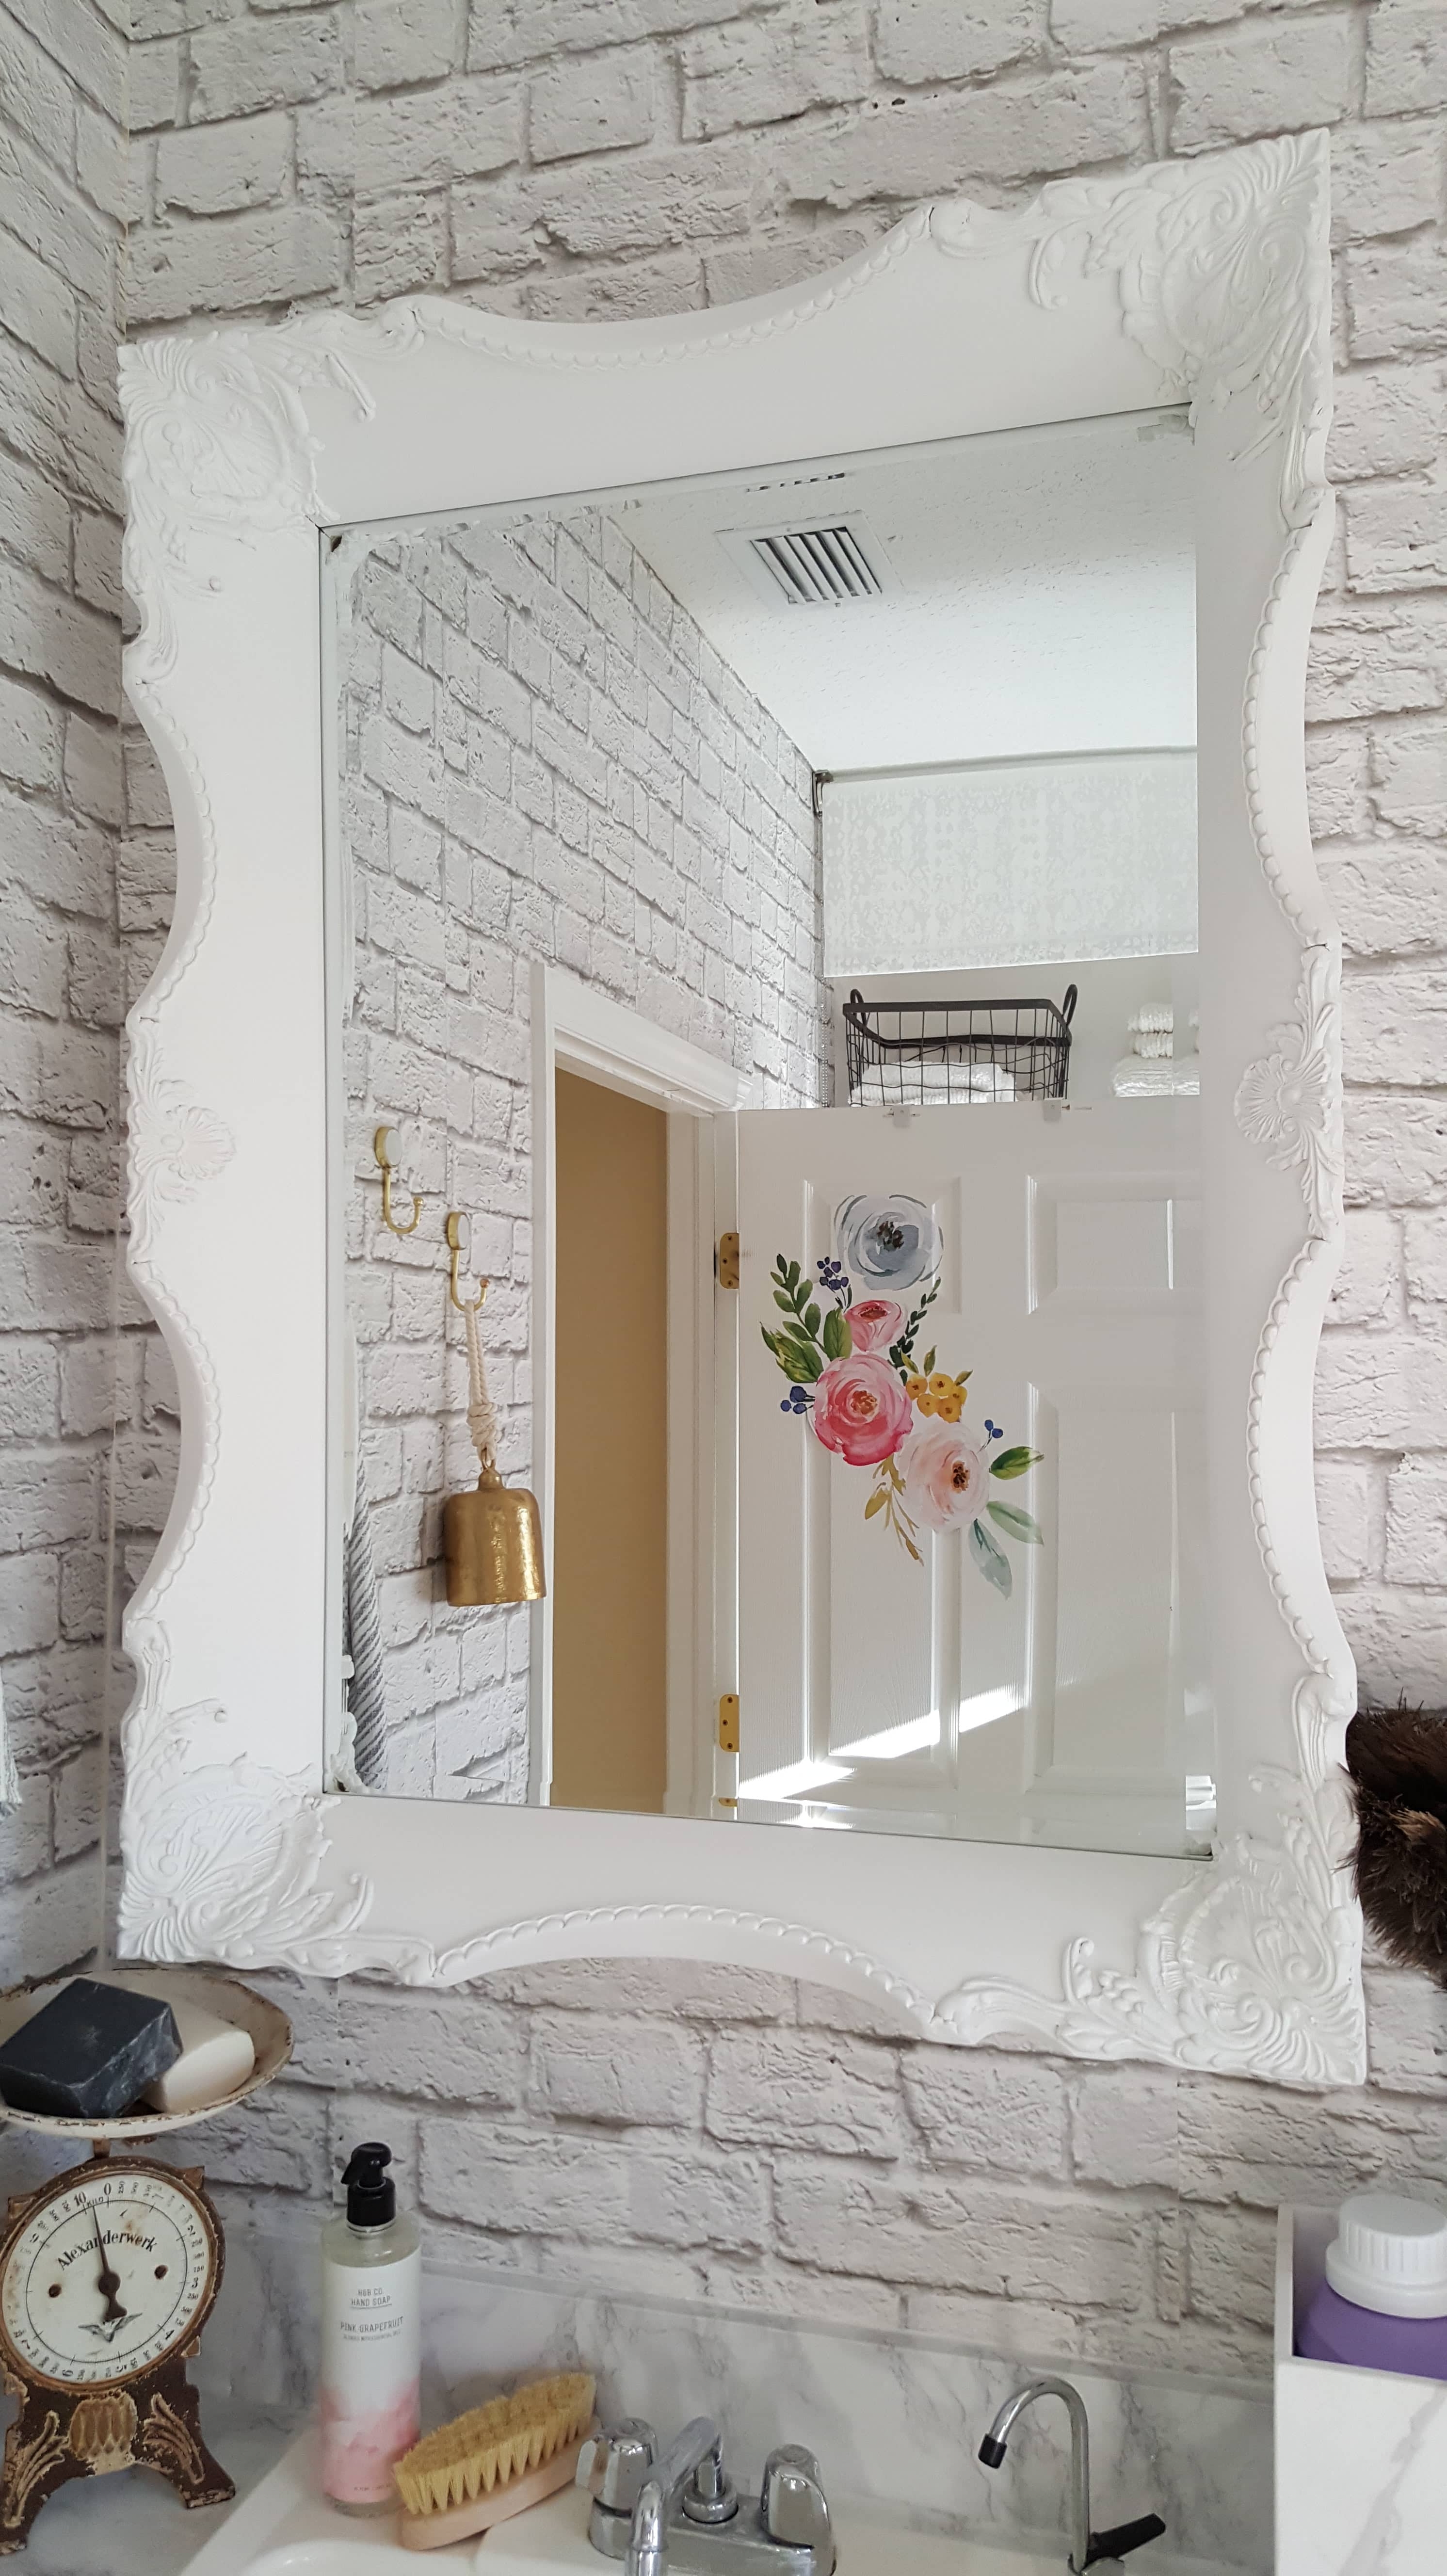
I knew I wanted to add a mirror in the space. Mirrors make a room look bigger, reflect the light and add the perfect touch to any space. When I received the White Danielle Mirror from Selections by Chaumont I was impressed, to say the least. The box was bigger than me! I had no idea it would be so incredibly big and heavy. This is a mirror!!! Gorgeous in every way. I was concerned how we would hang it. Mr. BeesNBurlap and I have a saying…I design, he engineers! It works out great! He asked me where I wanted it and I left him to it. You may be wondering what kind of tip I can give you for hanging a mirror? Well, I have one. 🙂
Mr. BeesNBurlap was so excited to have found this handy little picture hanging sytem …it even includes a level..and it made all the difference! He said I had to tell everyone about it…hey, he’s the Engineer!
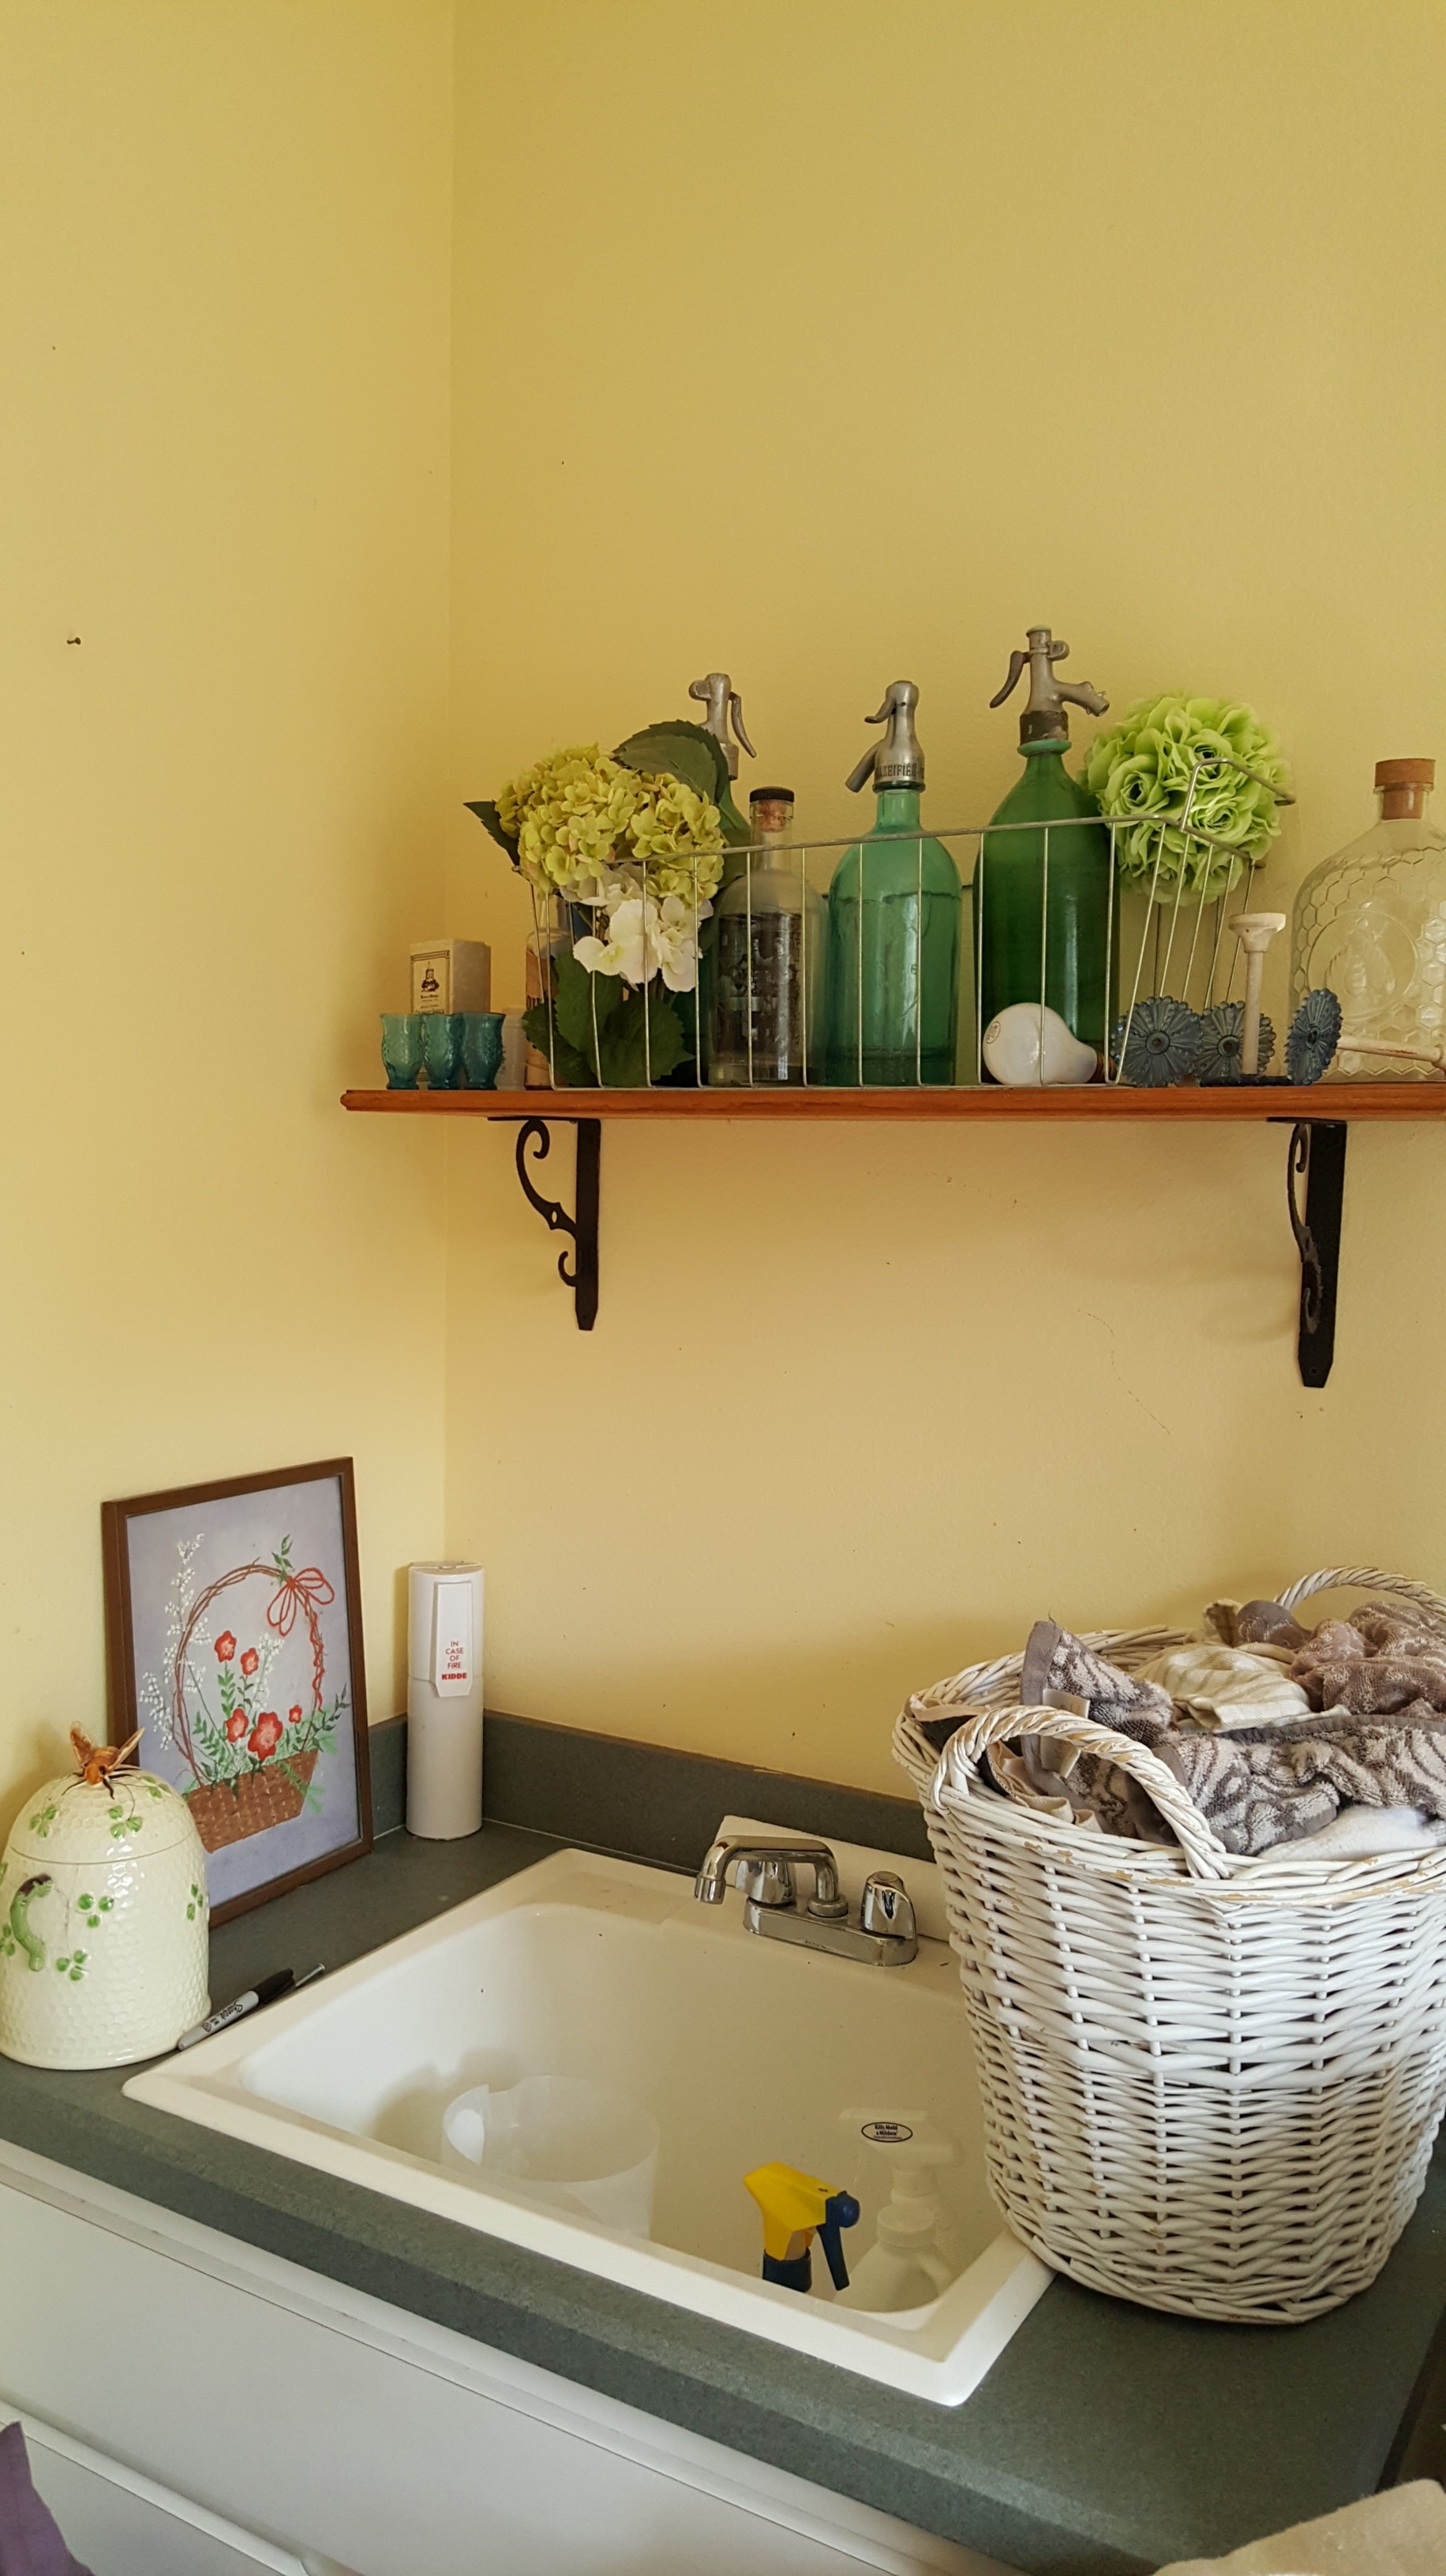
Last but not least…the really messy and ugly Before.
And the amazing After!
Stylish Storage
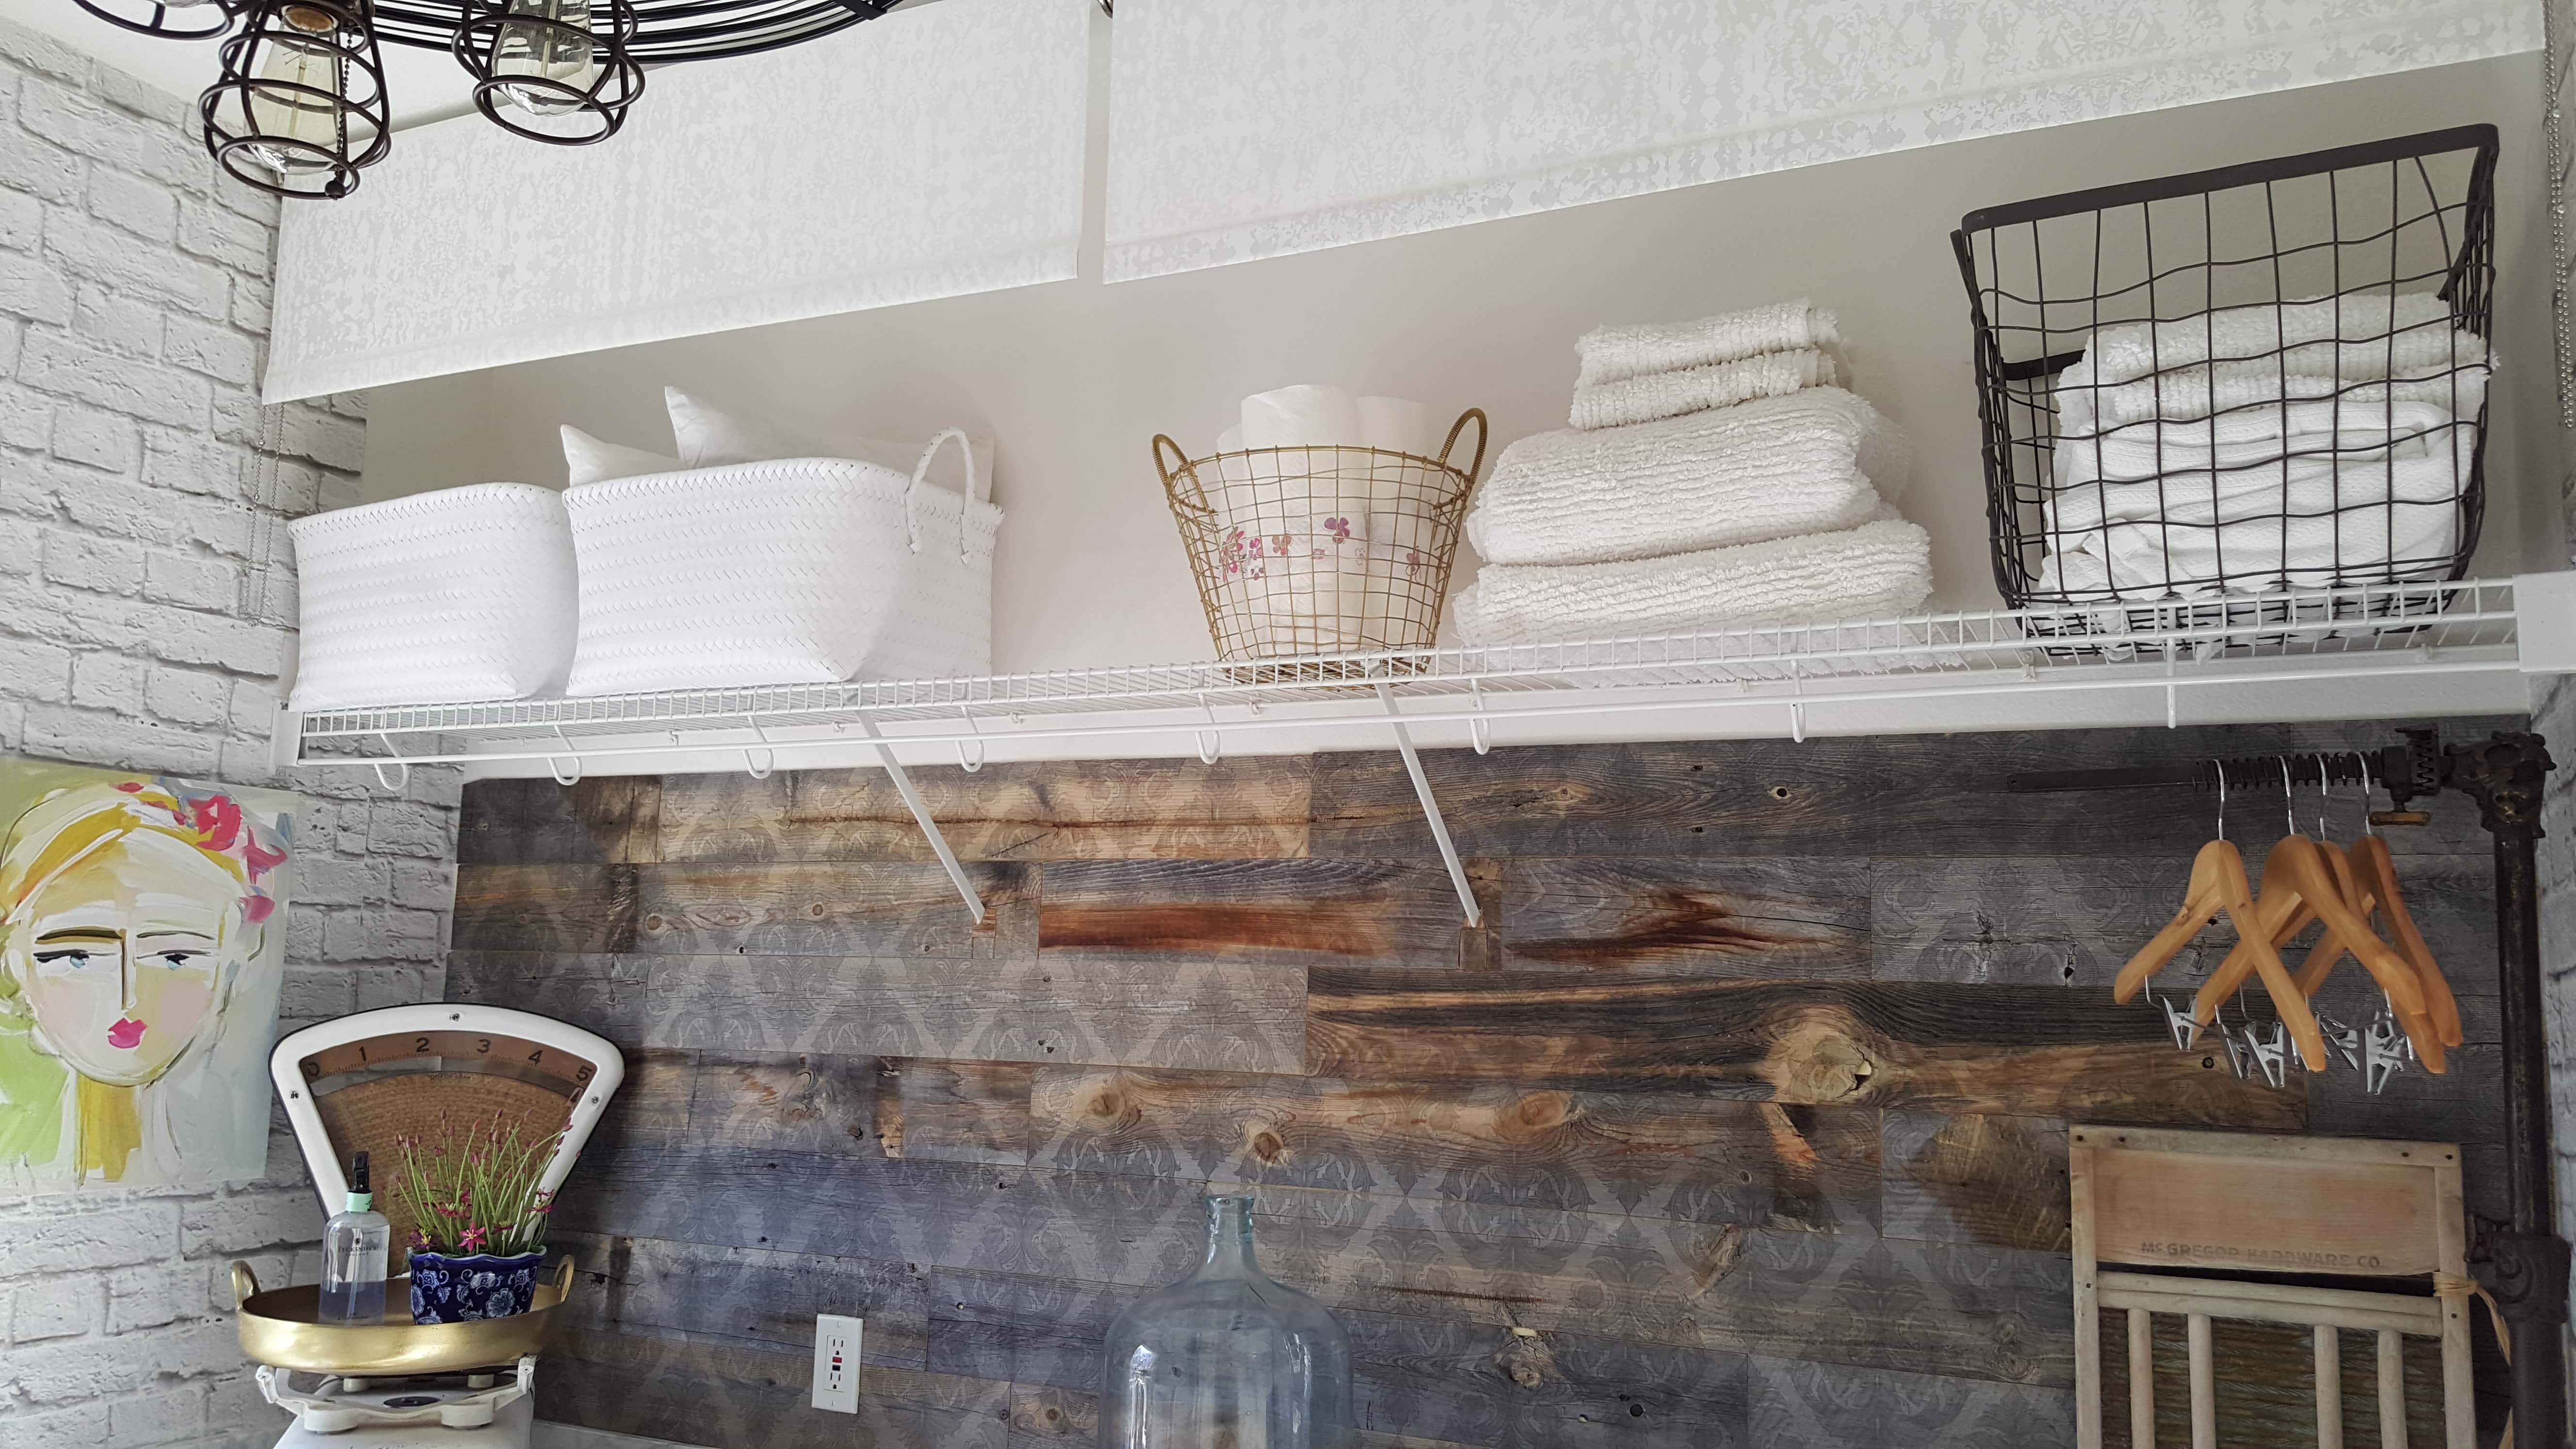
Like so many of you, I’m sure you have “stuff” and lots of things you don’t necessarily want to be seen but need to store. The reality is, I need storage and couldn’t just wipe the room clean. With the help of The Shade Store, I was able to conceal the “stuff” with style.
Here are a few suggestions…
- Choose a fabric that is will work with dust. You know how the dryer tends to give off a little, no matter how clean you keep the filter! So I chose a nice roller shade with a wipeable material, instead of a woven material.
- For a large area like our top shelving area, I used two shades instead of one long one. It allows for easier use and access.
Before…

The gorgeous After…
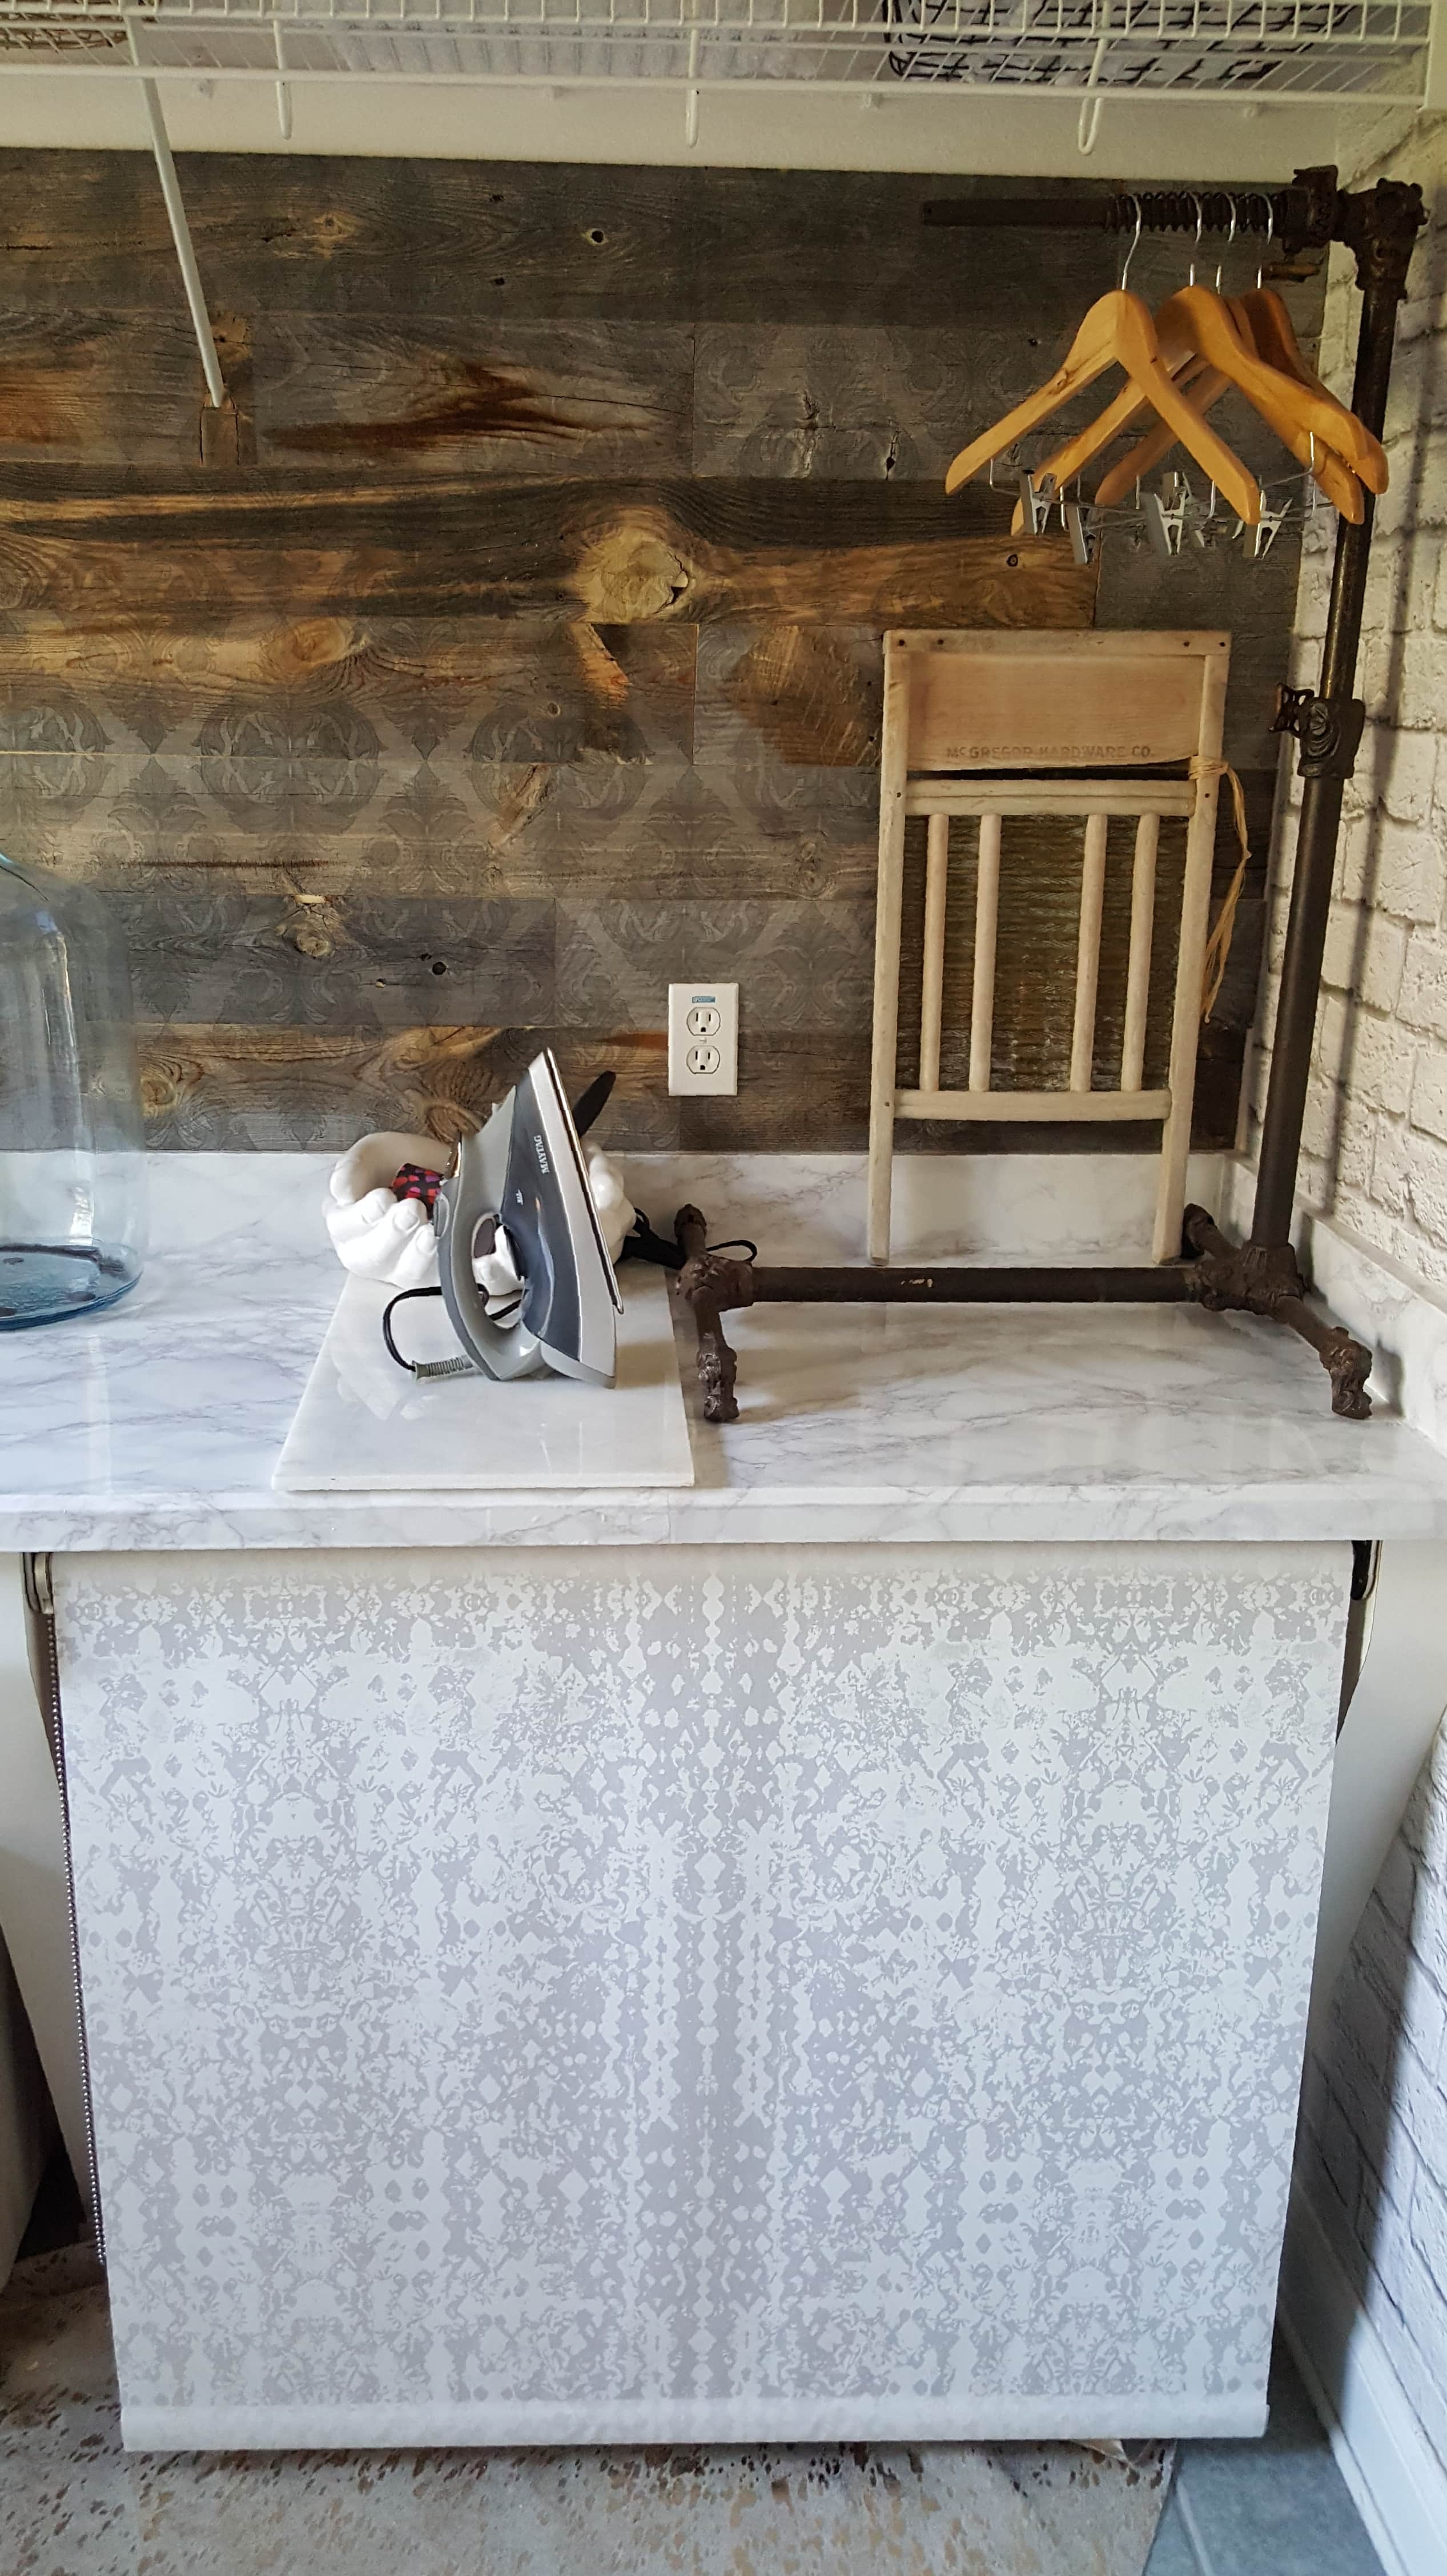
One thing I loved about working with The Shade Store was the selection they have. If you want to see more of my favorites click here 😉
Well, that’s it…my final words of wisdom, I hope they help. 🙂 Just remember, if I can do it…you can too! Don’t forget to bribe the family and friends. My family was amazing, they helped, they put up with the chaos and most of all they’ve kept it perfectly clean ever since.
Be sure to check out my Full Reveal here to see all the details and more pictures of my Urban Industrial Vintage Laundry Room. You can even start at the beginning and see the progression with Week 1, Week 2, Week 3, Week 4 and Week 5. If you have any questions, feel free to comment below. I hope my tips have helped you. I can’t stress enough…READ all the instructions before you start. I highly recommend all of these companies and I hope you check them out. I can’t wait to work with them again!
I’d love for you to follow me here on my Blog, Instagram, Pinterest, and Facebook!!
Take care until next time!

 Shop The House Design Challenge – Fall Edition, Week 4
 Paint Your Stone Fireplace for a Whole New Look! Easy DIY!
 New Look for the New Year – A Modern Eclectic Living Room Refresh

Your urban industrial vintage laundry room makeover is awesome and thanks for sharing these great tips & tricks.
Thank you so much! I’m so glad you enjoyed it and I appreciate you leaving a comment!