Metal Cart Makeover…The Ugly Duckling Story
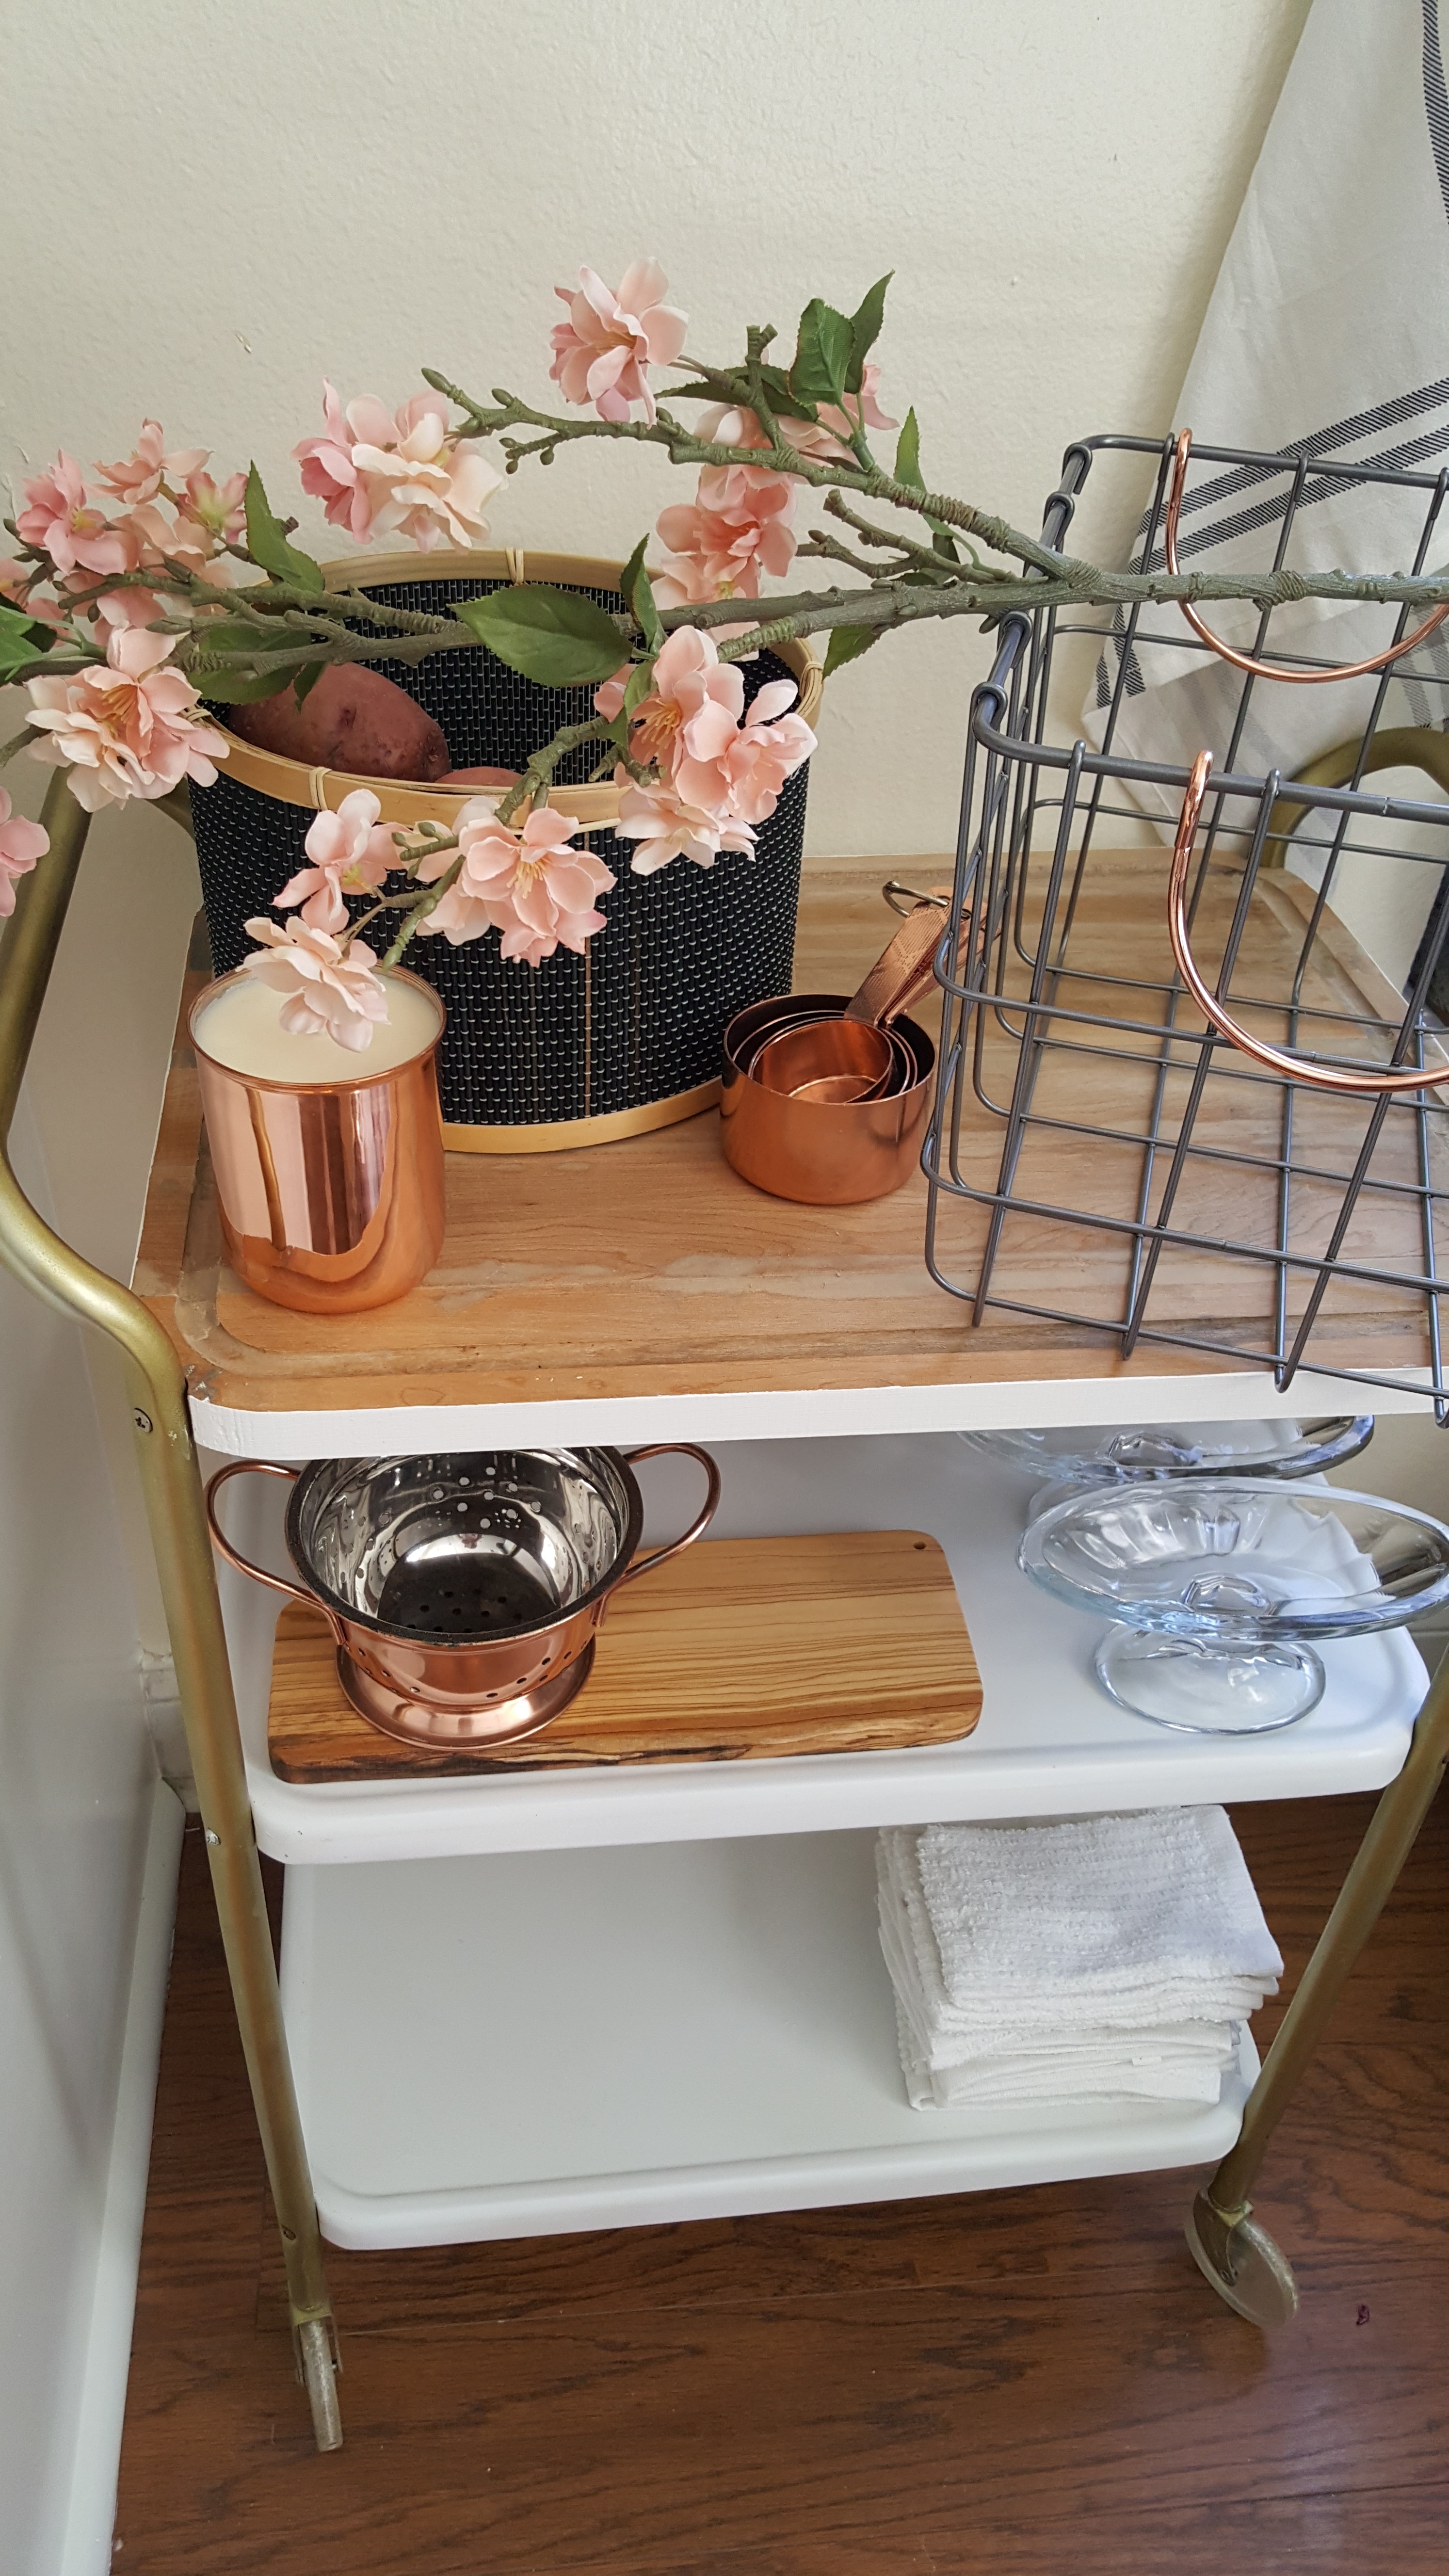
You know those cute vintage metal carts that have become “all the rage” lately? Well, I found an adorable one the other day. But, it had definitely seen better days.
While stopping in at my favorite thrift shop, I noticed this old cart with large acrylic wheels and a butcher block top. I don’t know what it is, but anything with wheels on it seems to grab my attention. Are you like that? I kept looking at this piece but eventually I went home without it. The truth is, I couldn’t stop thinking about it. It was so versatile and not too big so the possibilities were endless as to where I could use it. I decided that if it were at the shop the next time I went in, I’d buy it.
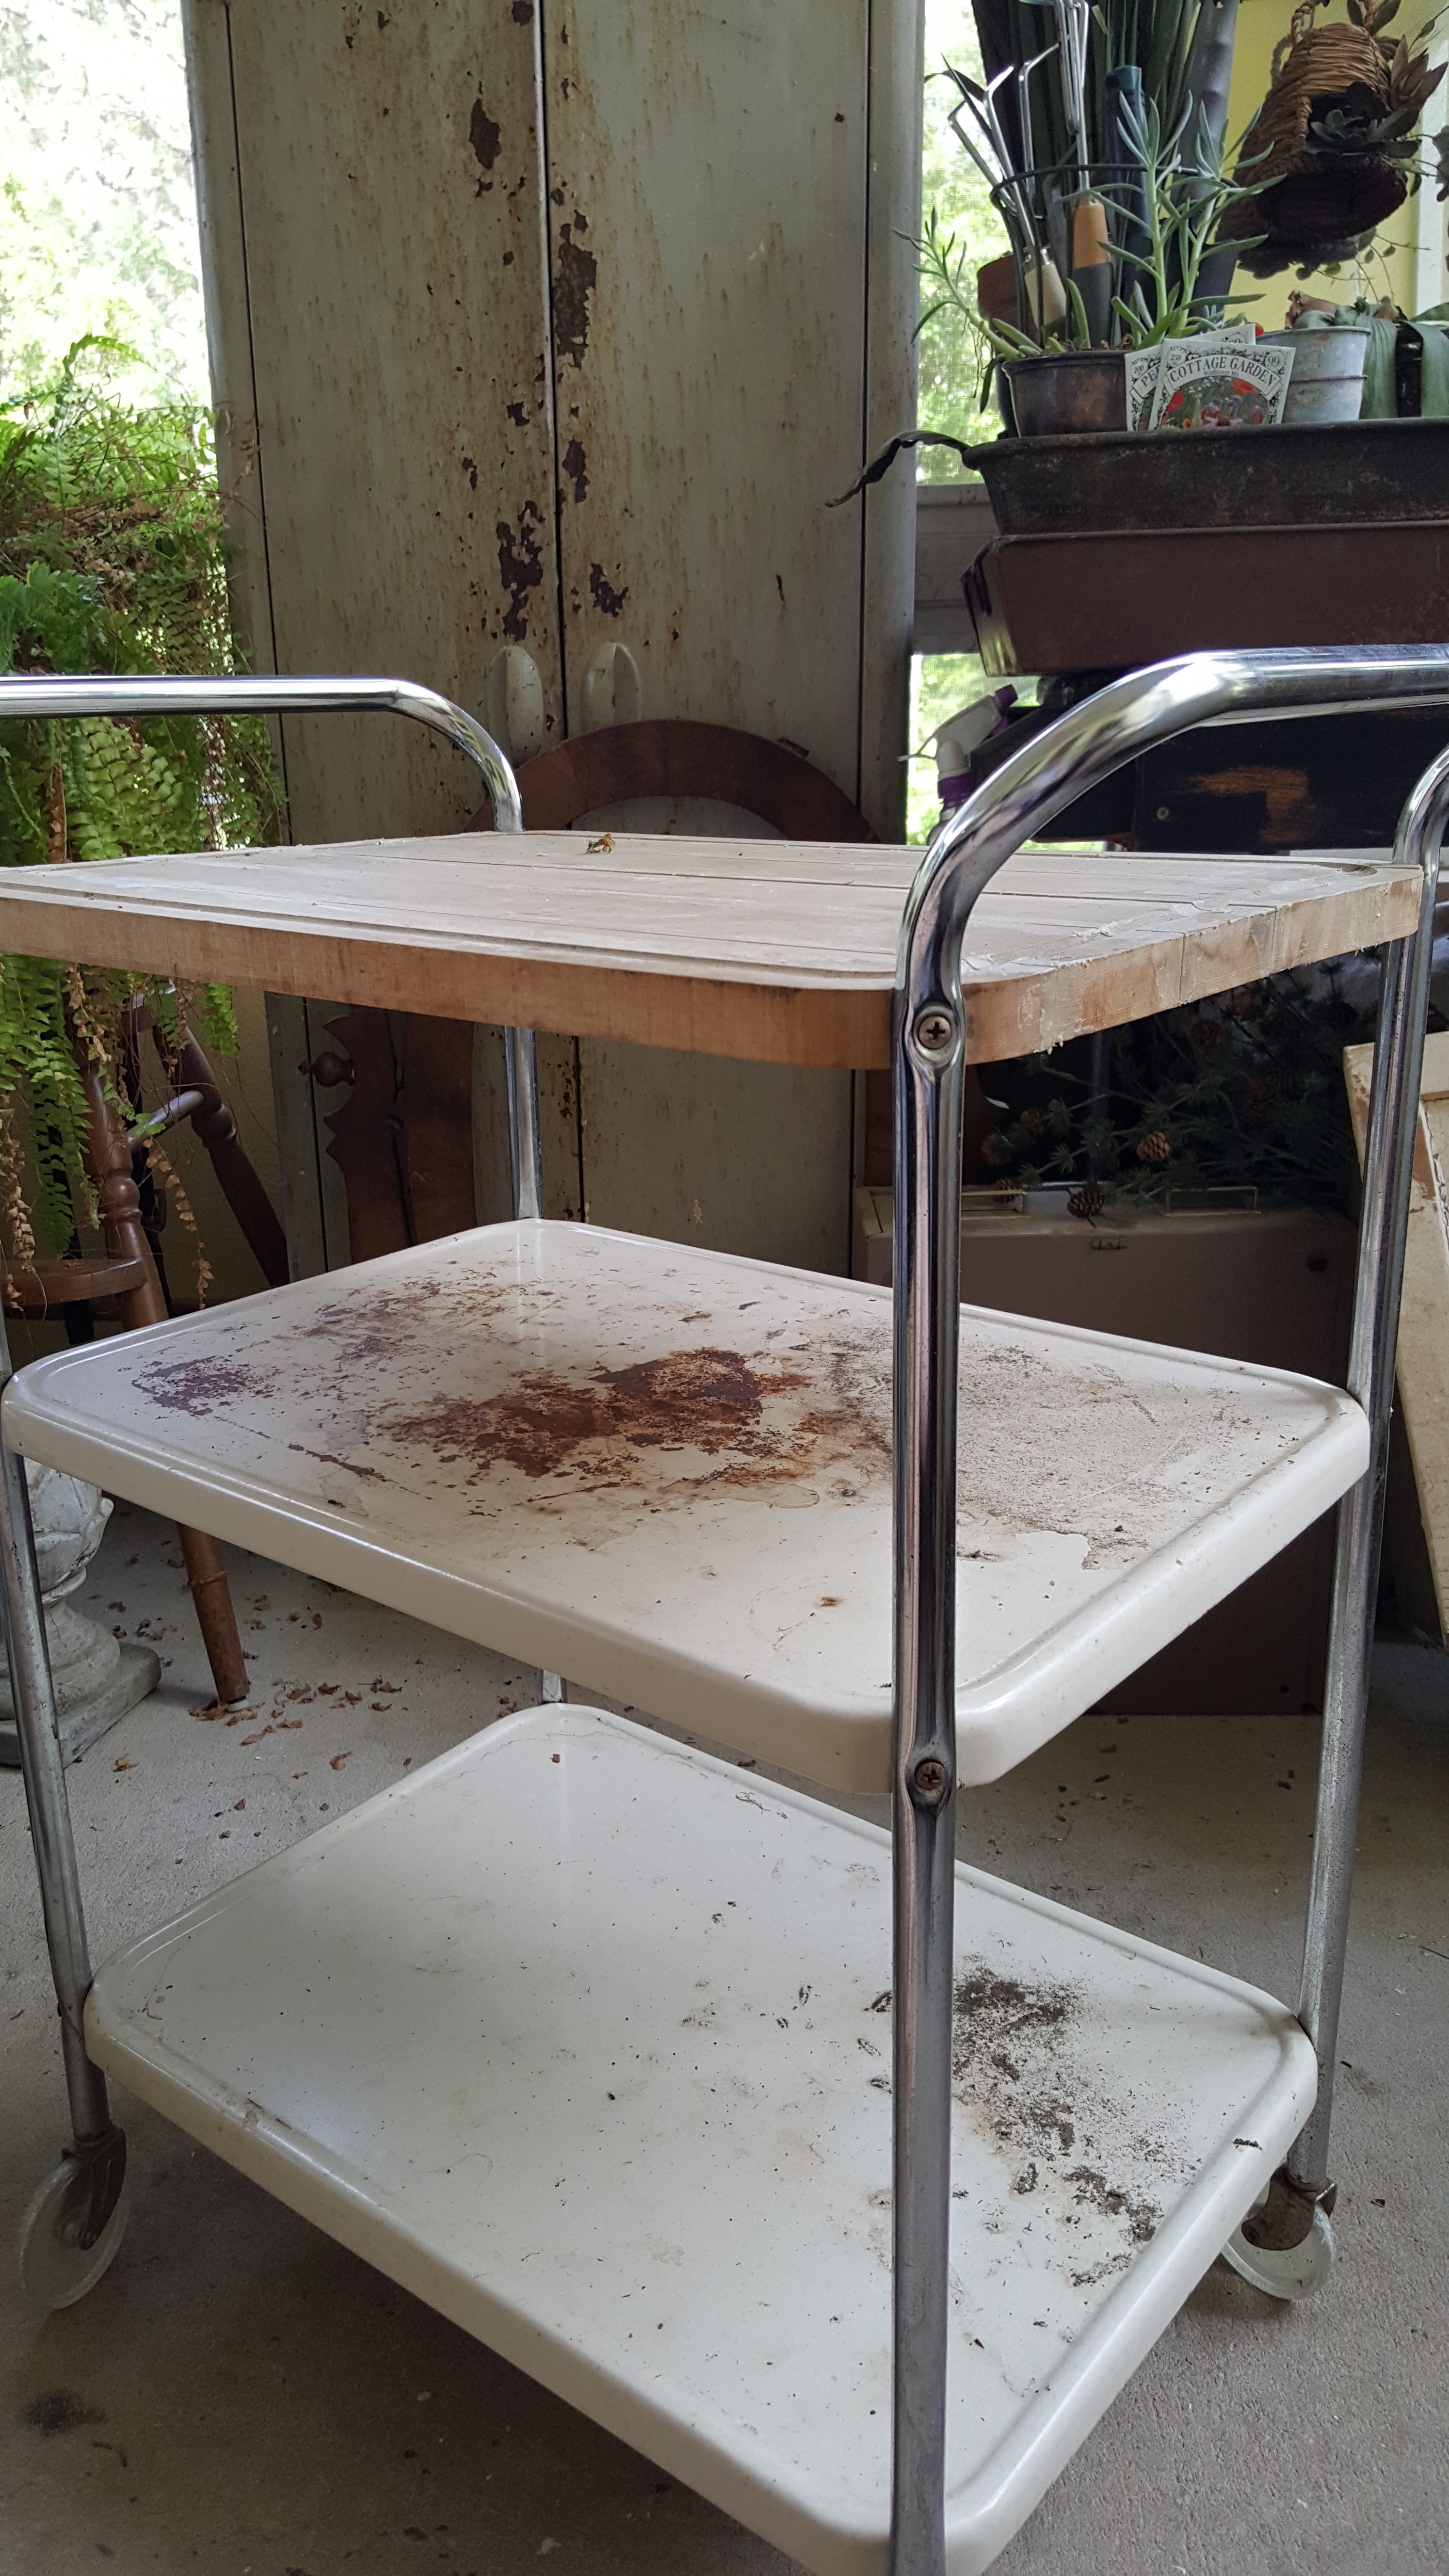
Of course, I made sure I went back the very next business day and there she was! Rusty, dirty and in need of someone to love her! I was that someone. 🙂 I got the owner of the shop to take even less than he was asking and I smiled all the way to my car with my Ugly Duckling.
Here is a list of items I used, all of which I had on hand:
- Prep Package (Bucket, rags, TSP cleaner, dropcloth (tablecloth) and a screwdriver)
- Sandpaper
- Painter’s Tape
- Old English Oil
- Wood Glue
- White and Gold Spray Paint
- Small amount of Latex Paint and Foam brush
The first thing I did was disassemble the cart and wipe it all down (including the wheels) with the TSP cleaner I had left over from my recent kitchen makeover job. That stuff works great for degreasing and really cleaning a surface before painting. Then I took wood glue and filled all the spaces in the wood on top. 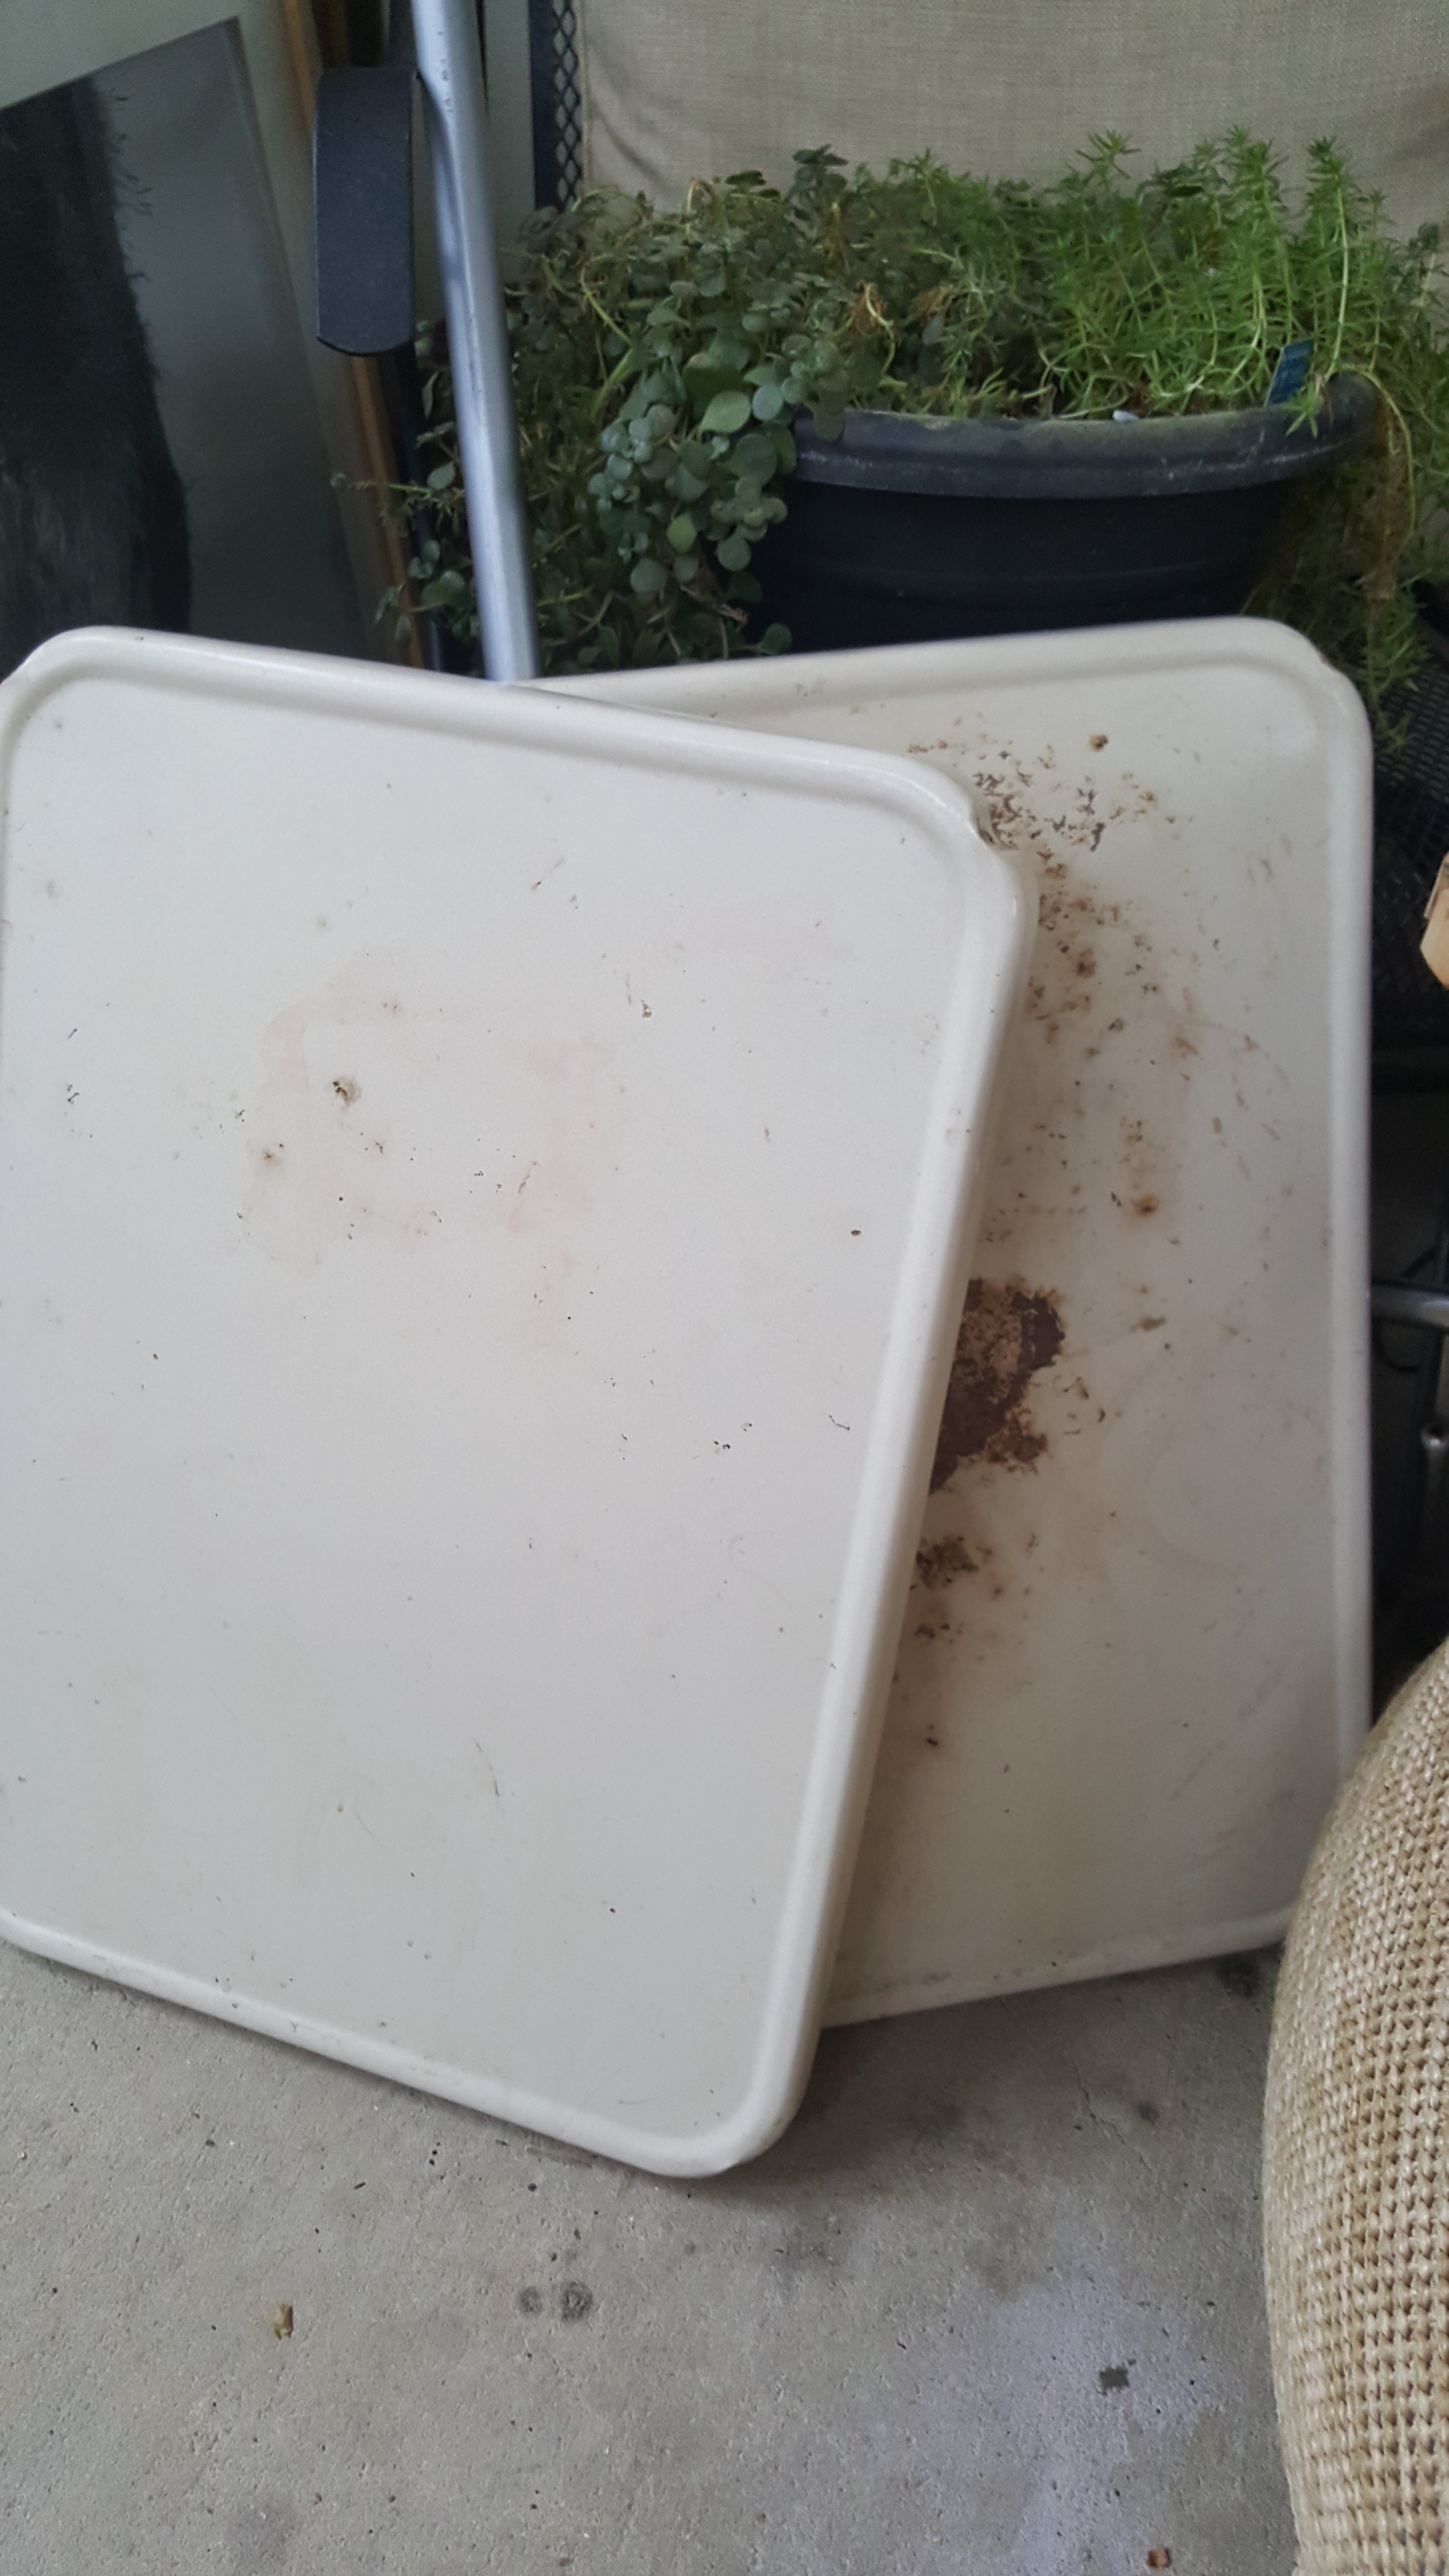
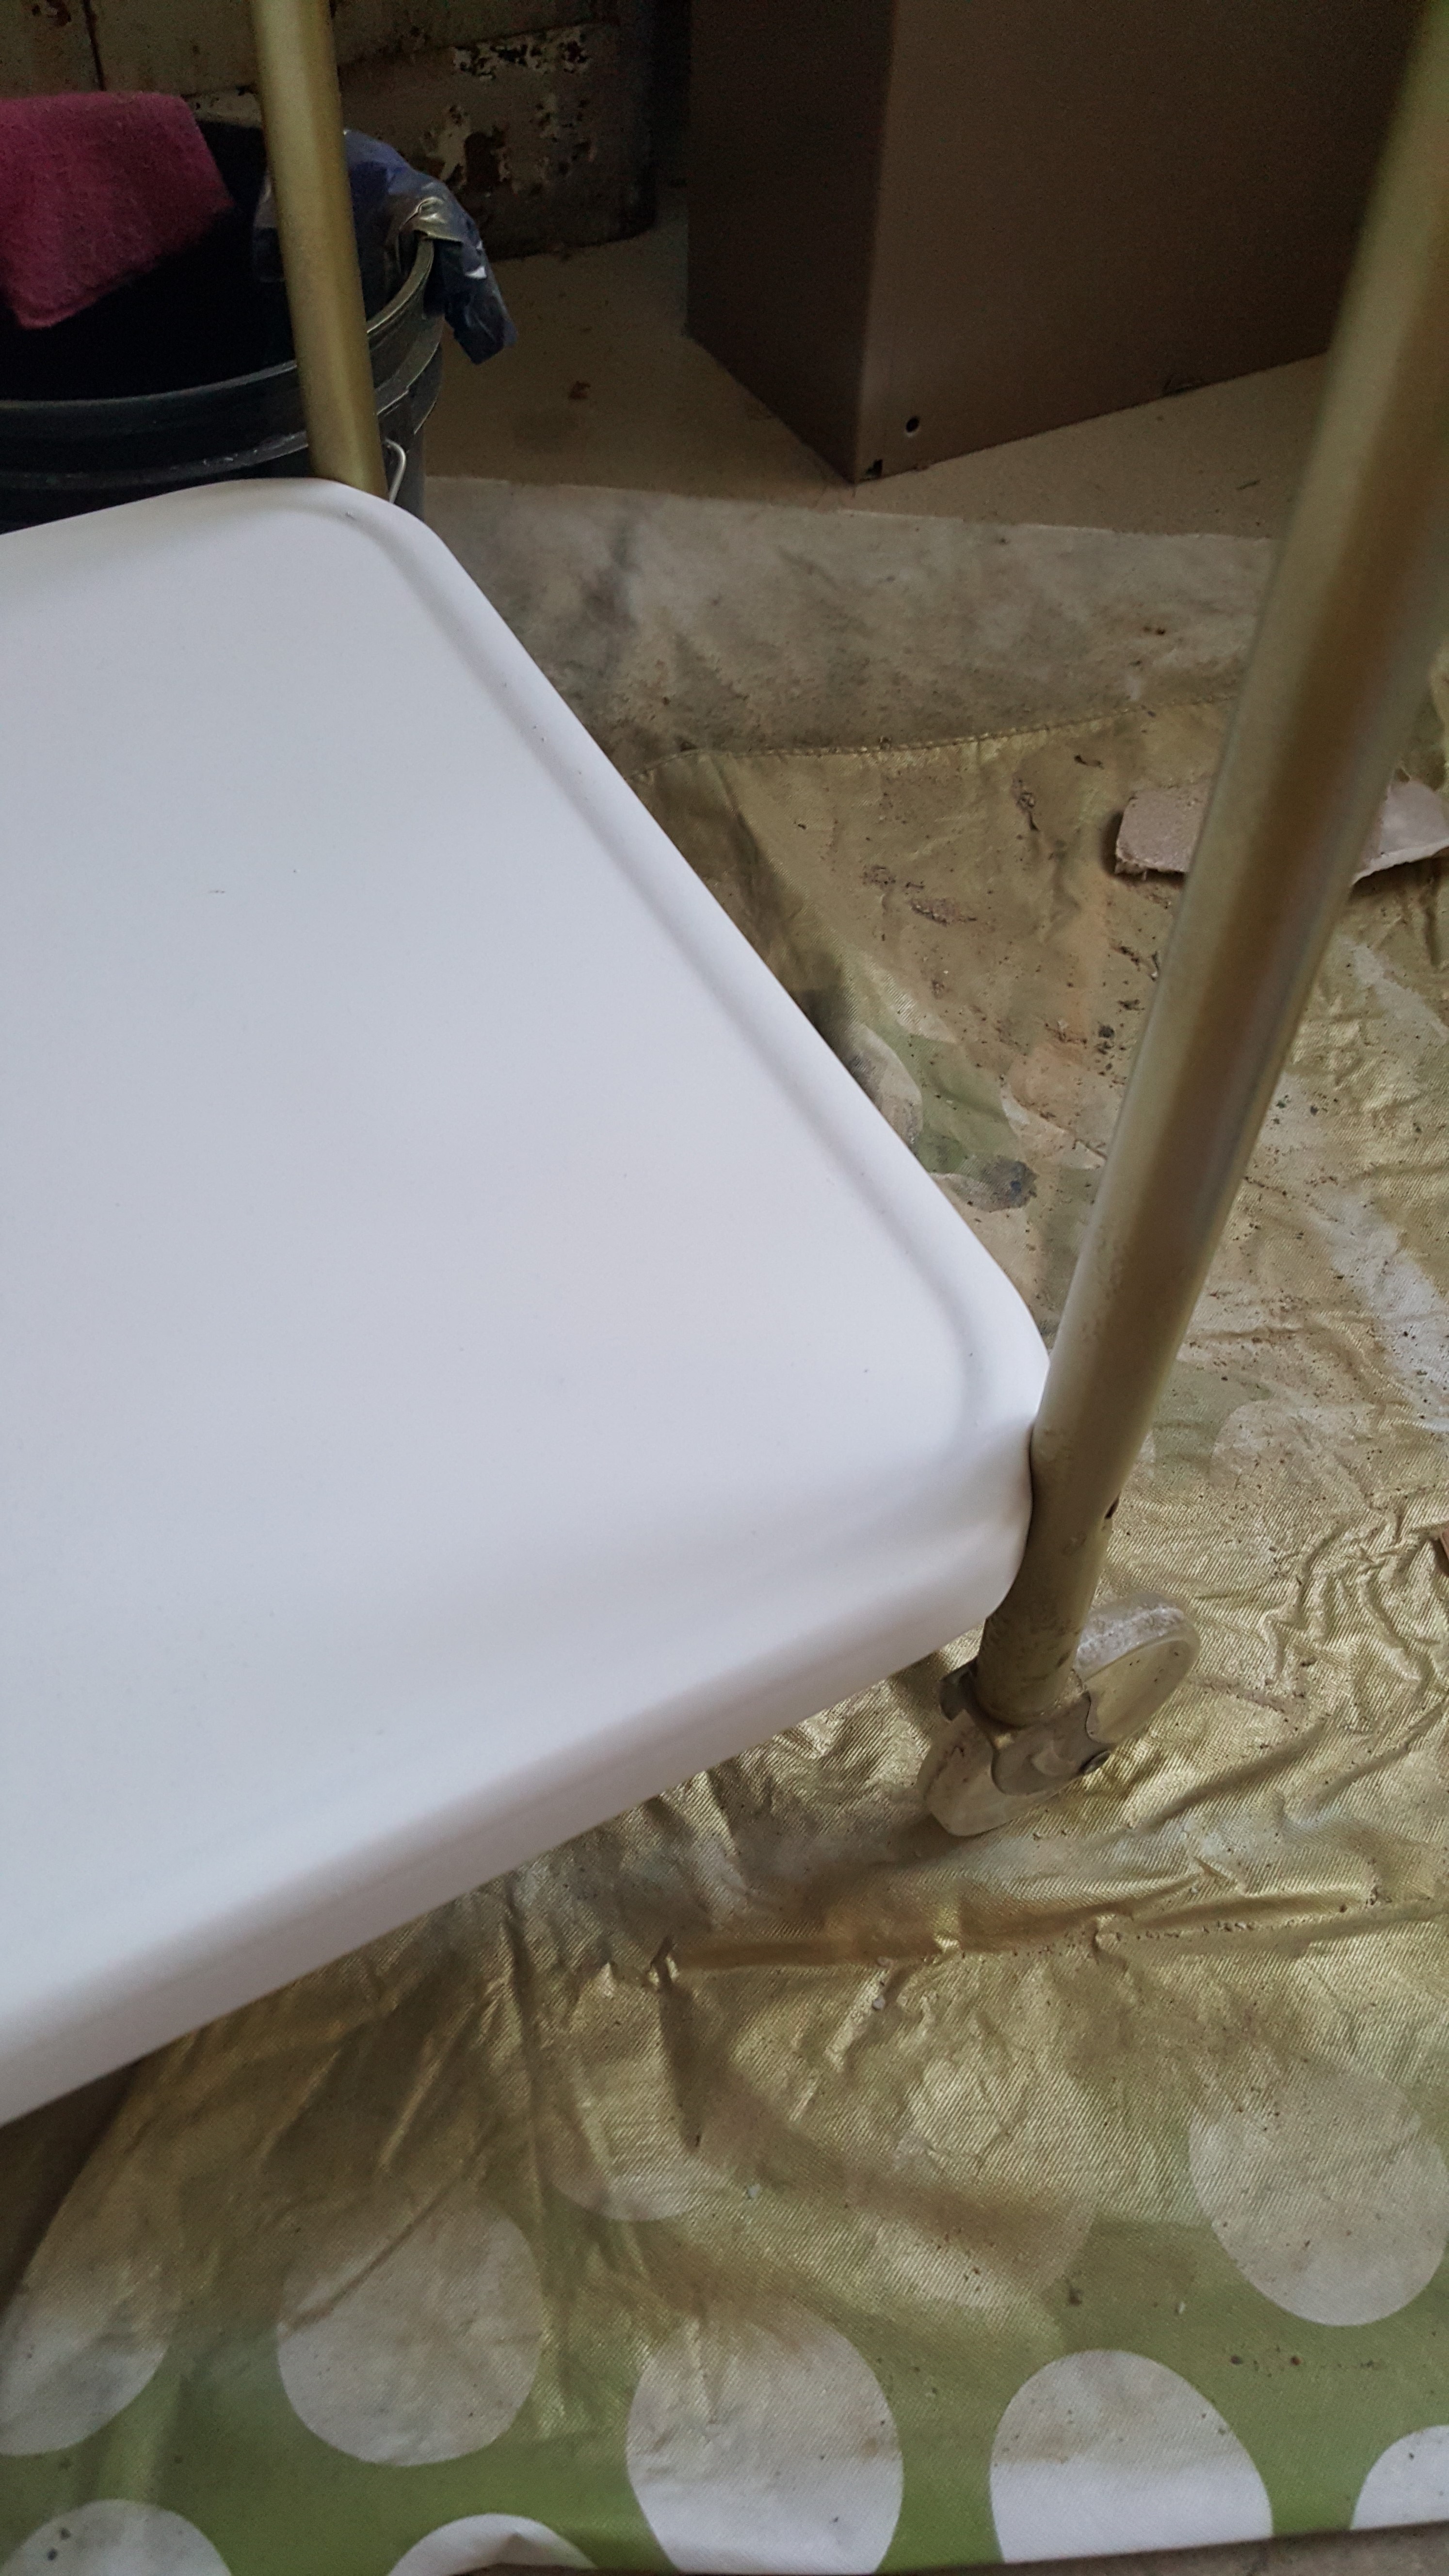
After the metal shelves were dry it was time to paint. I love using spray paint wherever I can. My favorite is Rustoleum’s 2x Ultra Coverage. I used a Semi Gloss White. I don’t have a workshop or painting space per se, but my back porch works just fine. For larger jobs that I’m spraying, I definitely go out on the driveway or to an open area. I laid out an old tablecloth and sprayed the shelves…2 coats, letting them dry in between. Look like new. 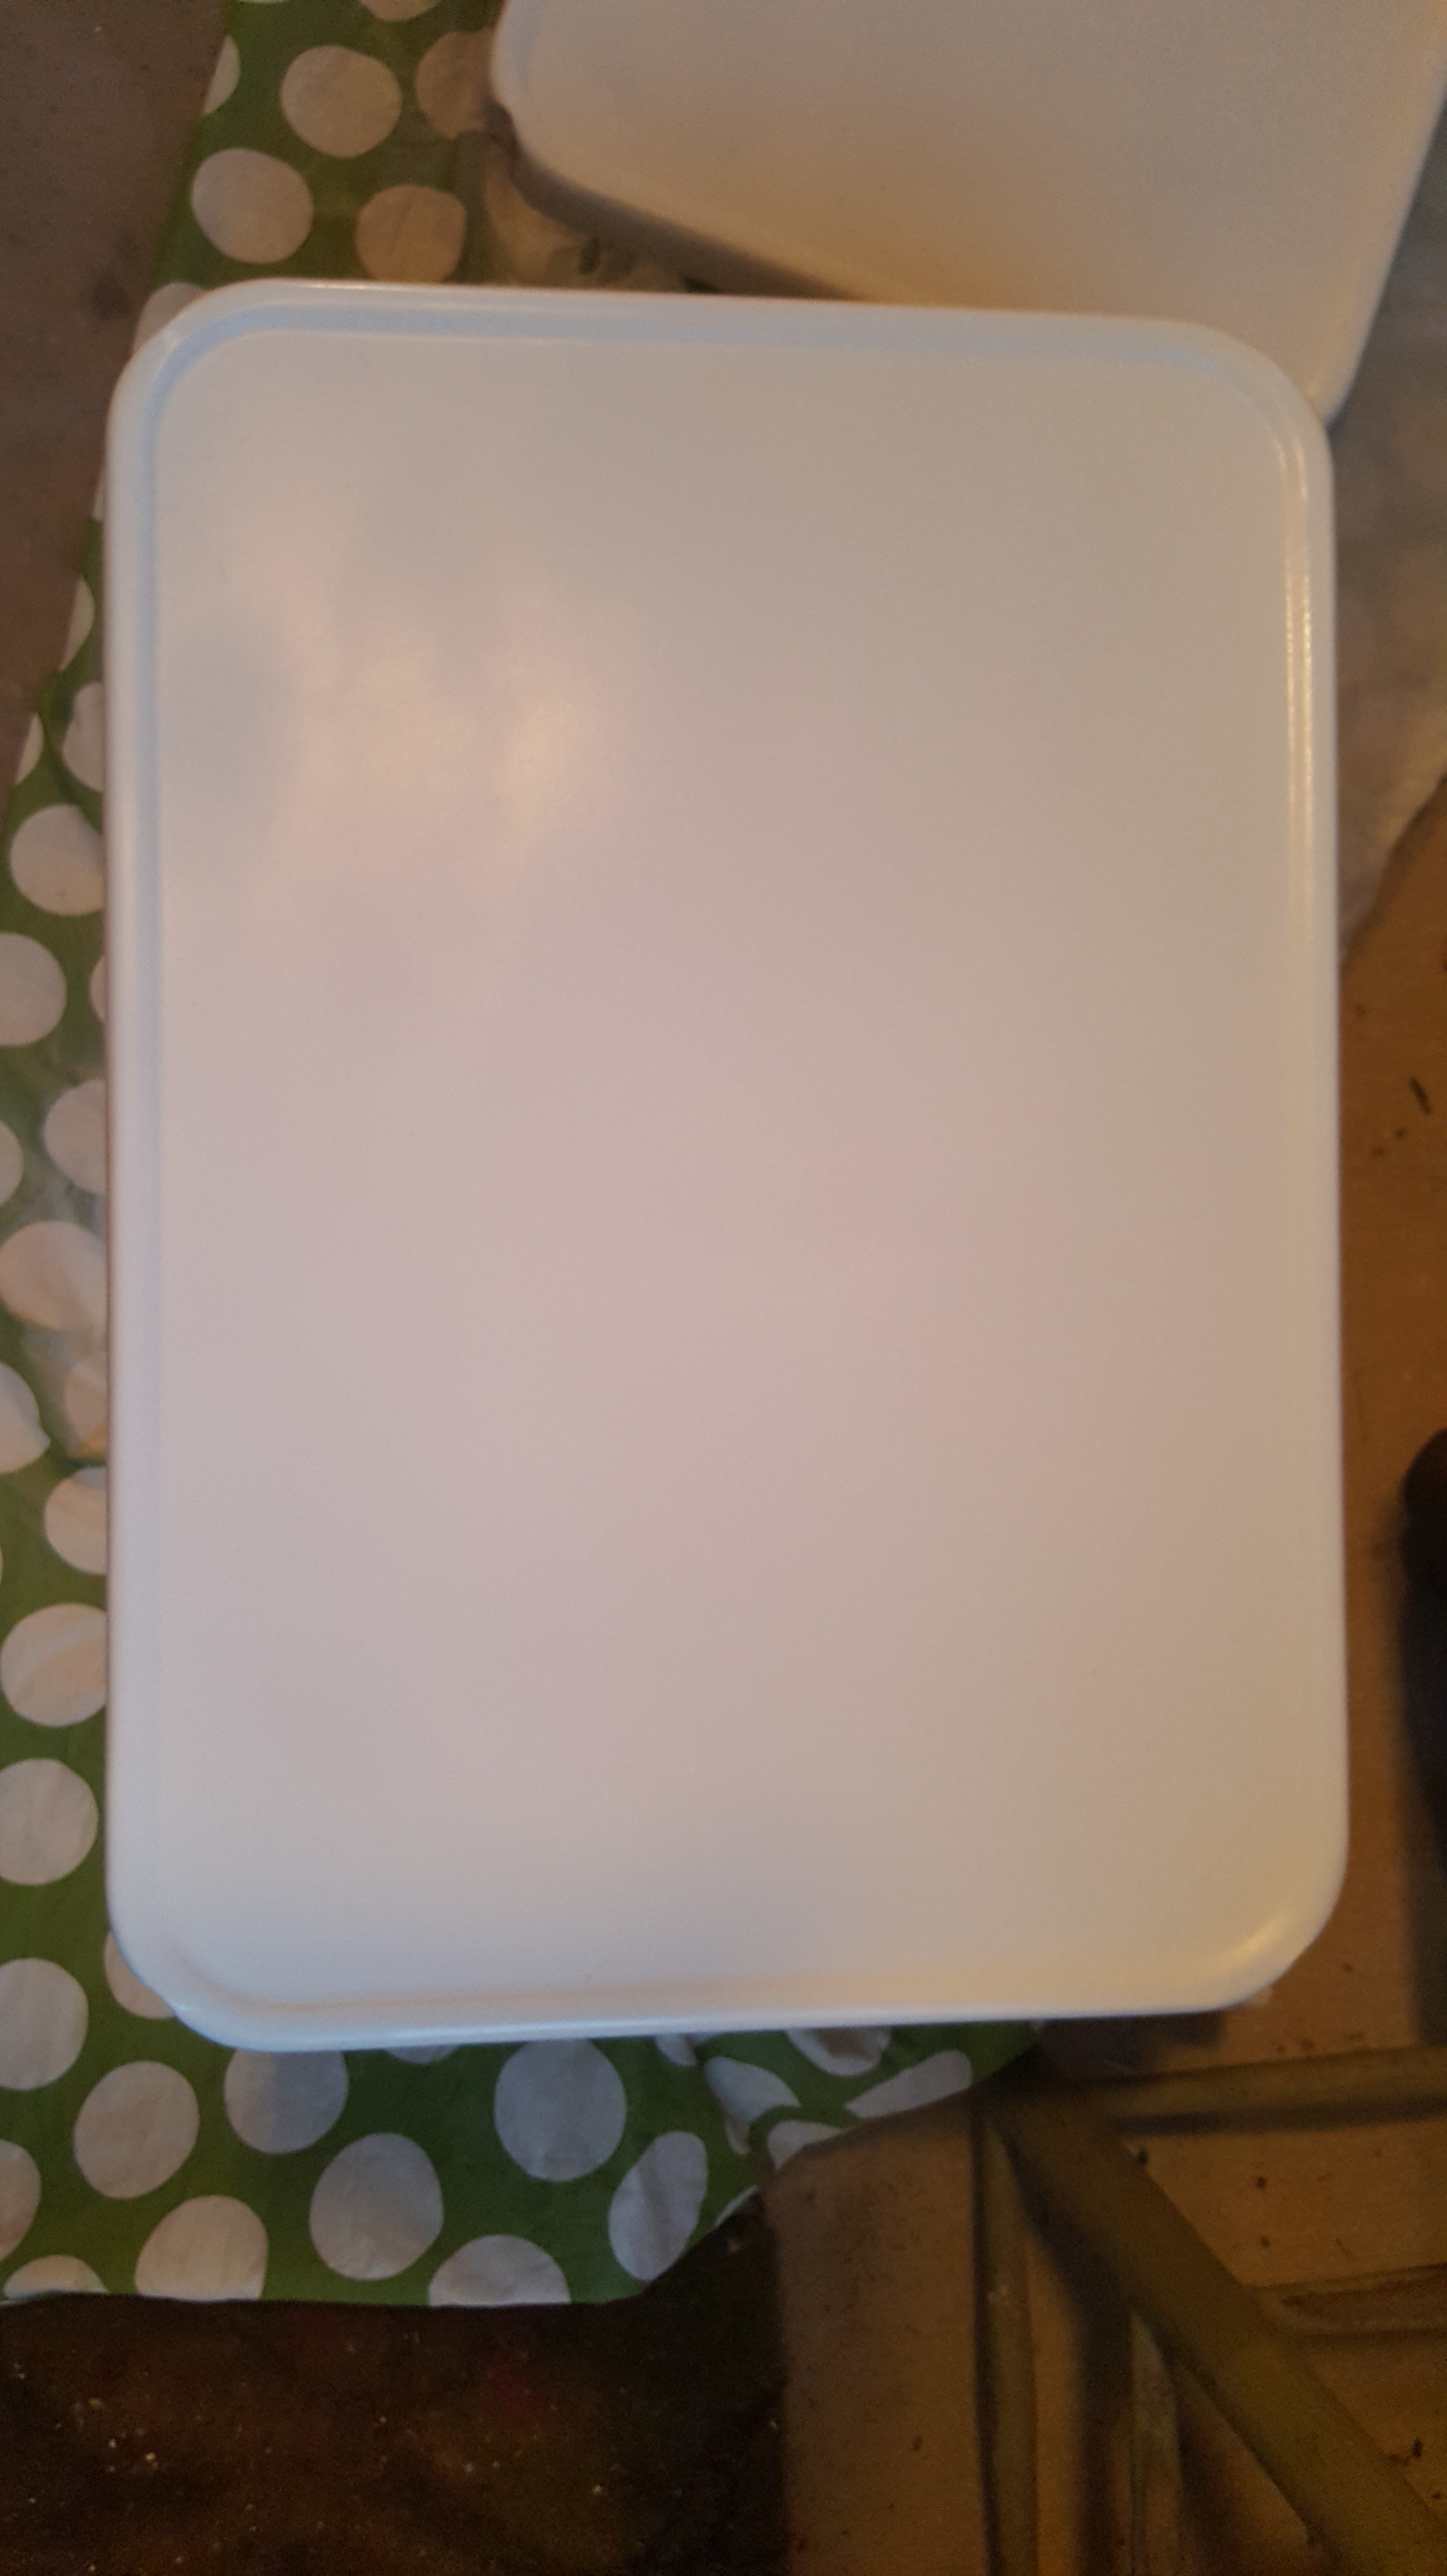

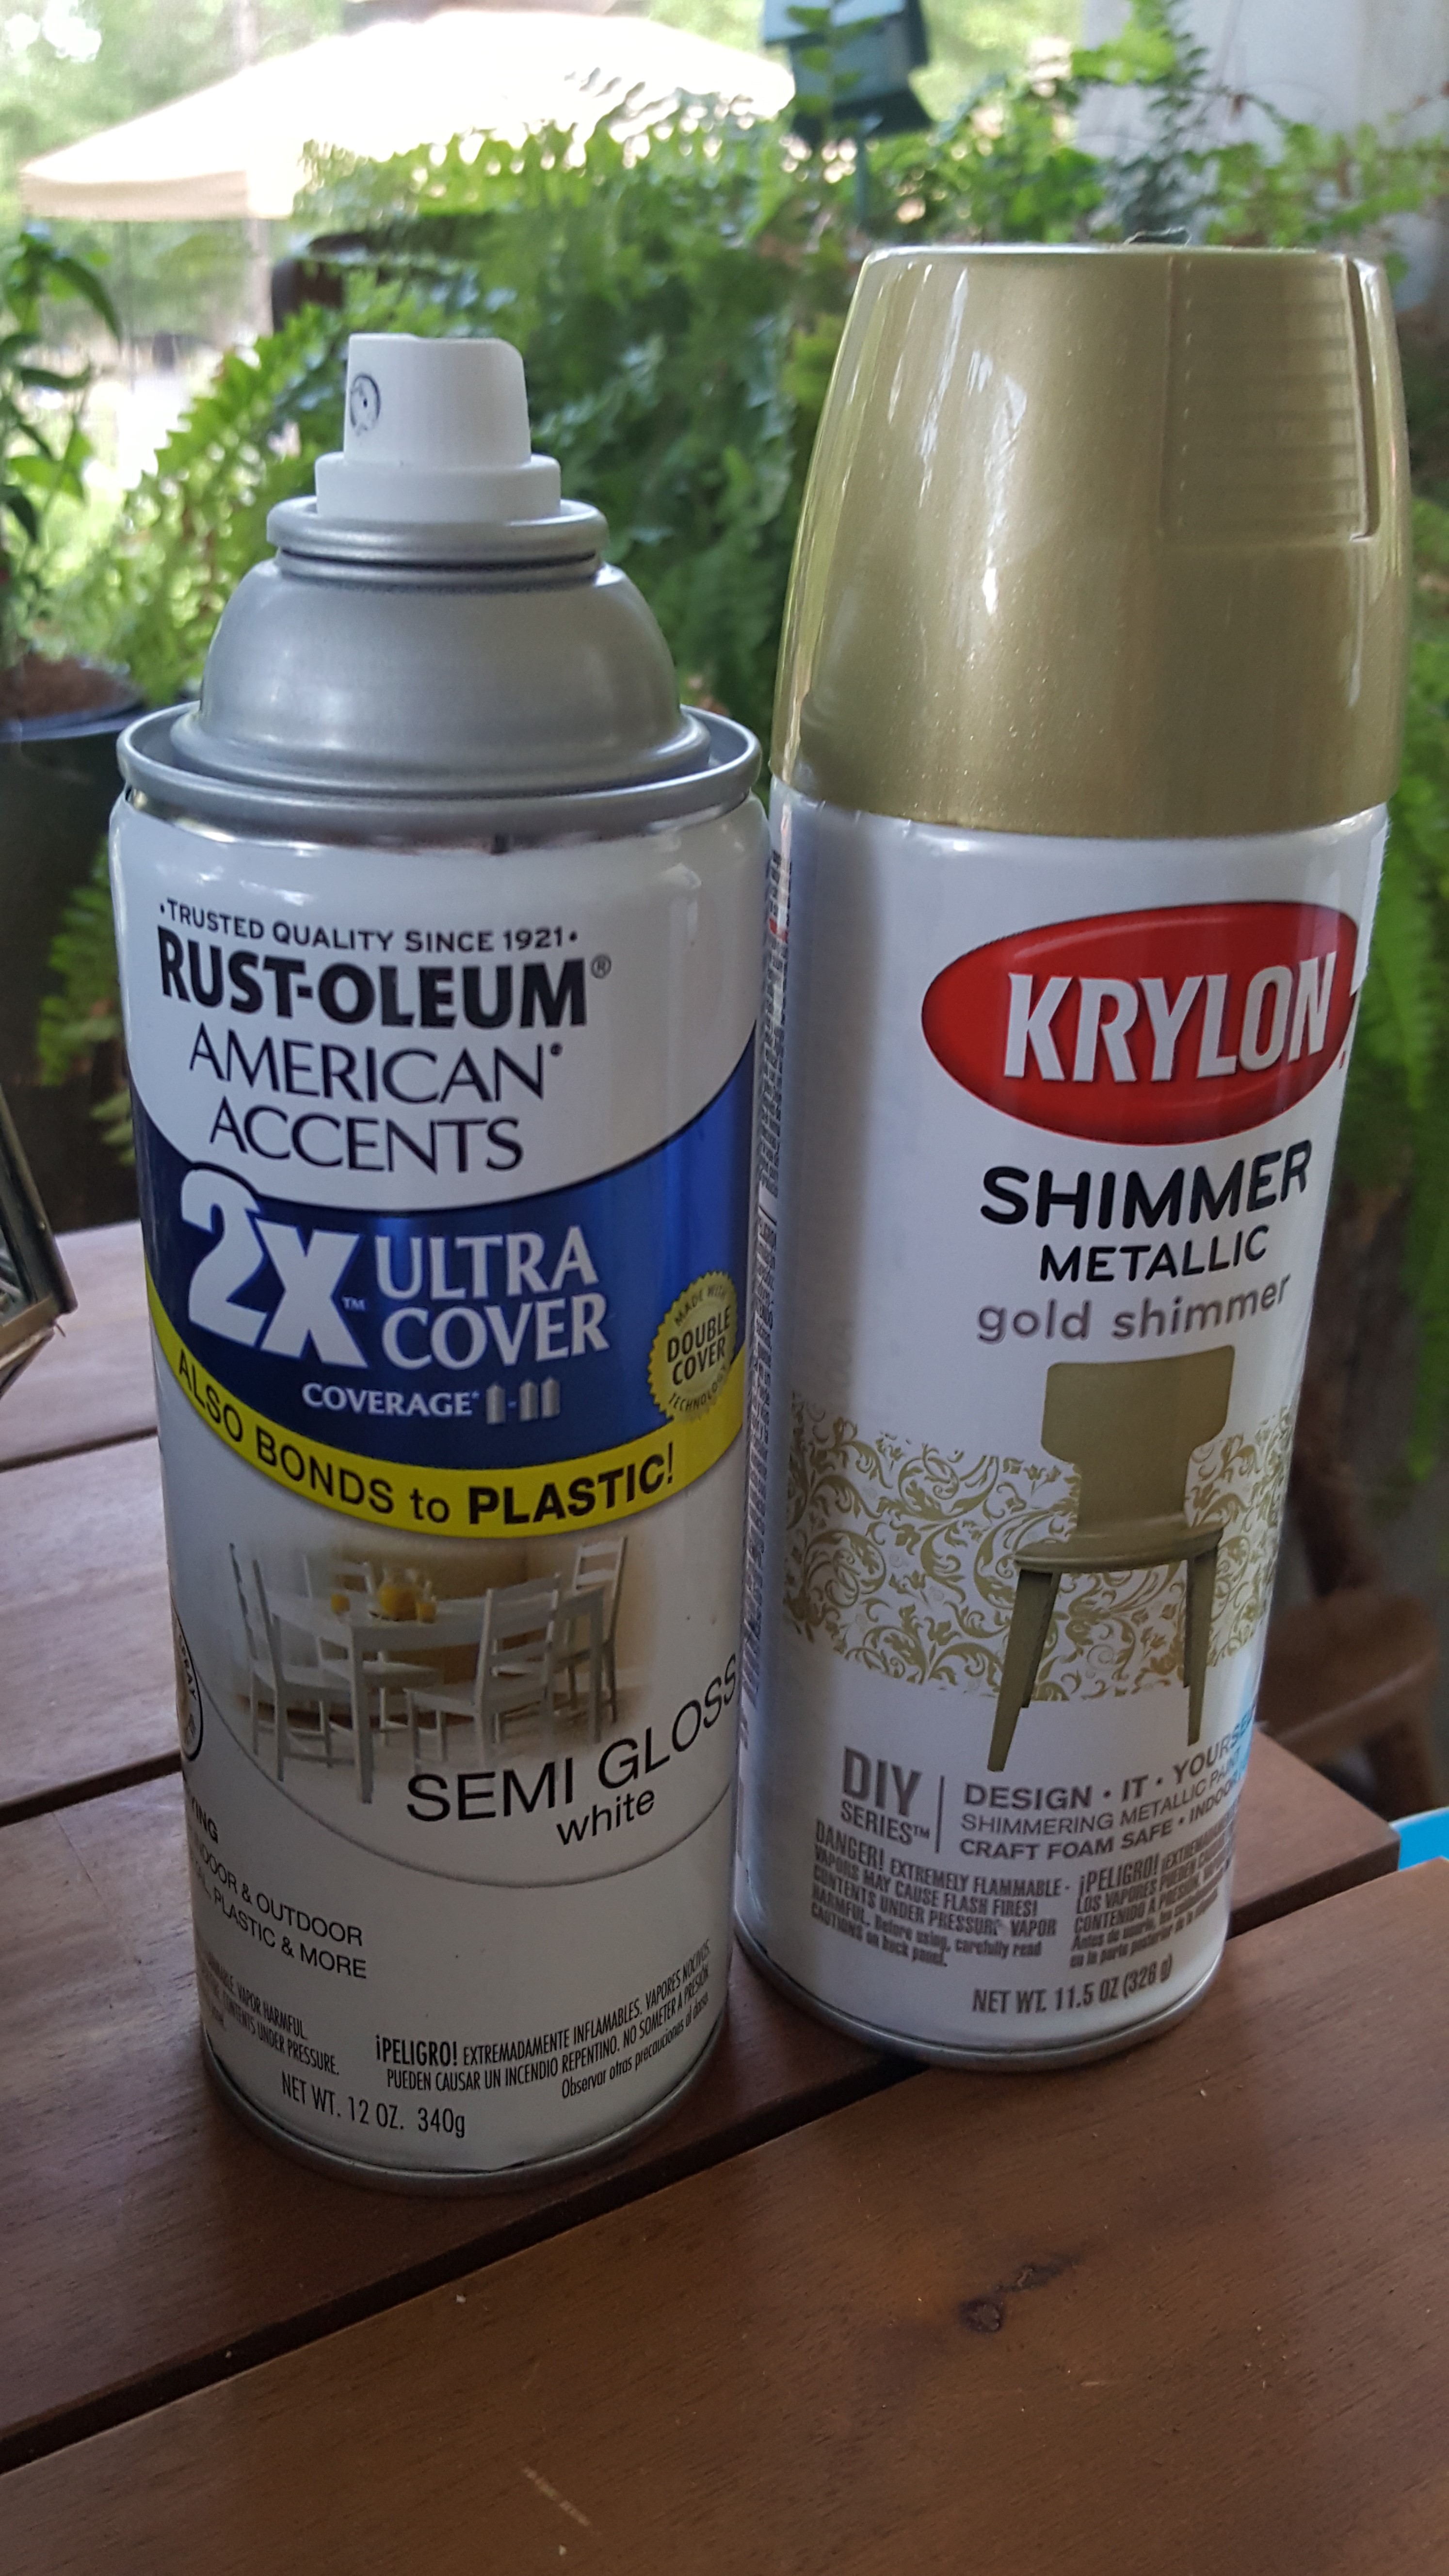
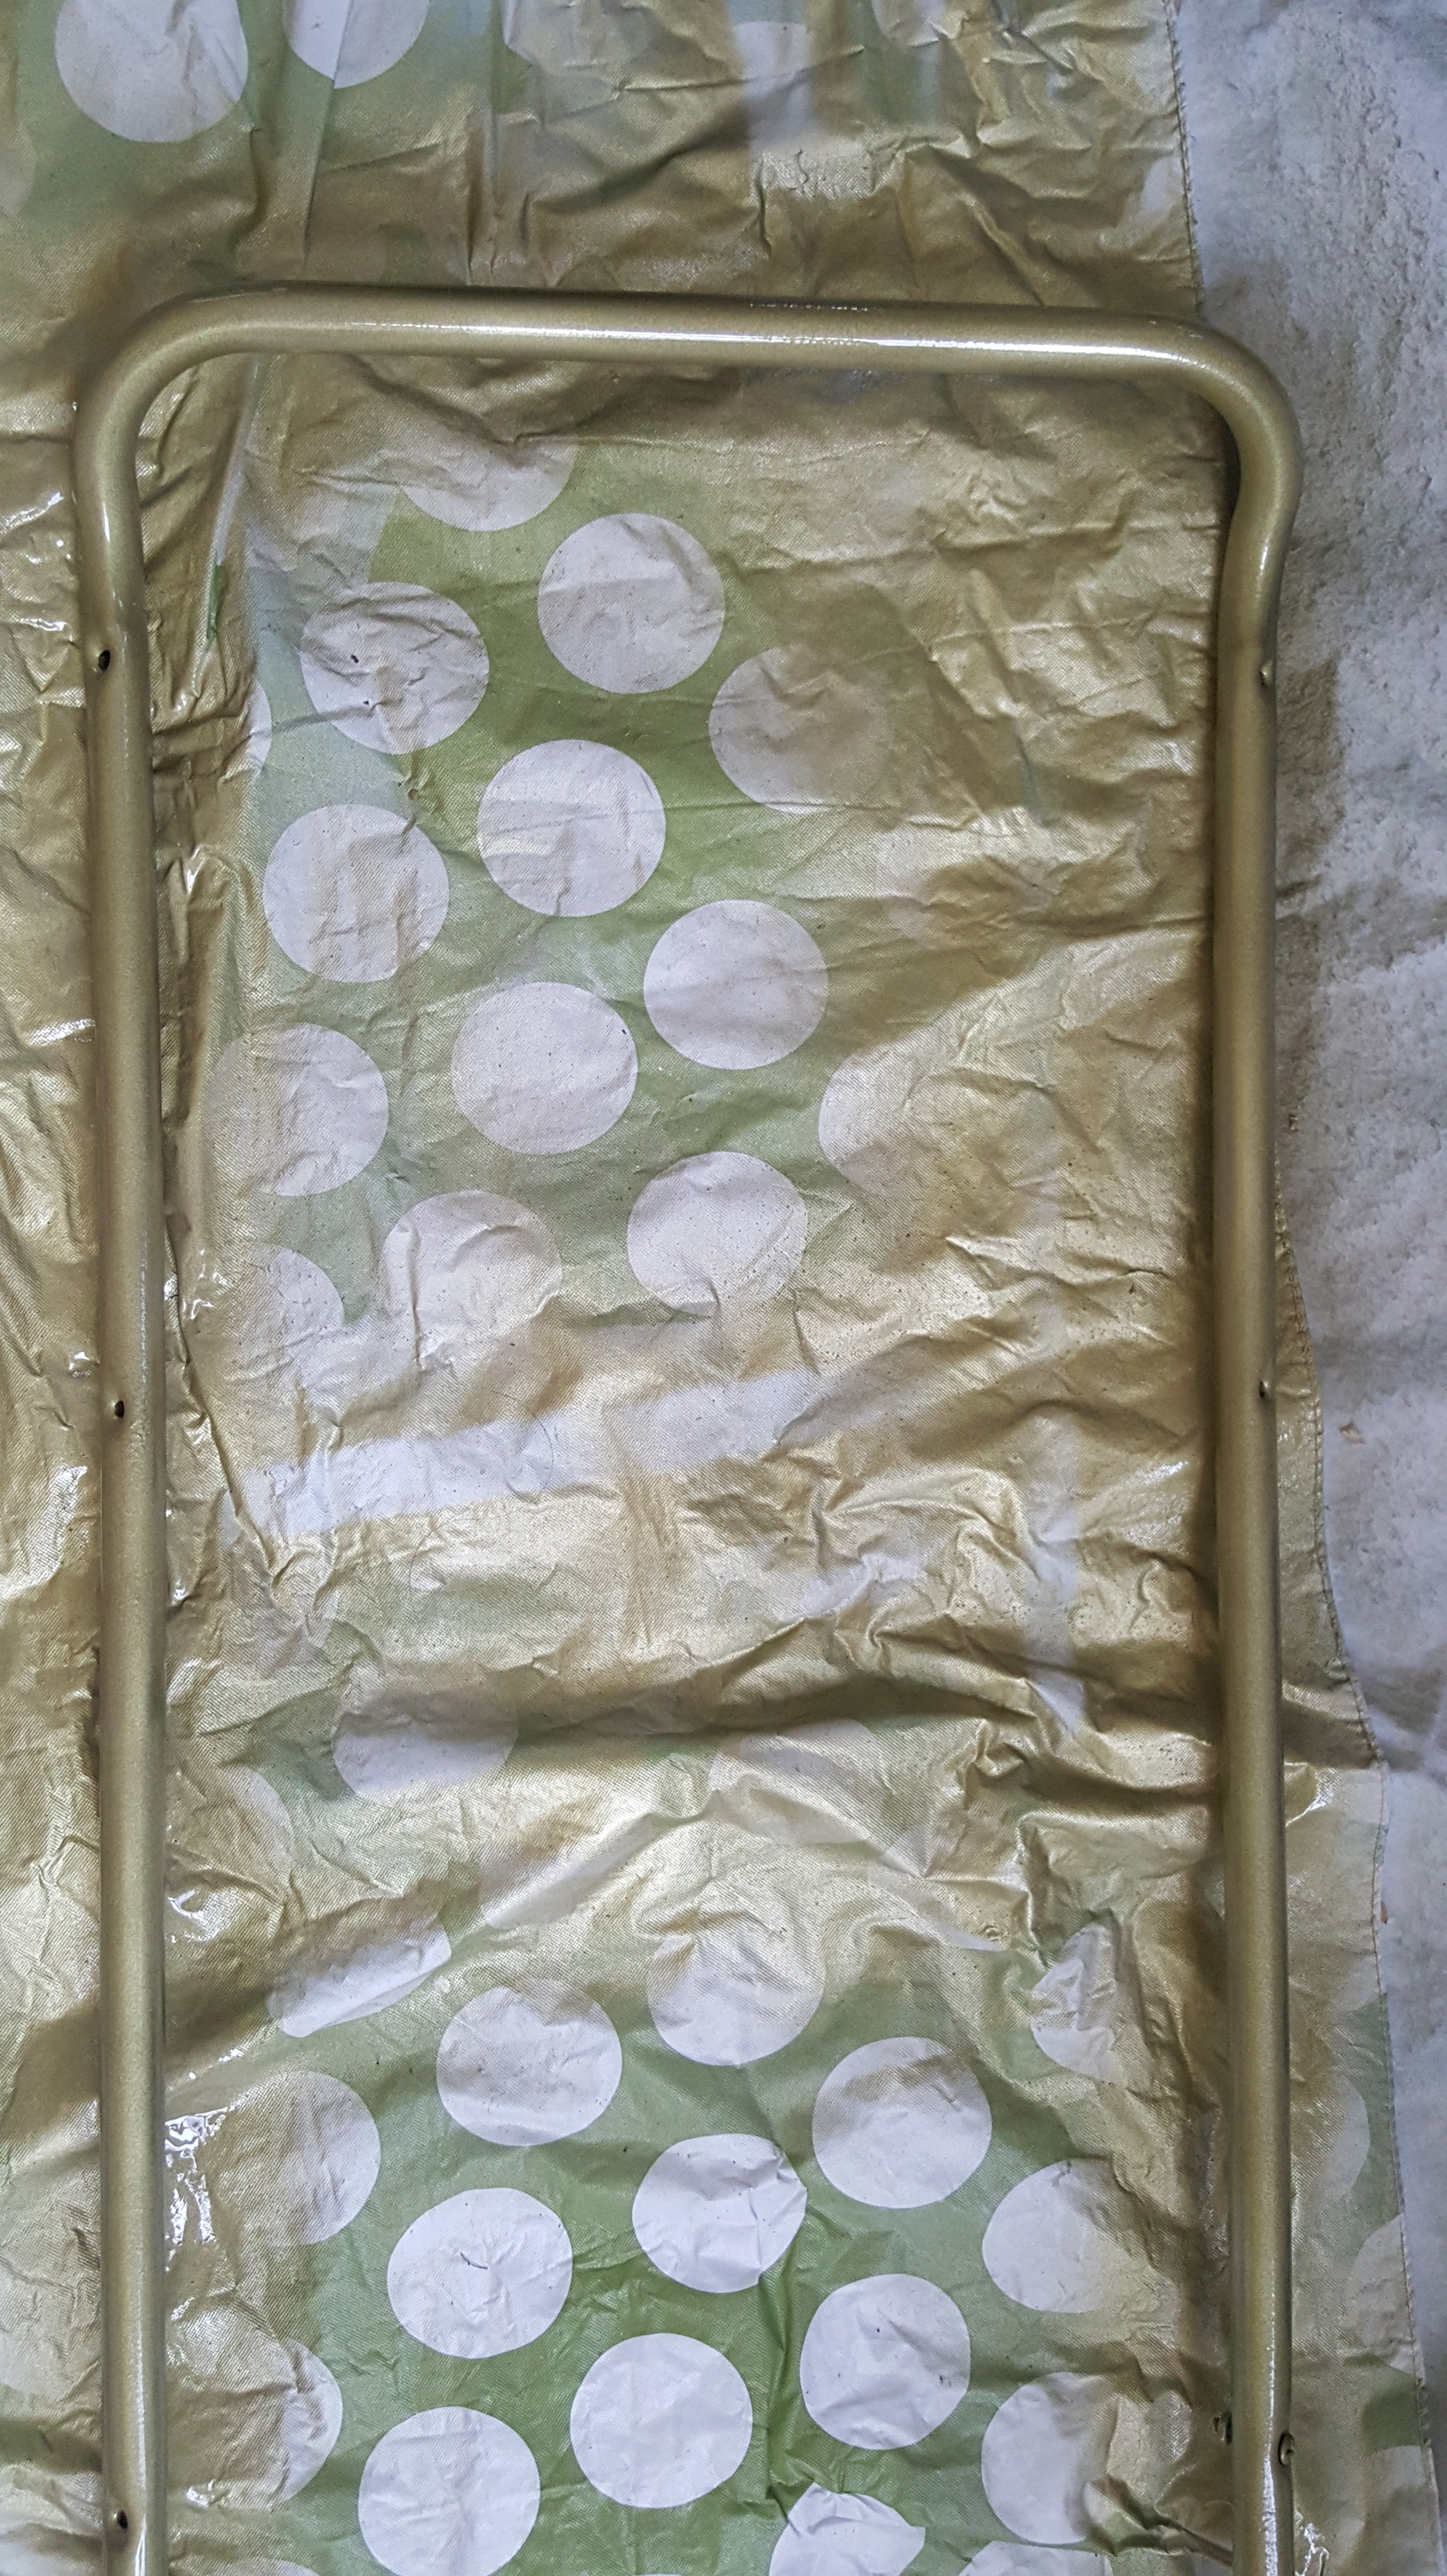
On to the frame. I decided to do a metallic gold color. I used Krylon’s Shimmer Metallic in Gold Shimmer. Same thing, lay out the frame, spray and let dry, then turn over and do the other side. Once it’s completely dry, look to see if you need to do a second coat or just touch up.
While all the paint was drying, I went back and checked on the wood top. I sanded down the seams that I used the wood glue on and then I oiled it with Old English wood oil. NOTE, I didn’t oil it ALL over, I wiped the rag sparingly over the wood and then sanded it in a few spots to give it a weathered look. 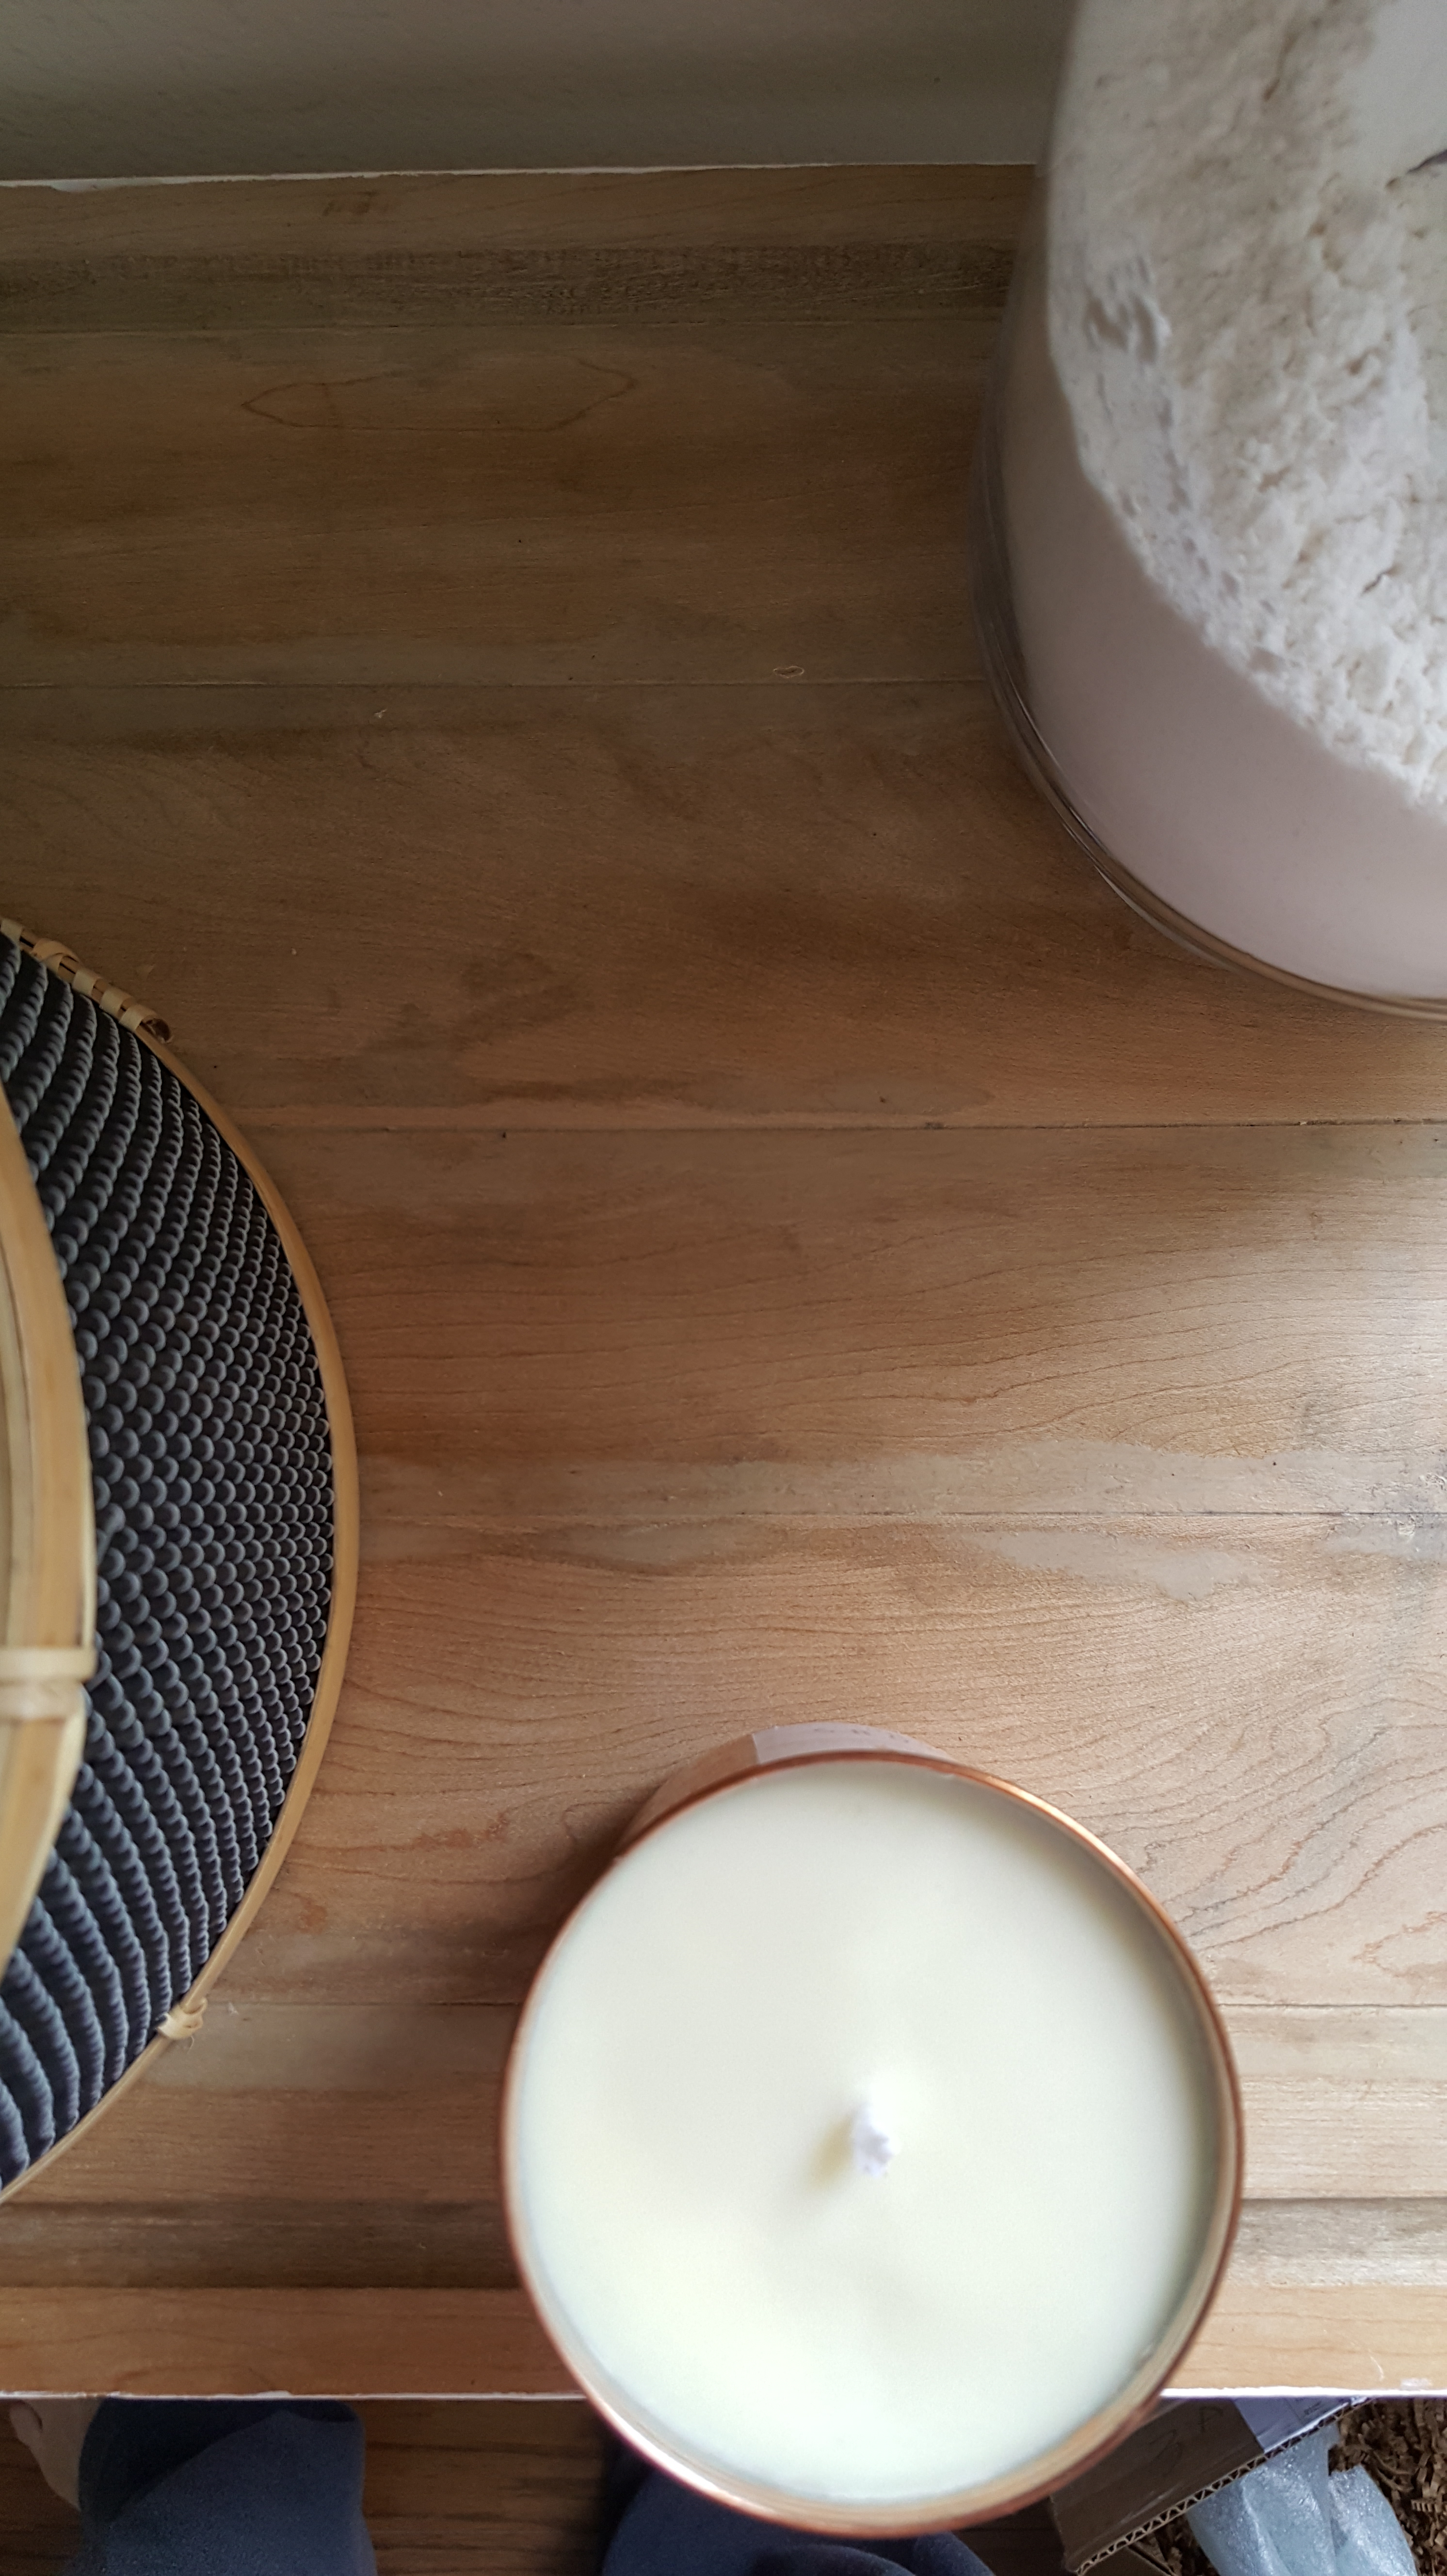
To add a little custom touch, I taped off the wood board and painted the edges. It really made the wood pop and gave it an updated look.
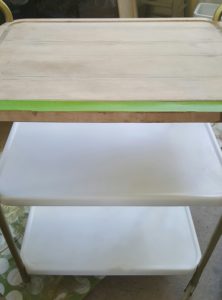
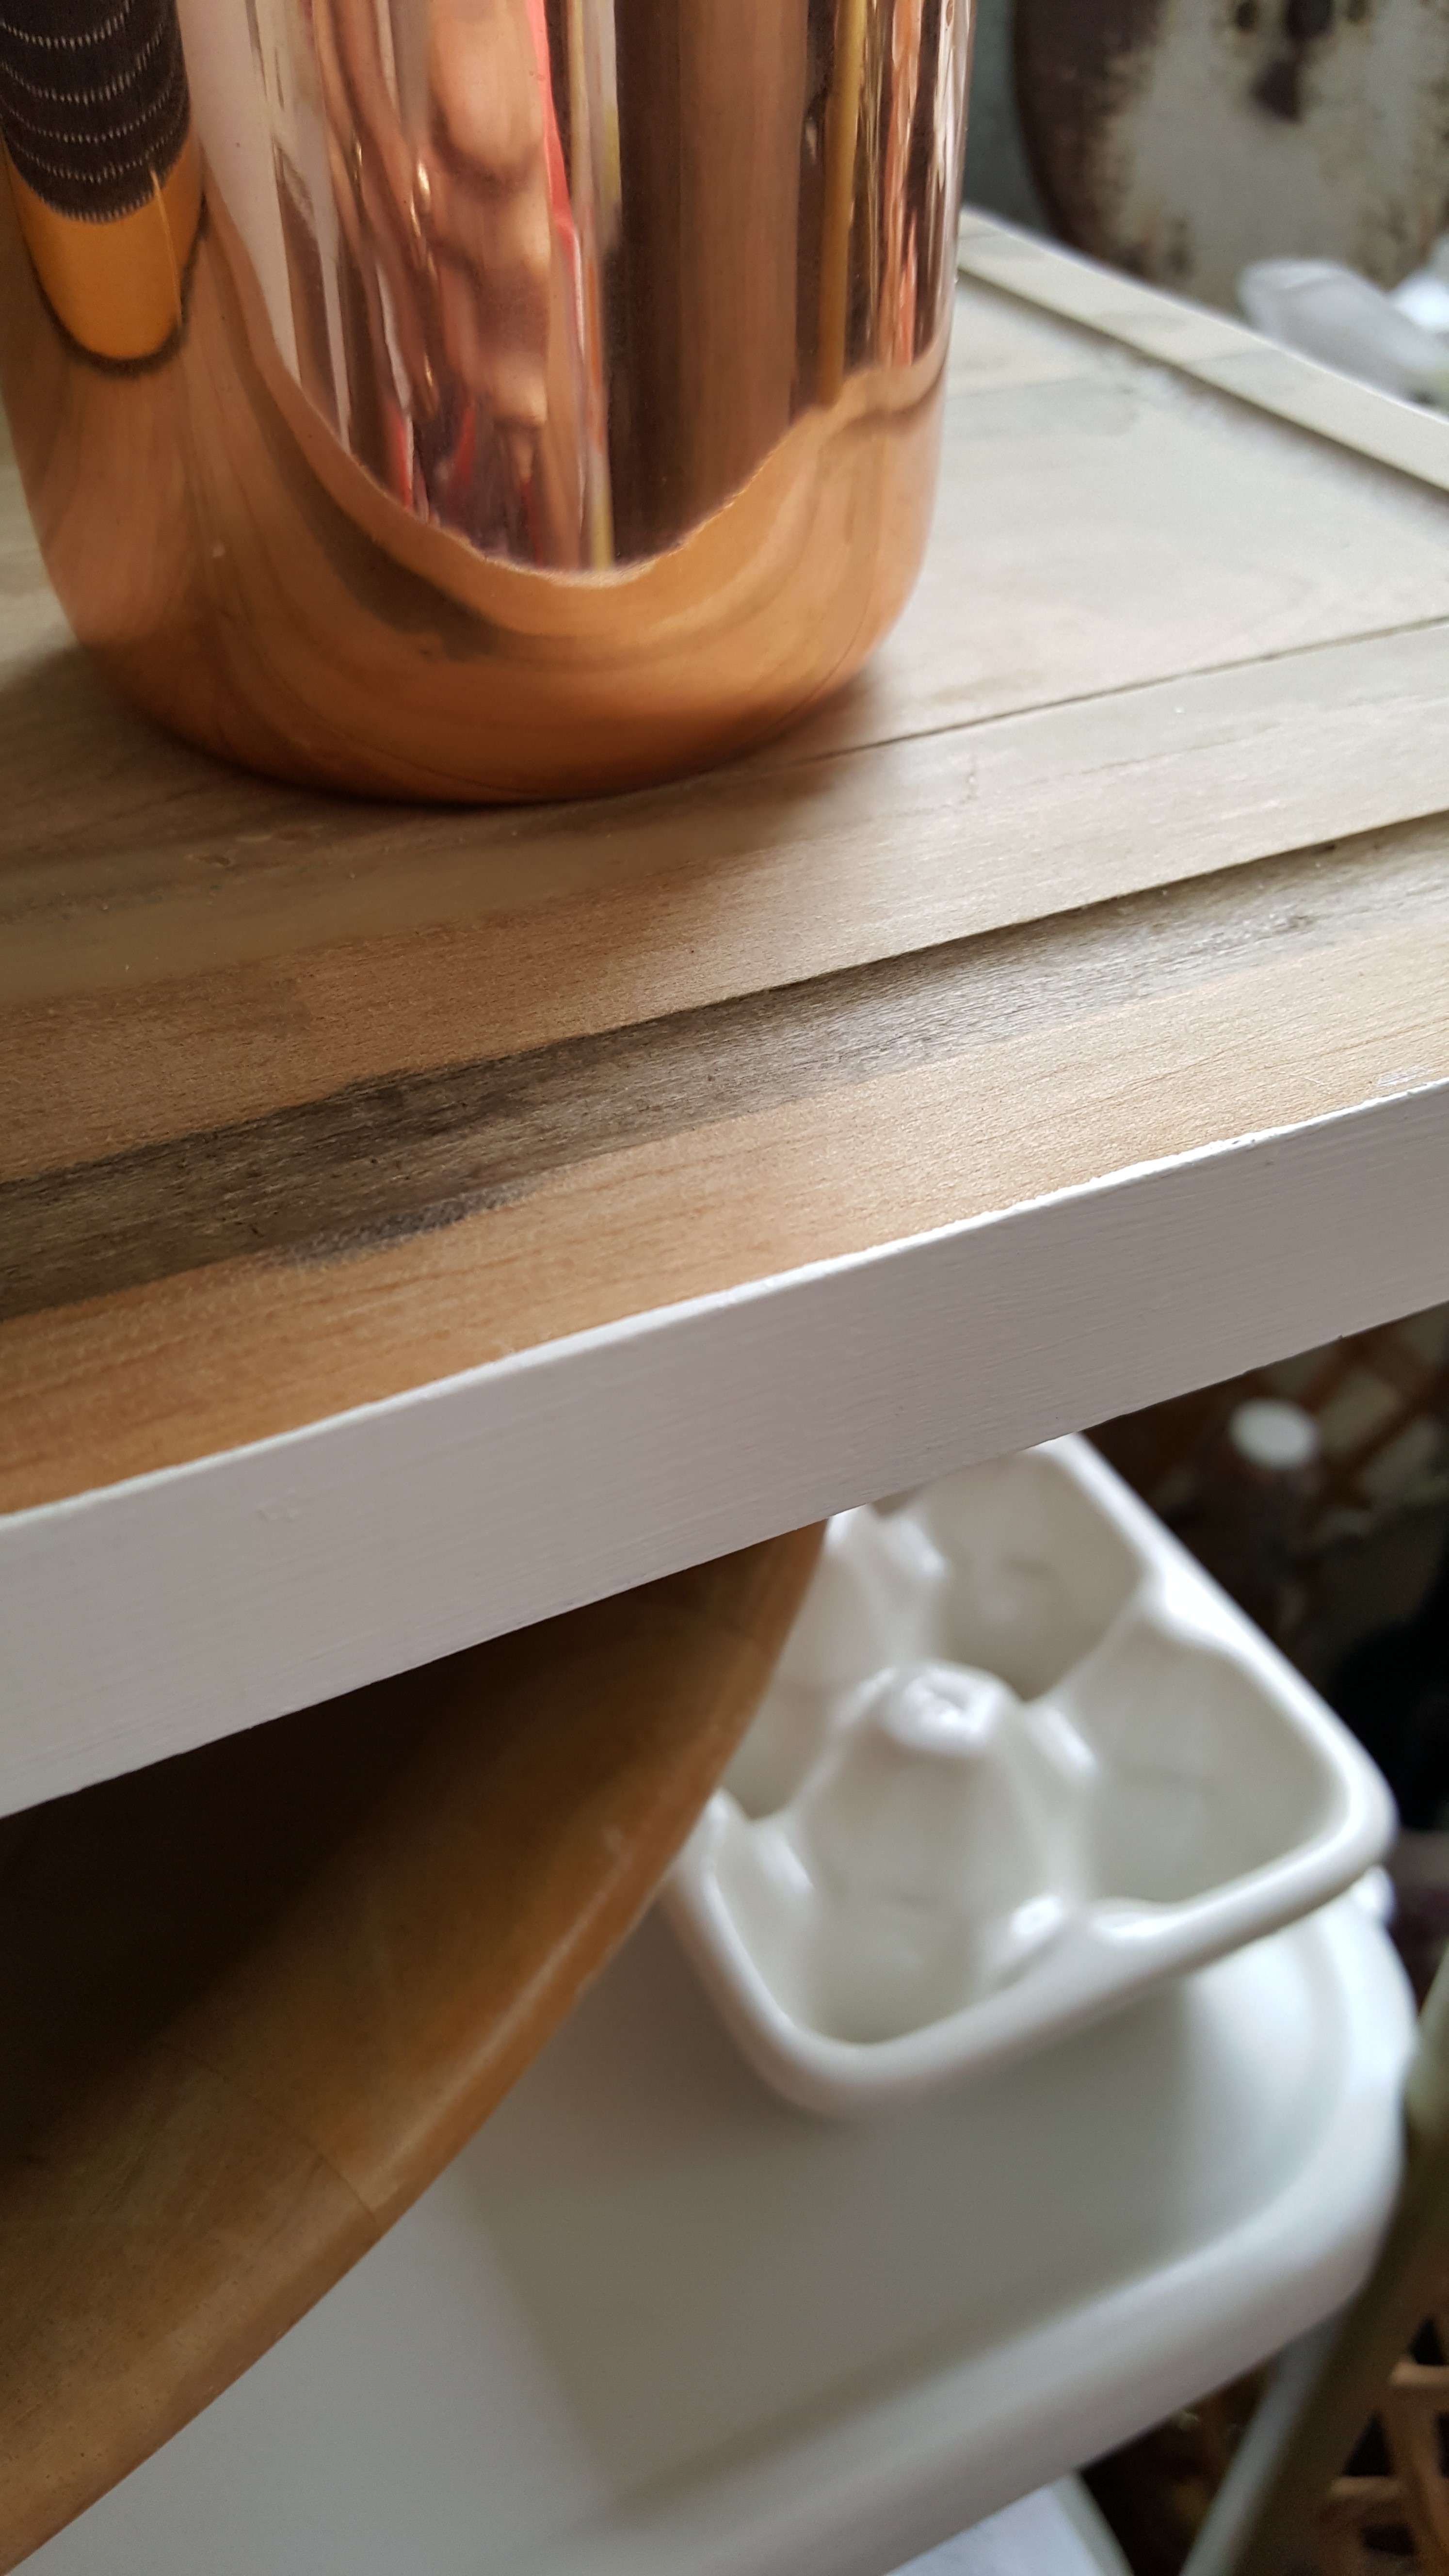
I won’t lie, I took my time with this piece. I wanted to make sure the paint dried well in between coats because if you rush with spray painting it just creates drips and bubbles. It was now time to put the pretty little thing together.
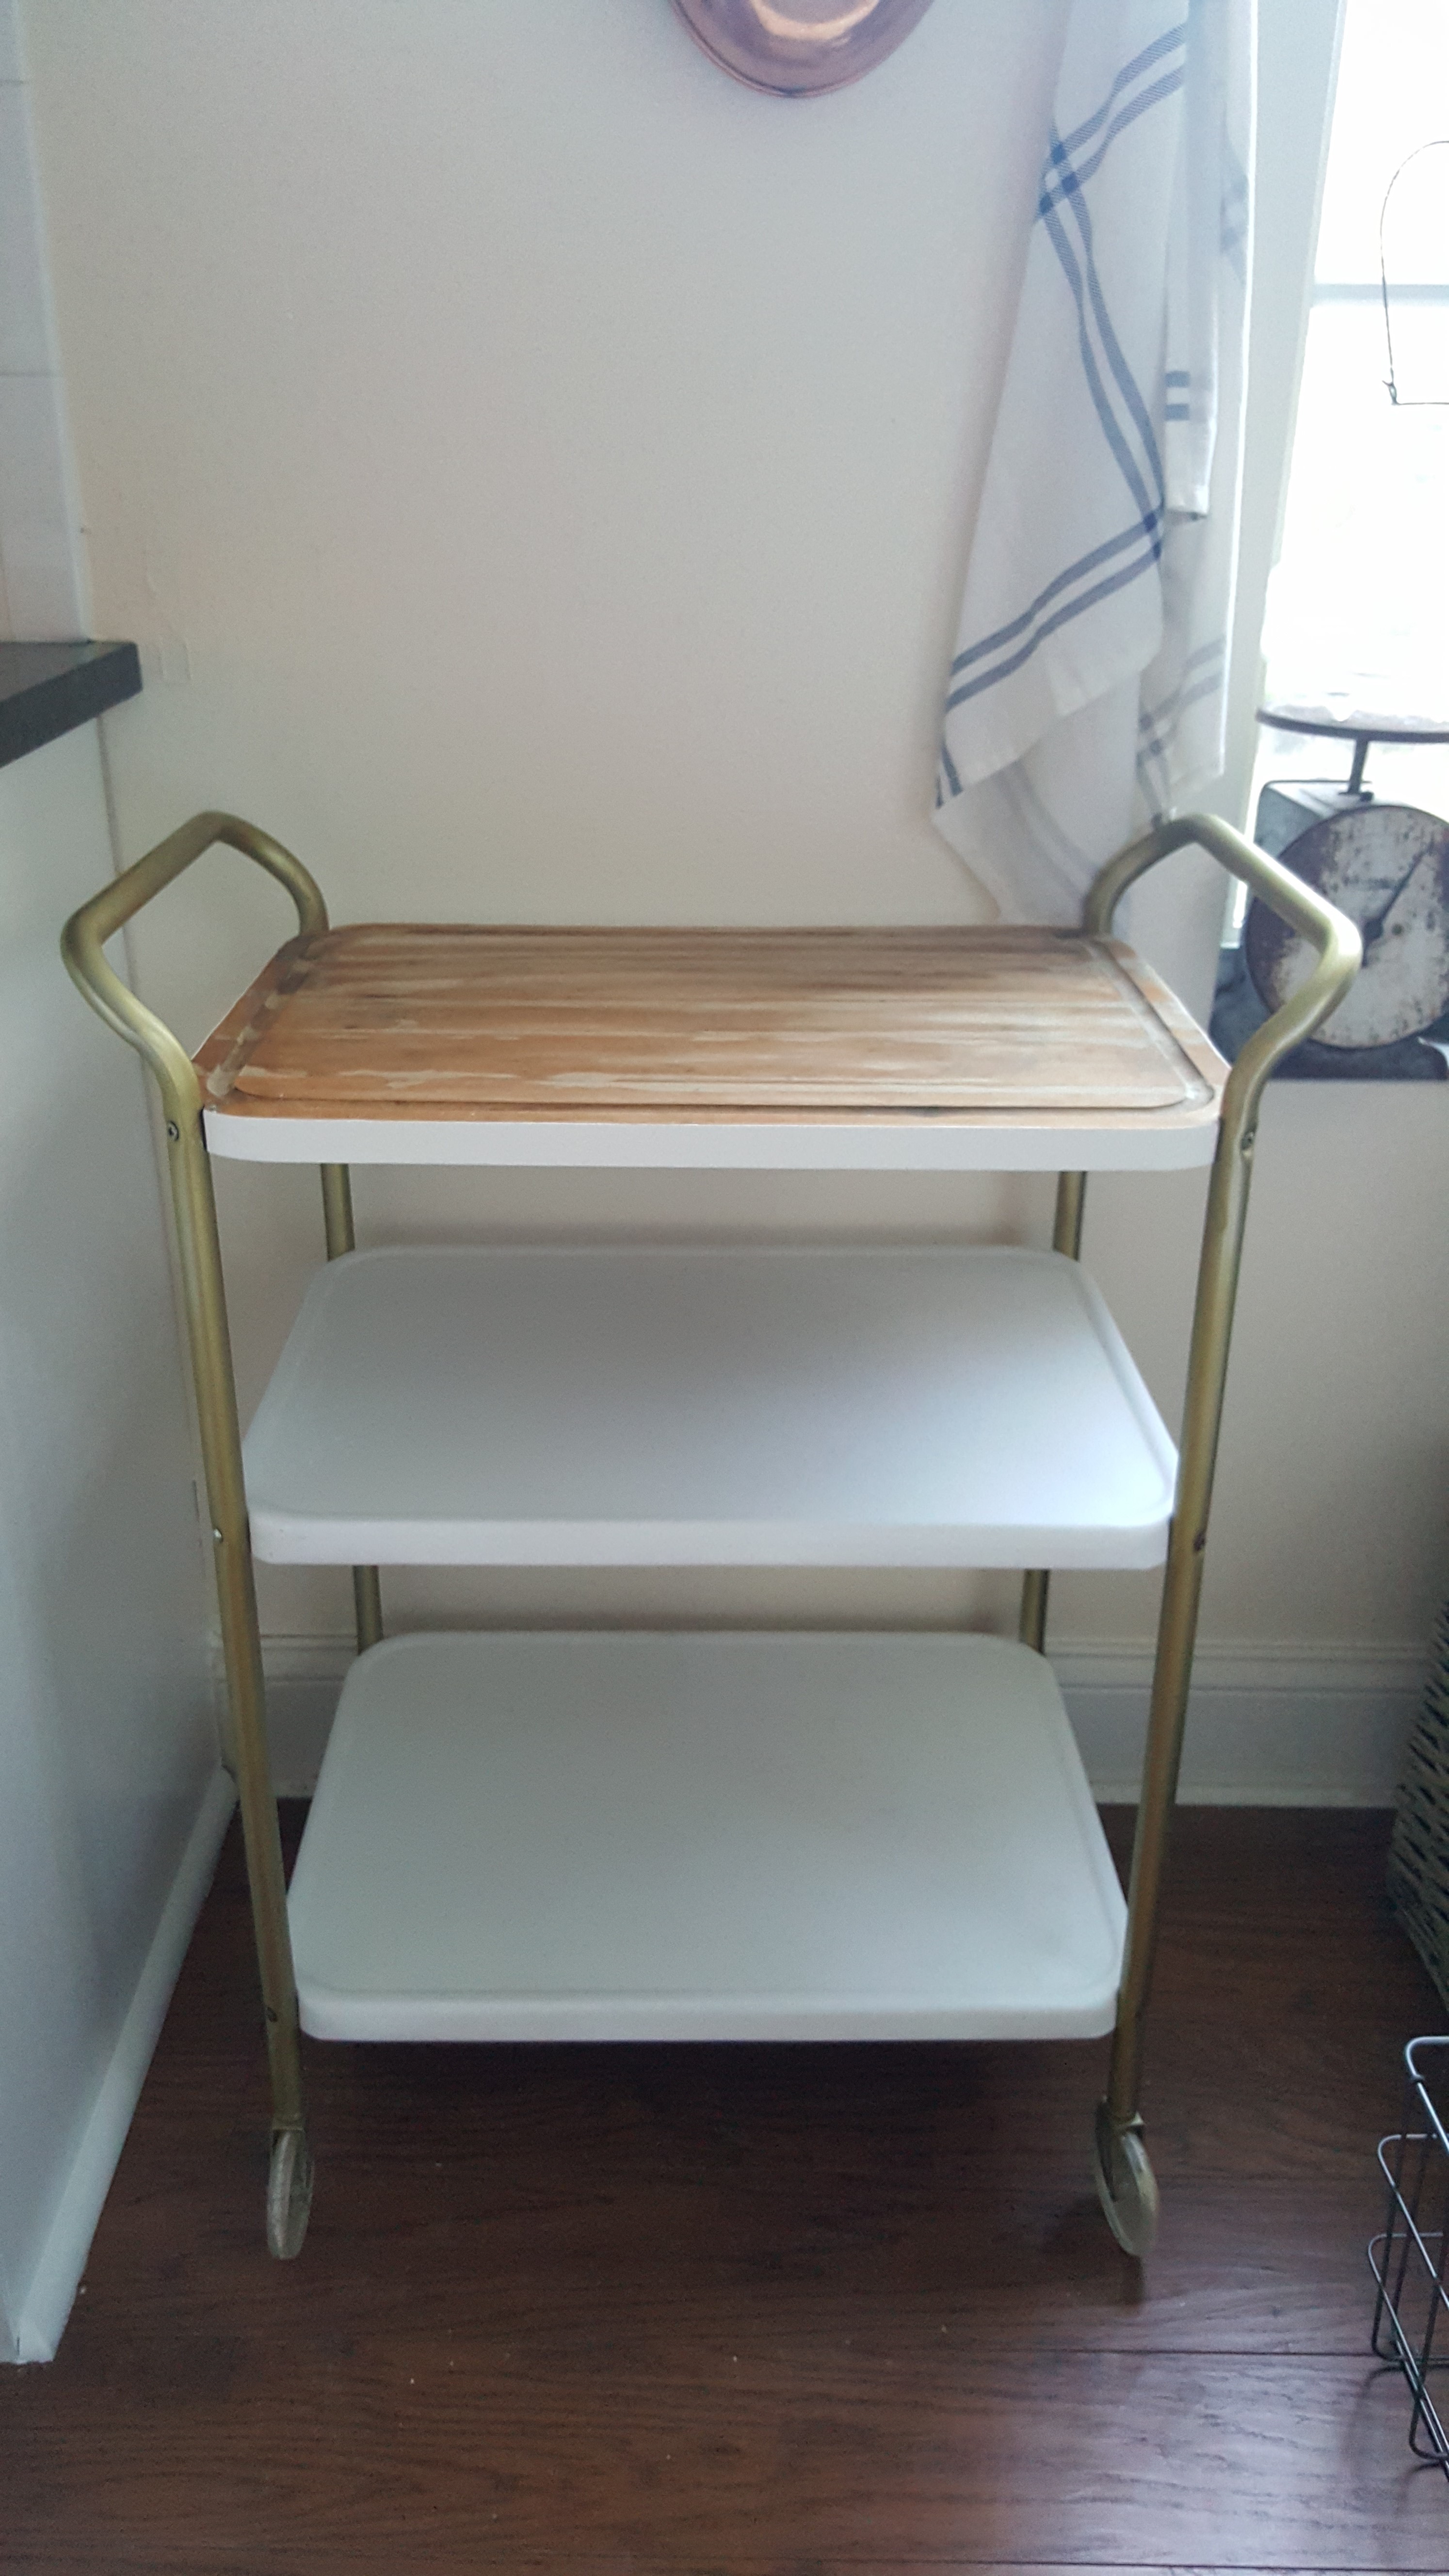
I love it! Even my kids couldn’t believe how good it turned out. It will now have a place of honor in my “new” kitchen. I’ve rearranged the shelving units in my kitchen as part of my Kitchen Makeover, that I did for the One Room Challenge. I can’t tell you how happy I am with this. I used paint I already had and some elbow grease and my $24 cart looks like a million bucks.
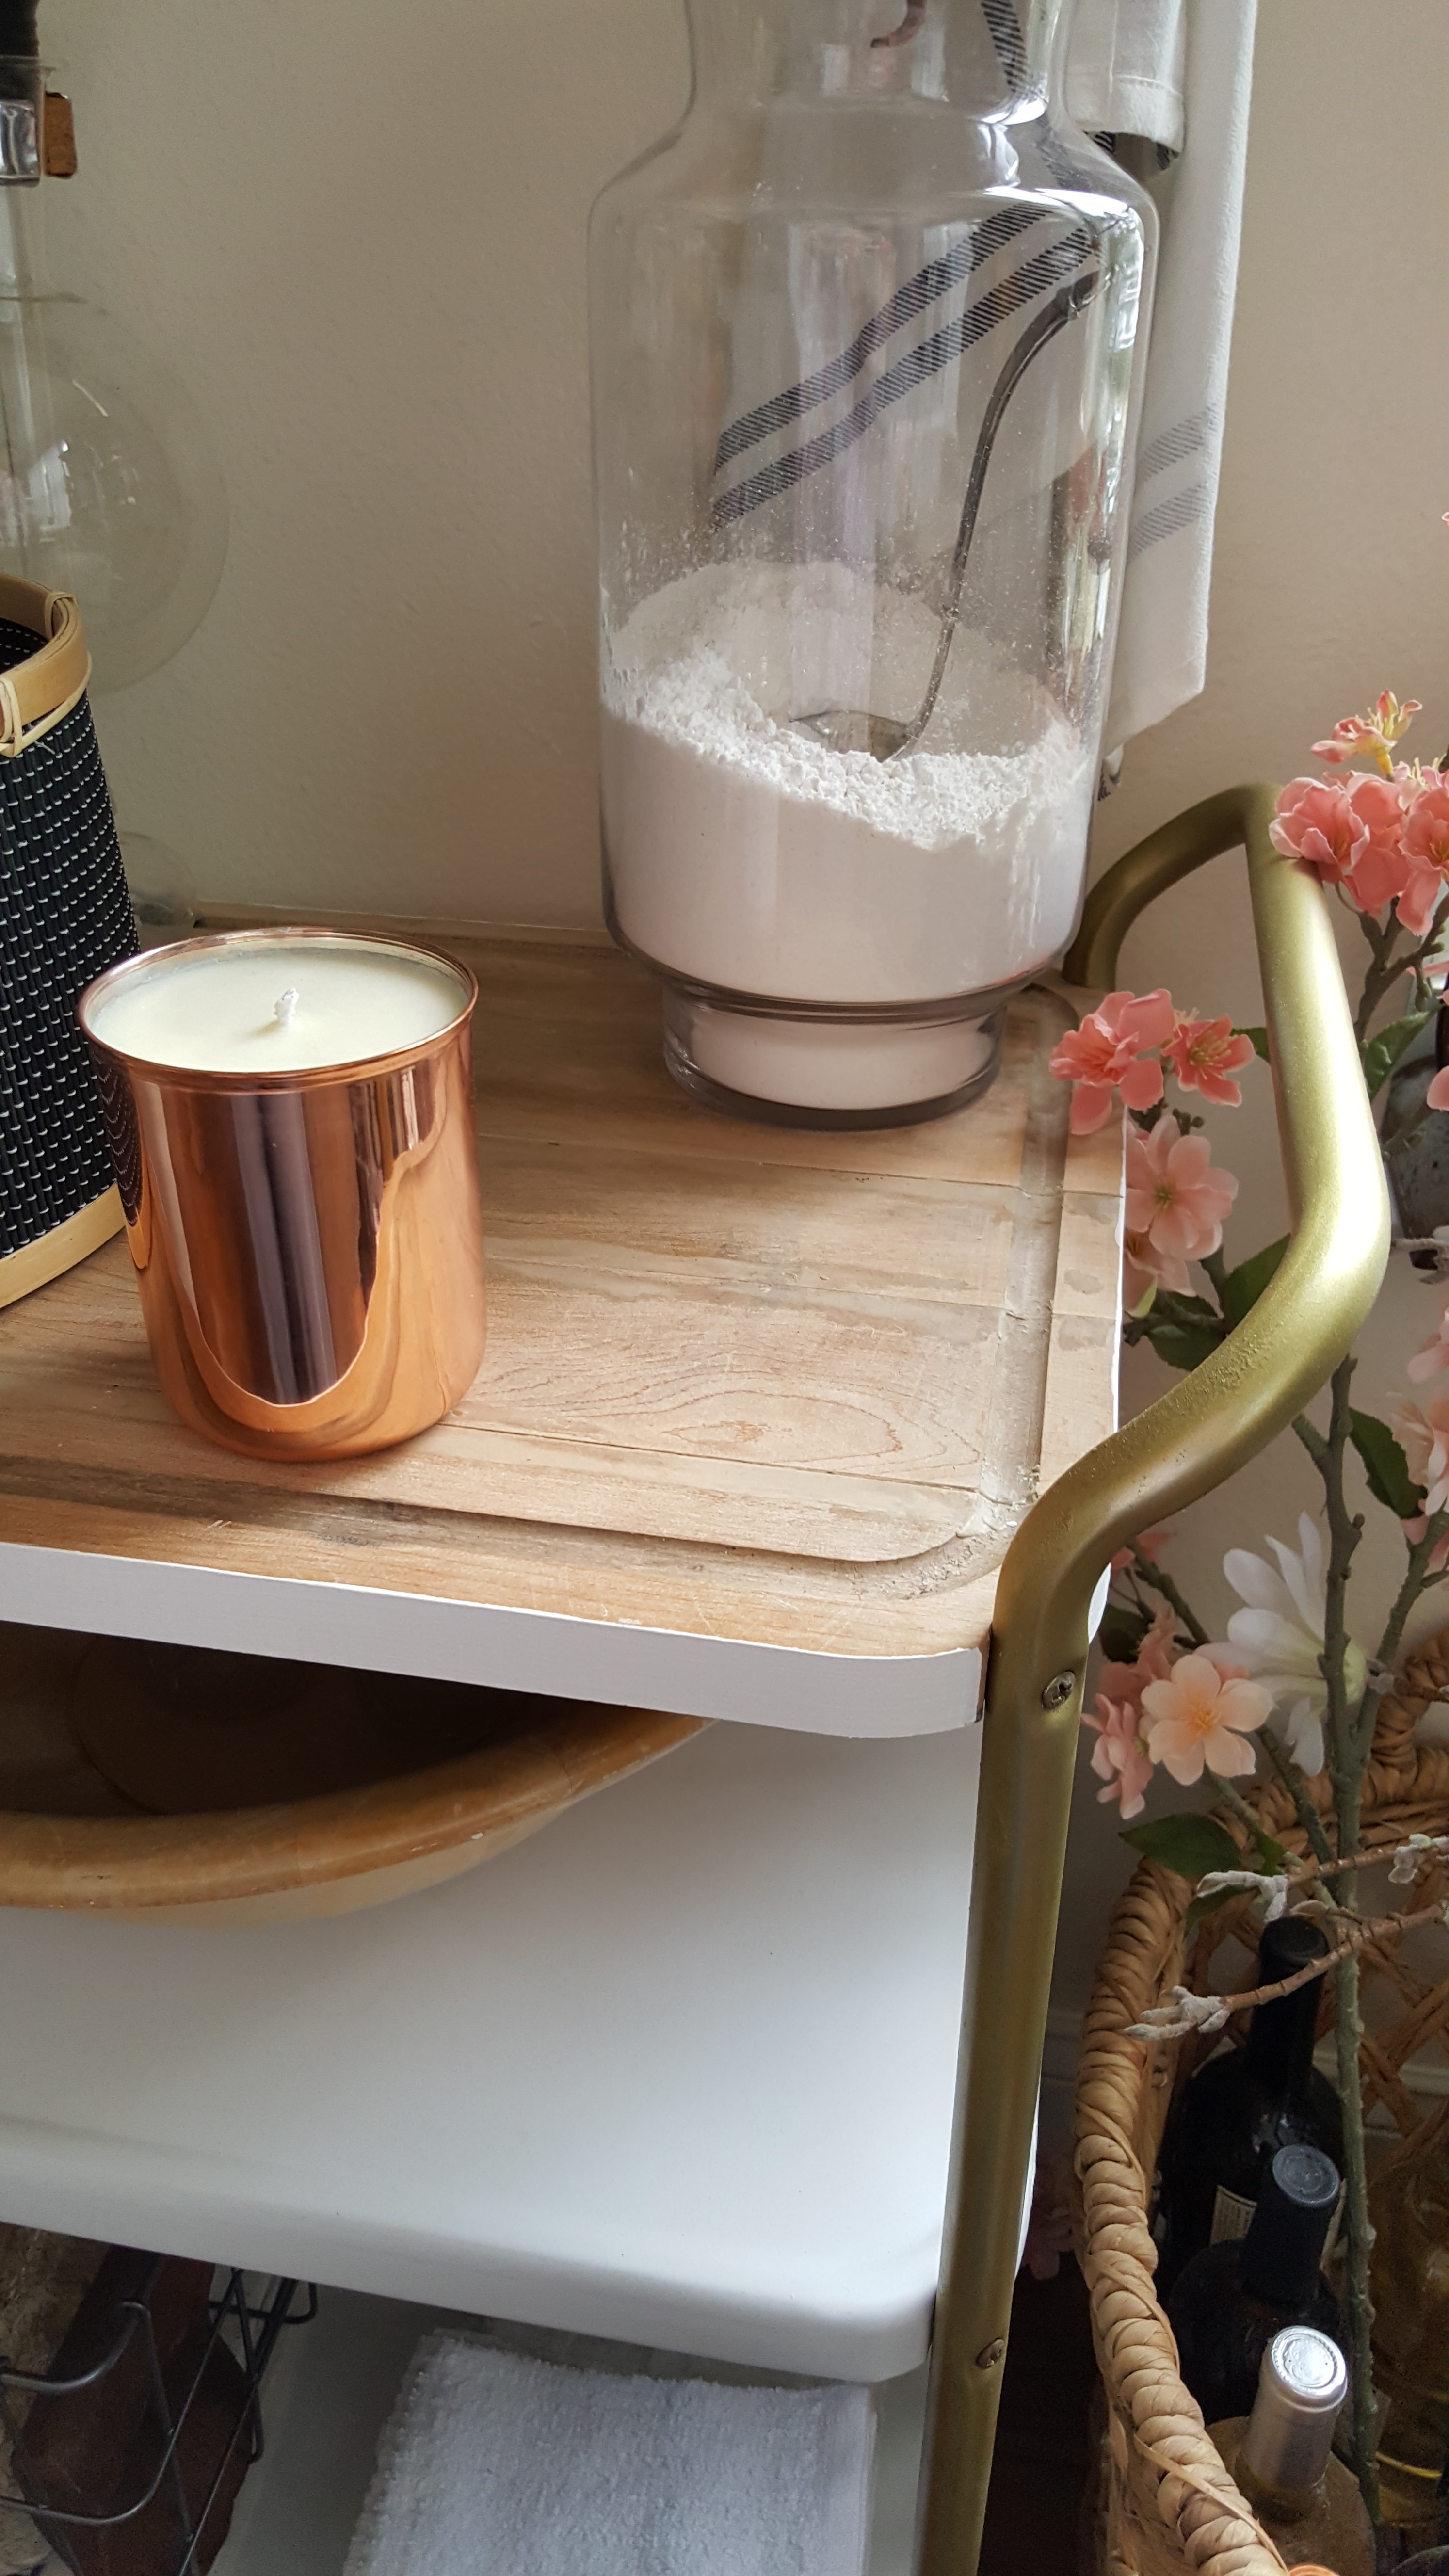
I hope you like the makeover. The moral of the story is never disregard something because it’s old and dirty, look at the potential, see beyond the age and wear. You may just find a diamond in the rough. 🙂
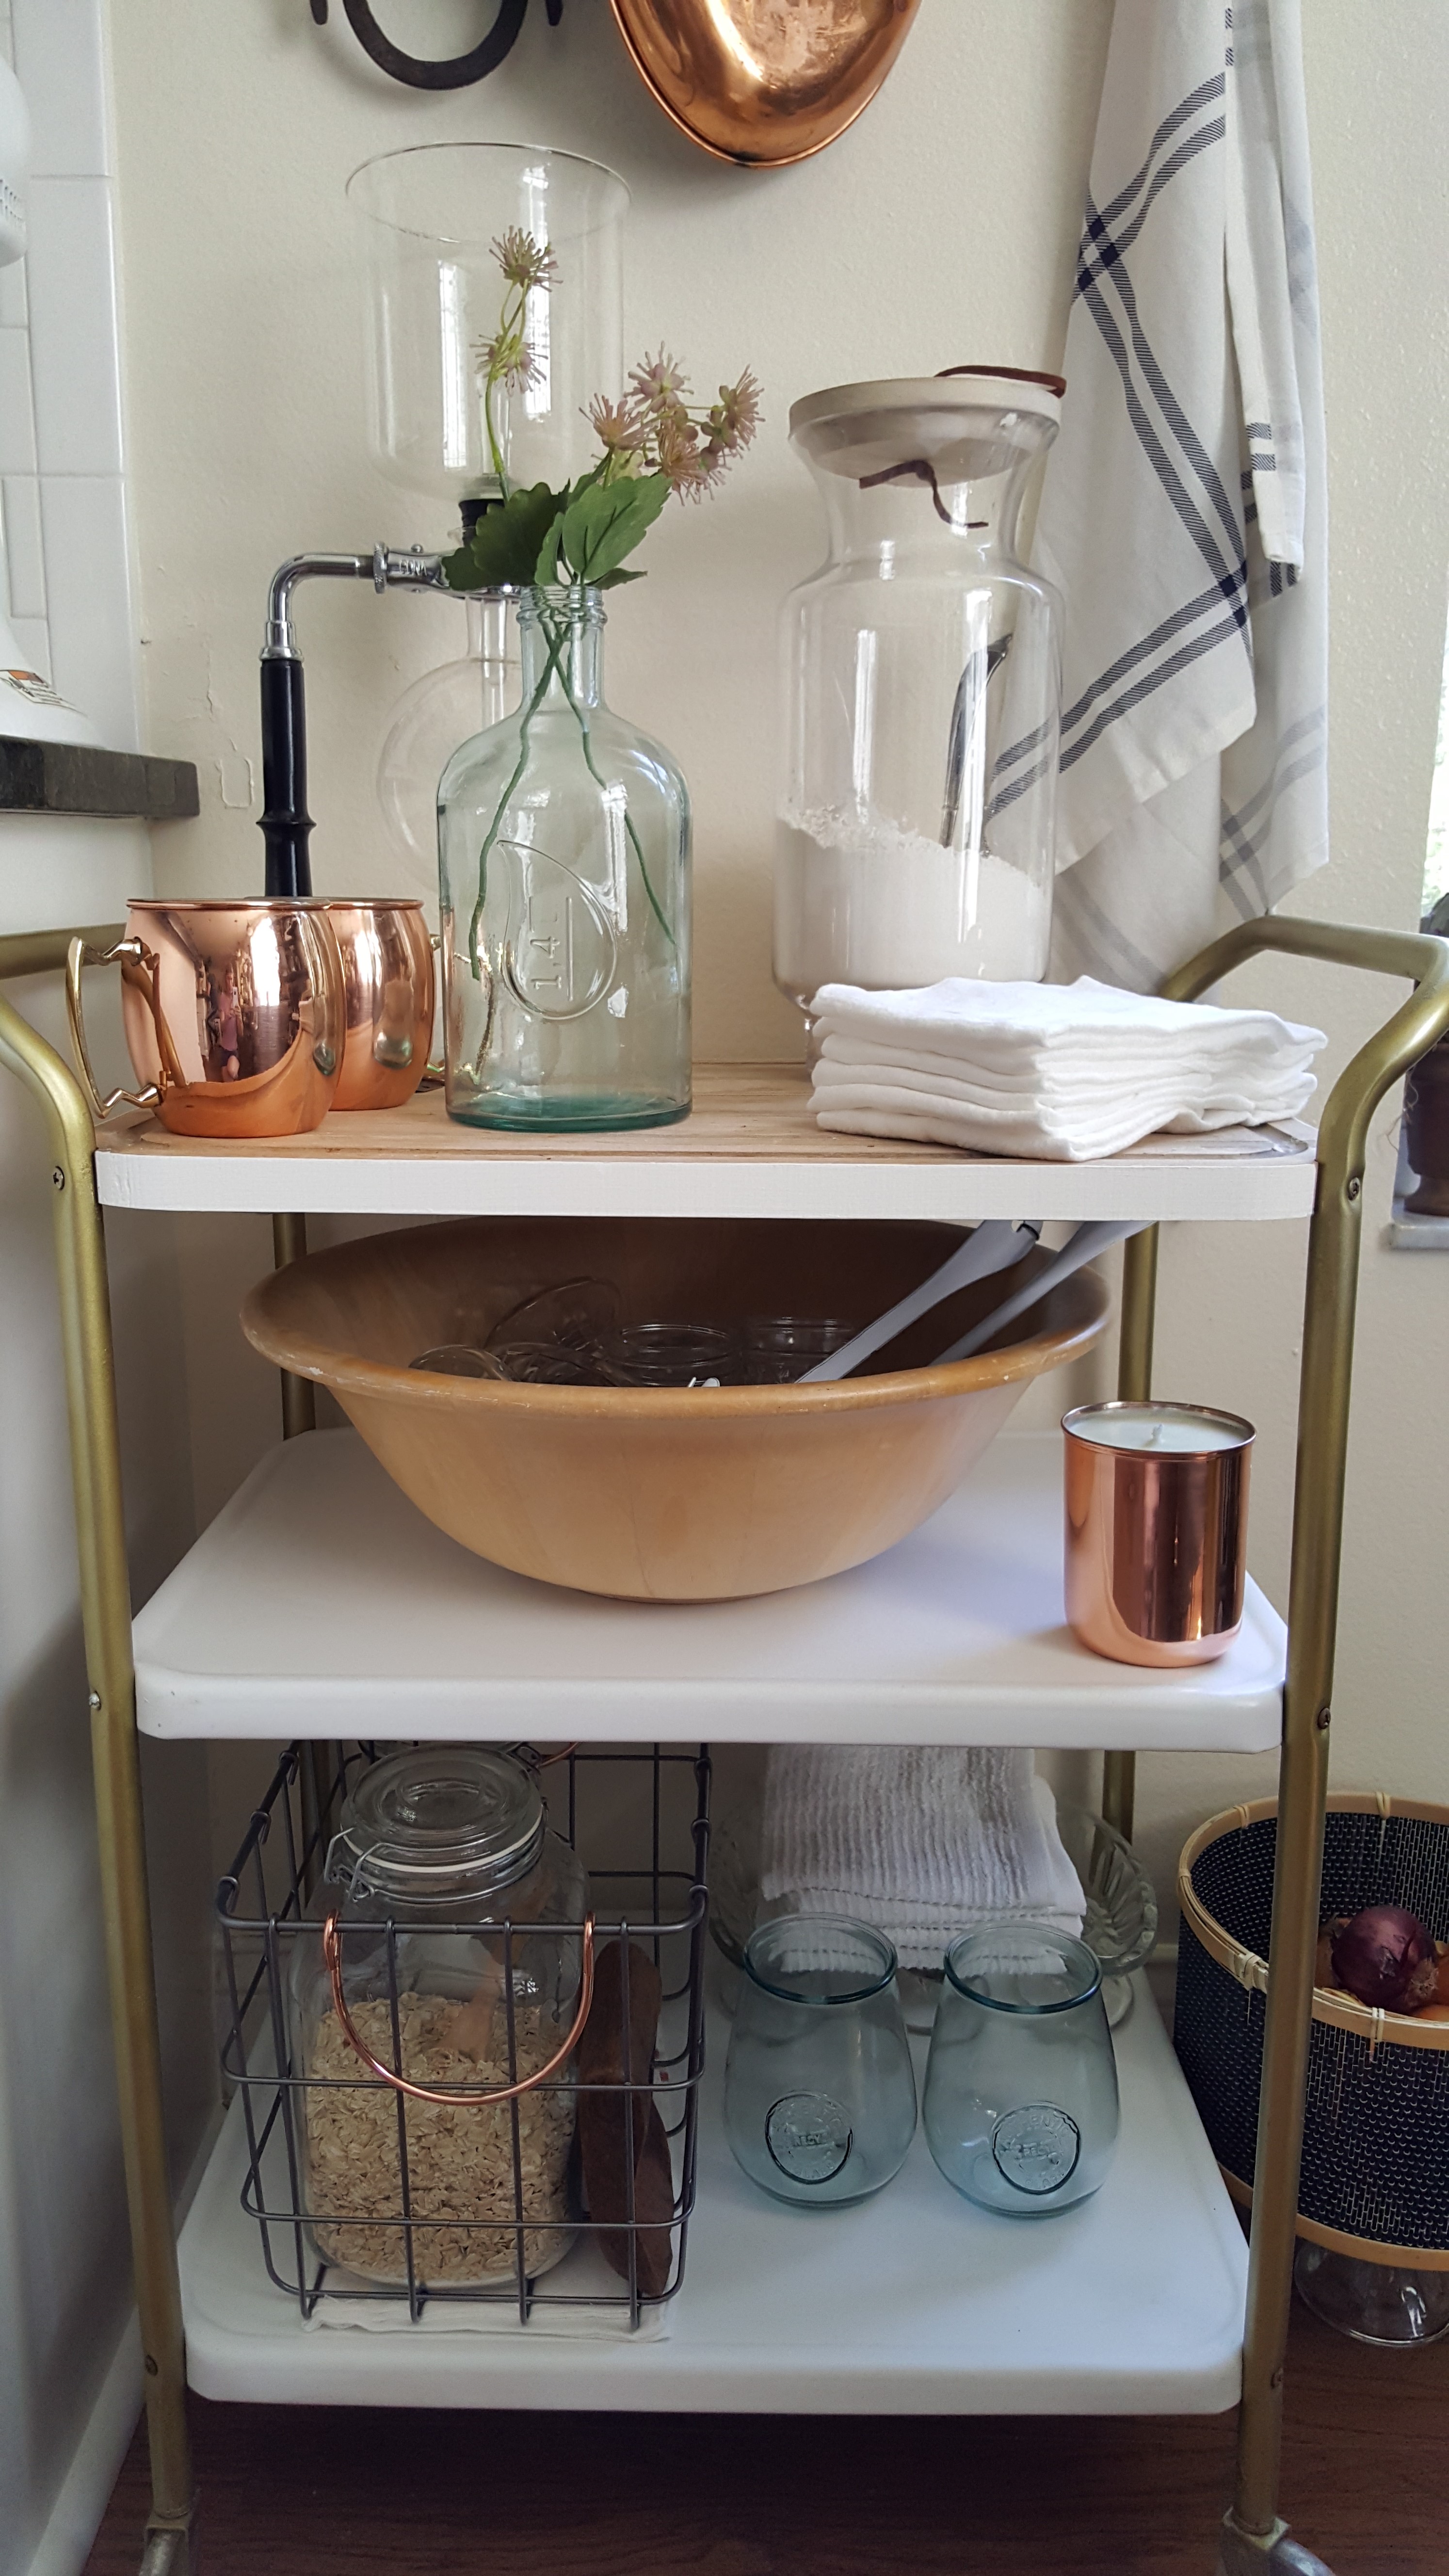
Adding my makeover for the Thrifted & Relifted Blogger Challenge, be sure to check out the hosts and other participants here. Thanks for stopping by! Be sure to let me know if you do a similar makeover…I’d love to see it!
~Holli
 Shop The House Design Challenge – Fall Edition!
 Kitchen Makeover ORC Week 5 Update
 Kitchen Upgrades that Won’t Break the Bank!

I flipping love this! I’m heading to to Salvo right now!! lol
Love ya sis!
I’m so glad you like it!!! You would love this shop I go to!! I always leave with a project!! 😘