Kitchen Makeover One Room Challenge Update, Week 3

Photo Source : Ballard Designs
Hi Everyone,
Well, we are halfway through the challenge…Week #3. Do you hear the panic in my voice? 🙂 I need ya’ll to tell me I can do this. I can do this!! We actually have done quite a bit so far.
Again, to update those just joining me. I decided to jump in and do a Kitchen Reno (not an overhaul) on a budget and document it along the way for the One Room Challenge, hosted by Linda of Calling It Home. What a way to start a new blogging adventure. Not only am I still learning my way around this whole new world (please excuse any typos or links that go nowhere 🙂 ) but I’m jumping in on one of the coolest sharing experiences ever for me. You can view the other guest participants of this challenge here.

Ok, so if you have viewed my last two Kitchen Reno posts you have seen my wish list and some of my inspiration photos. As I mentioned, I hope to get all on my wish list done…hope being the key word. My family has been great in helping me where they can and tip-toeing around the mess. I’ve ordered a few items and picked up a few pieces locally. My goal, as it is always, is to do it on a budget. I got some great deals from places like Overstock, Amazon, and my local thrift shop.
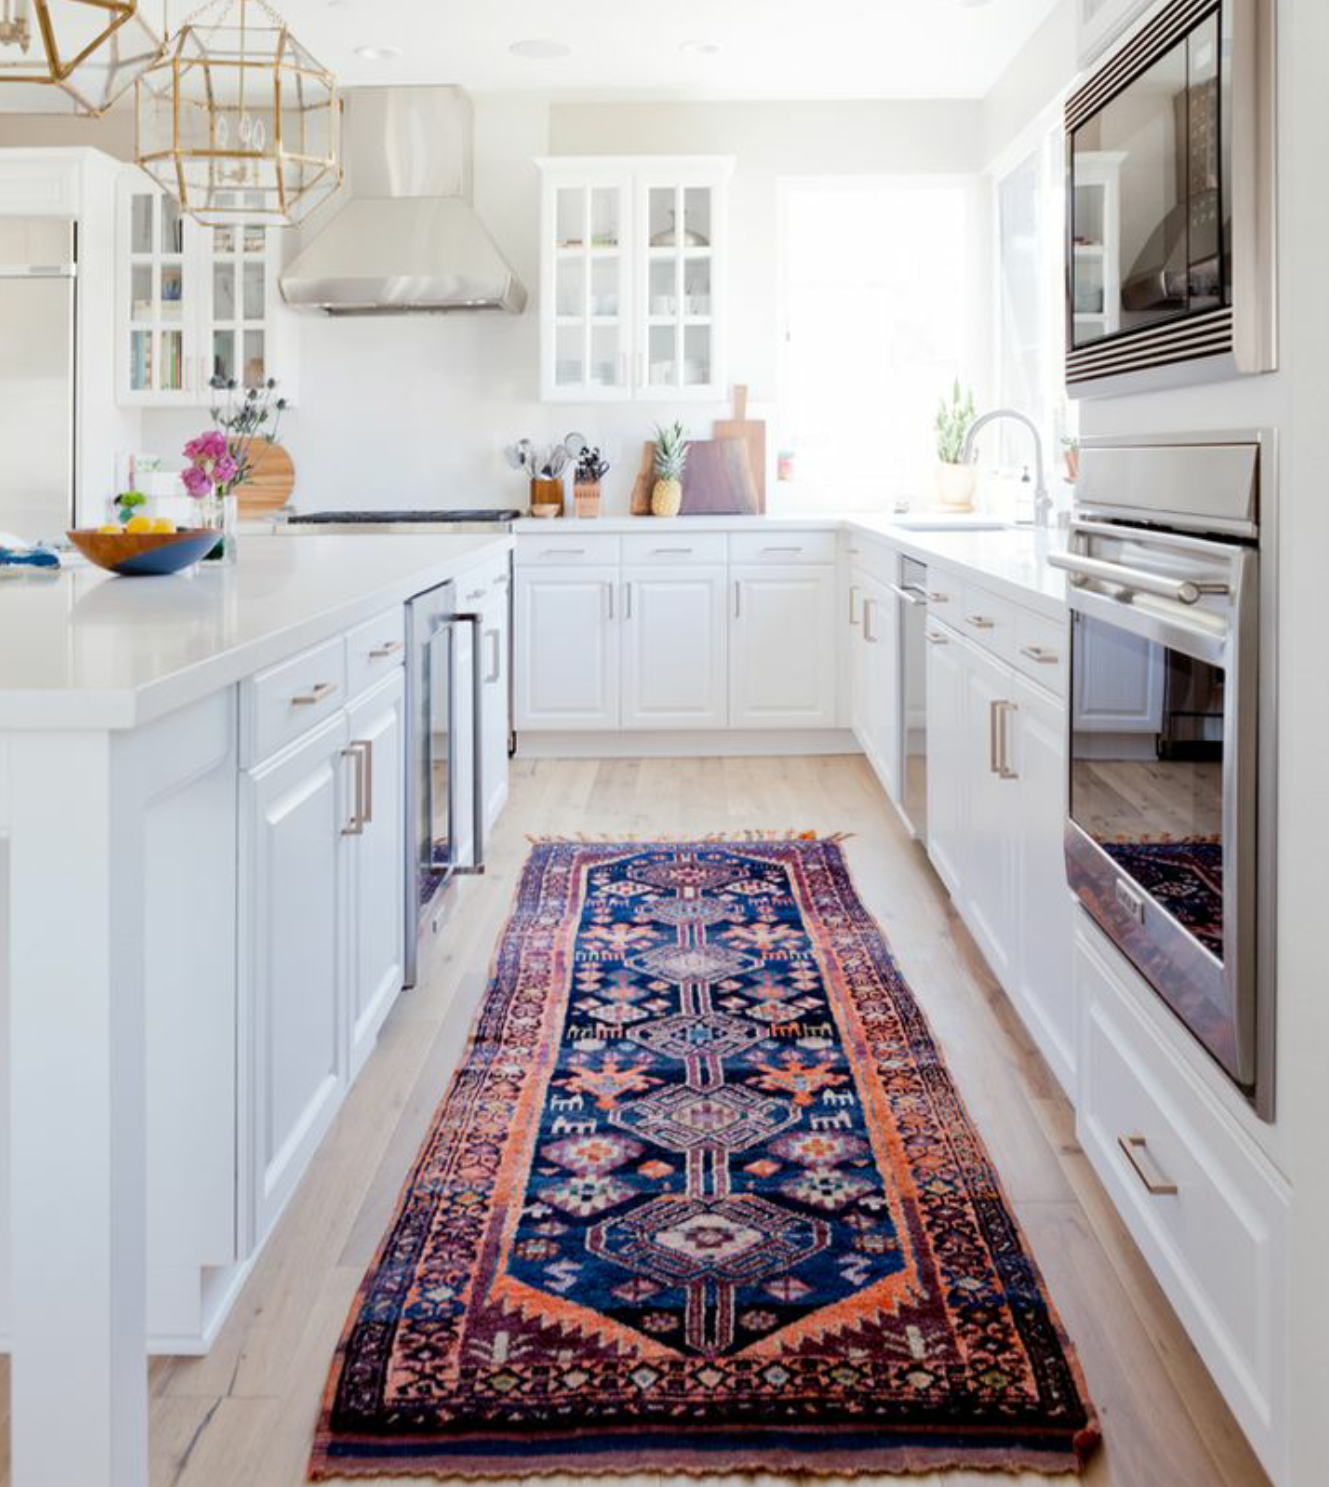
Photo Source : Pinterest Lark & Linen
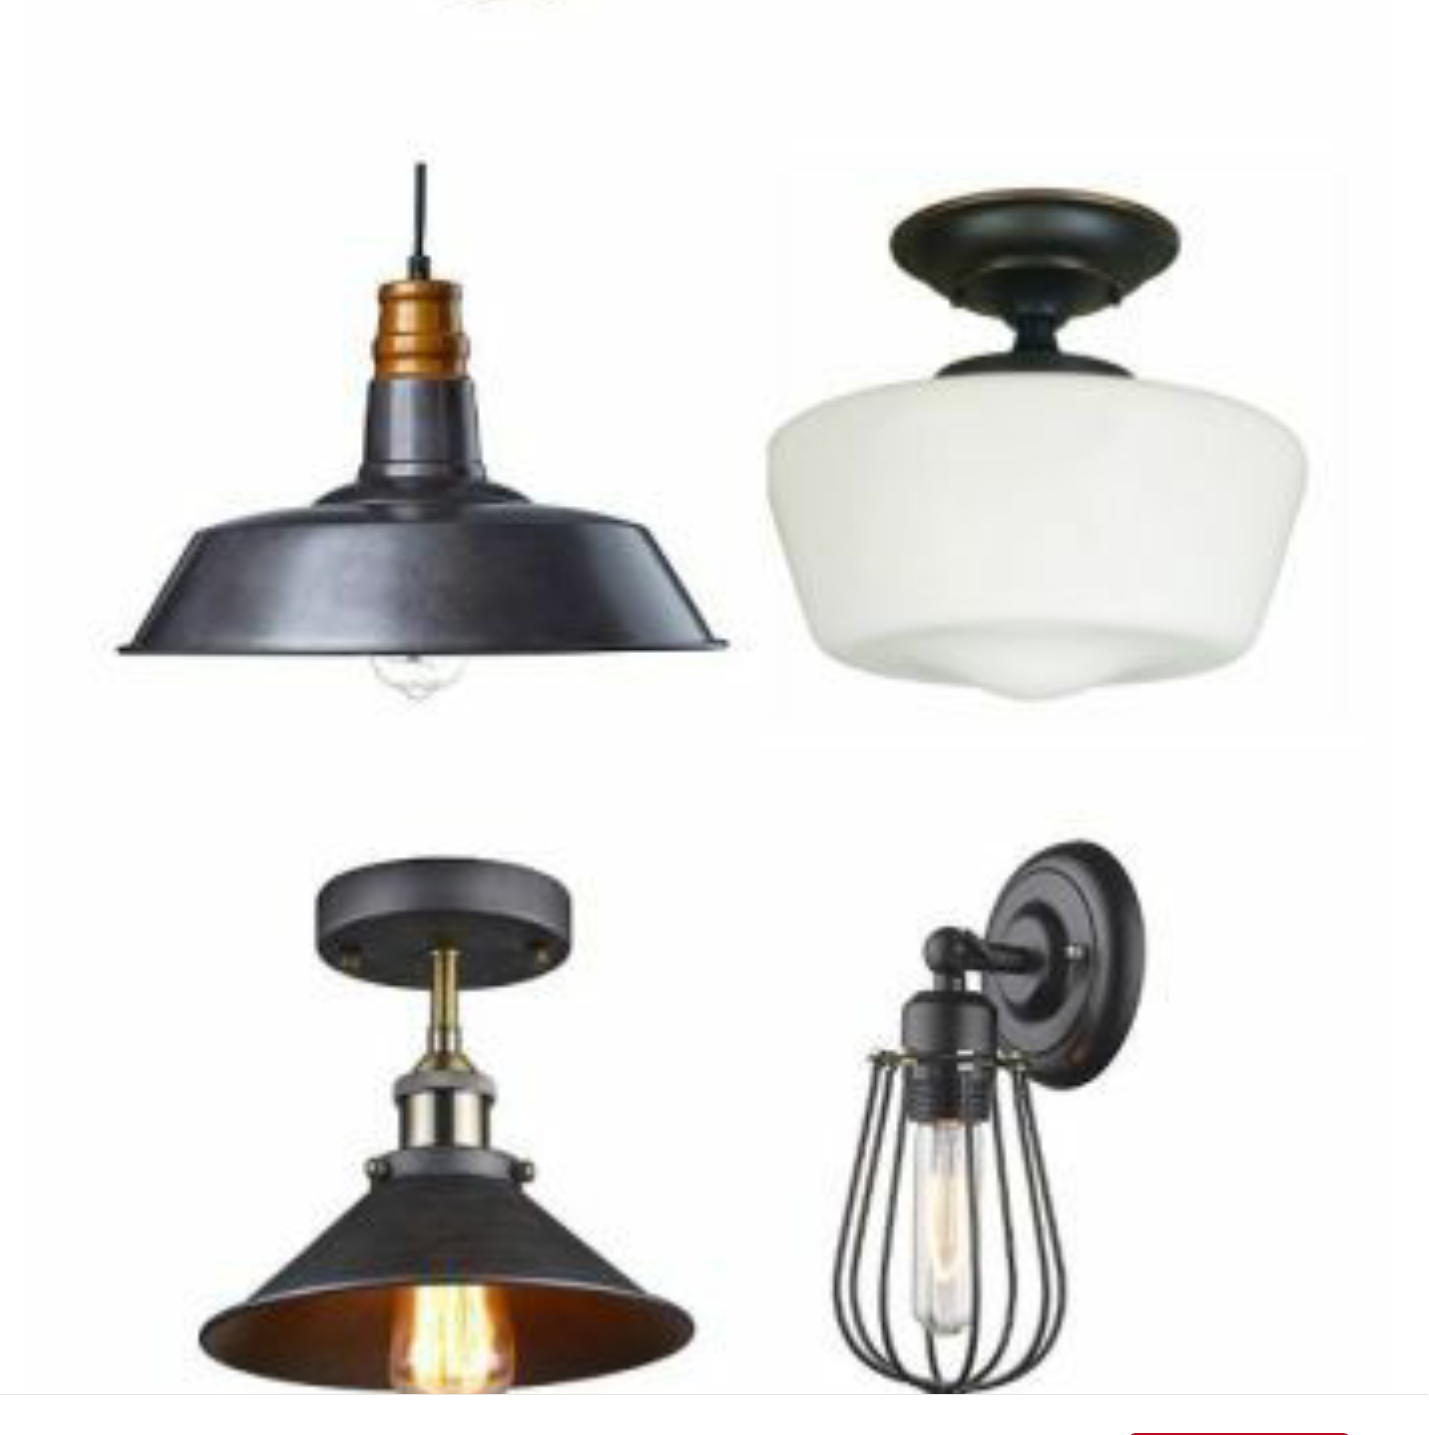
Photo Source : Pinterest Robb Restyle
So far we have removed some cabinets…thanks to my big strong husband. 🙂 We have added some tile to the kitchen…hmm where could it be?? Have to wait for the reveal! 🙂 We changed out the light fixture over the island. I will say before taking on something like this…ask for help from friends, family members, neighbors…even YouTube. Do as much of it yourself as possible, that’s where you will save the most money. Thankfully, my husband can do quite a few things. One of his buddies always gives us a deal on our tile jobs. Thank you Chris! I shopped around to get the best price and found what I needed at Lowes. 
The cabinets are in the process of being painted now. One tip I want to be sure and pass on is that you allow plenty of time for this job. Between prepping (cleaning/drying/sanding) and then painting the primer and a couple of coats of paint, you will need 1-2 weeks to do it right. This is not a rush job. Allowing the primer and paint to completely dry in between is a must. For those that didn’t see the first post, I went with Benjamin Moore for both my paint and primer.
I also found a great little rolling cart at my favorite thrift shop. It had great bones and large acrylic wheels. Vintage and very cool!! I left the shop without it, but then couldn’t stop thinking about it. Ever do that? 🙂 So I went back a day or two later and panicked because I couldn’t find it at first…but then I saw her. All rusty and grimey and I talked the owner down so I got it even cheaper. Here she is in her “before” state. I’ll post a finished picture when she’s complete and again I’ll do a detailed blog post of the process.
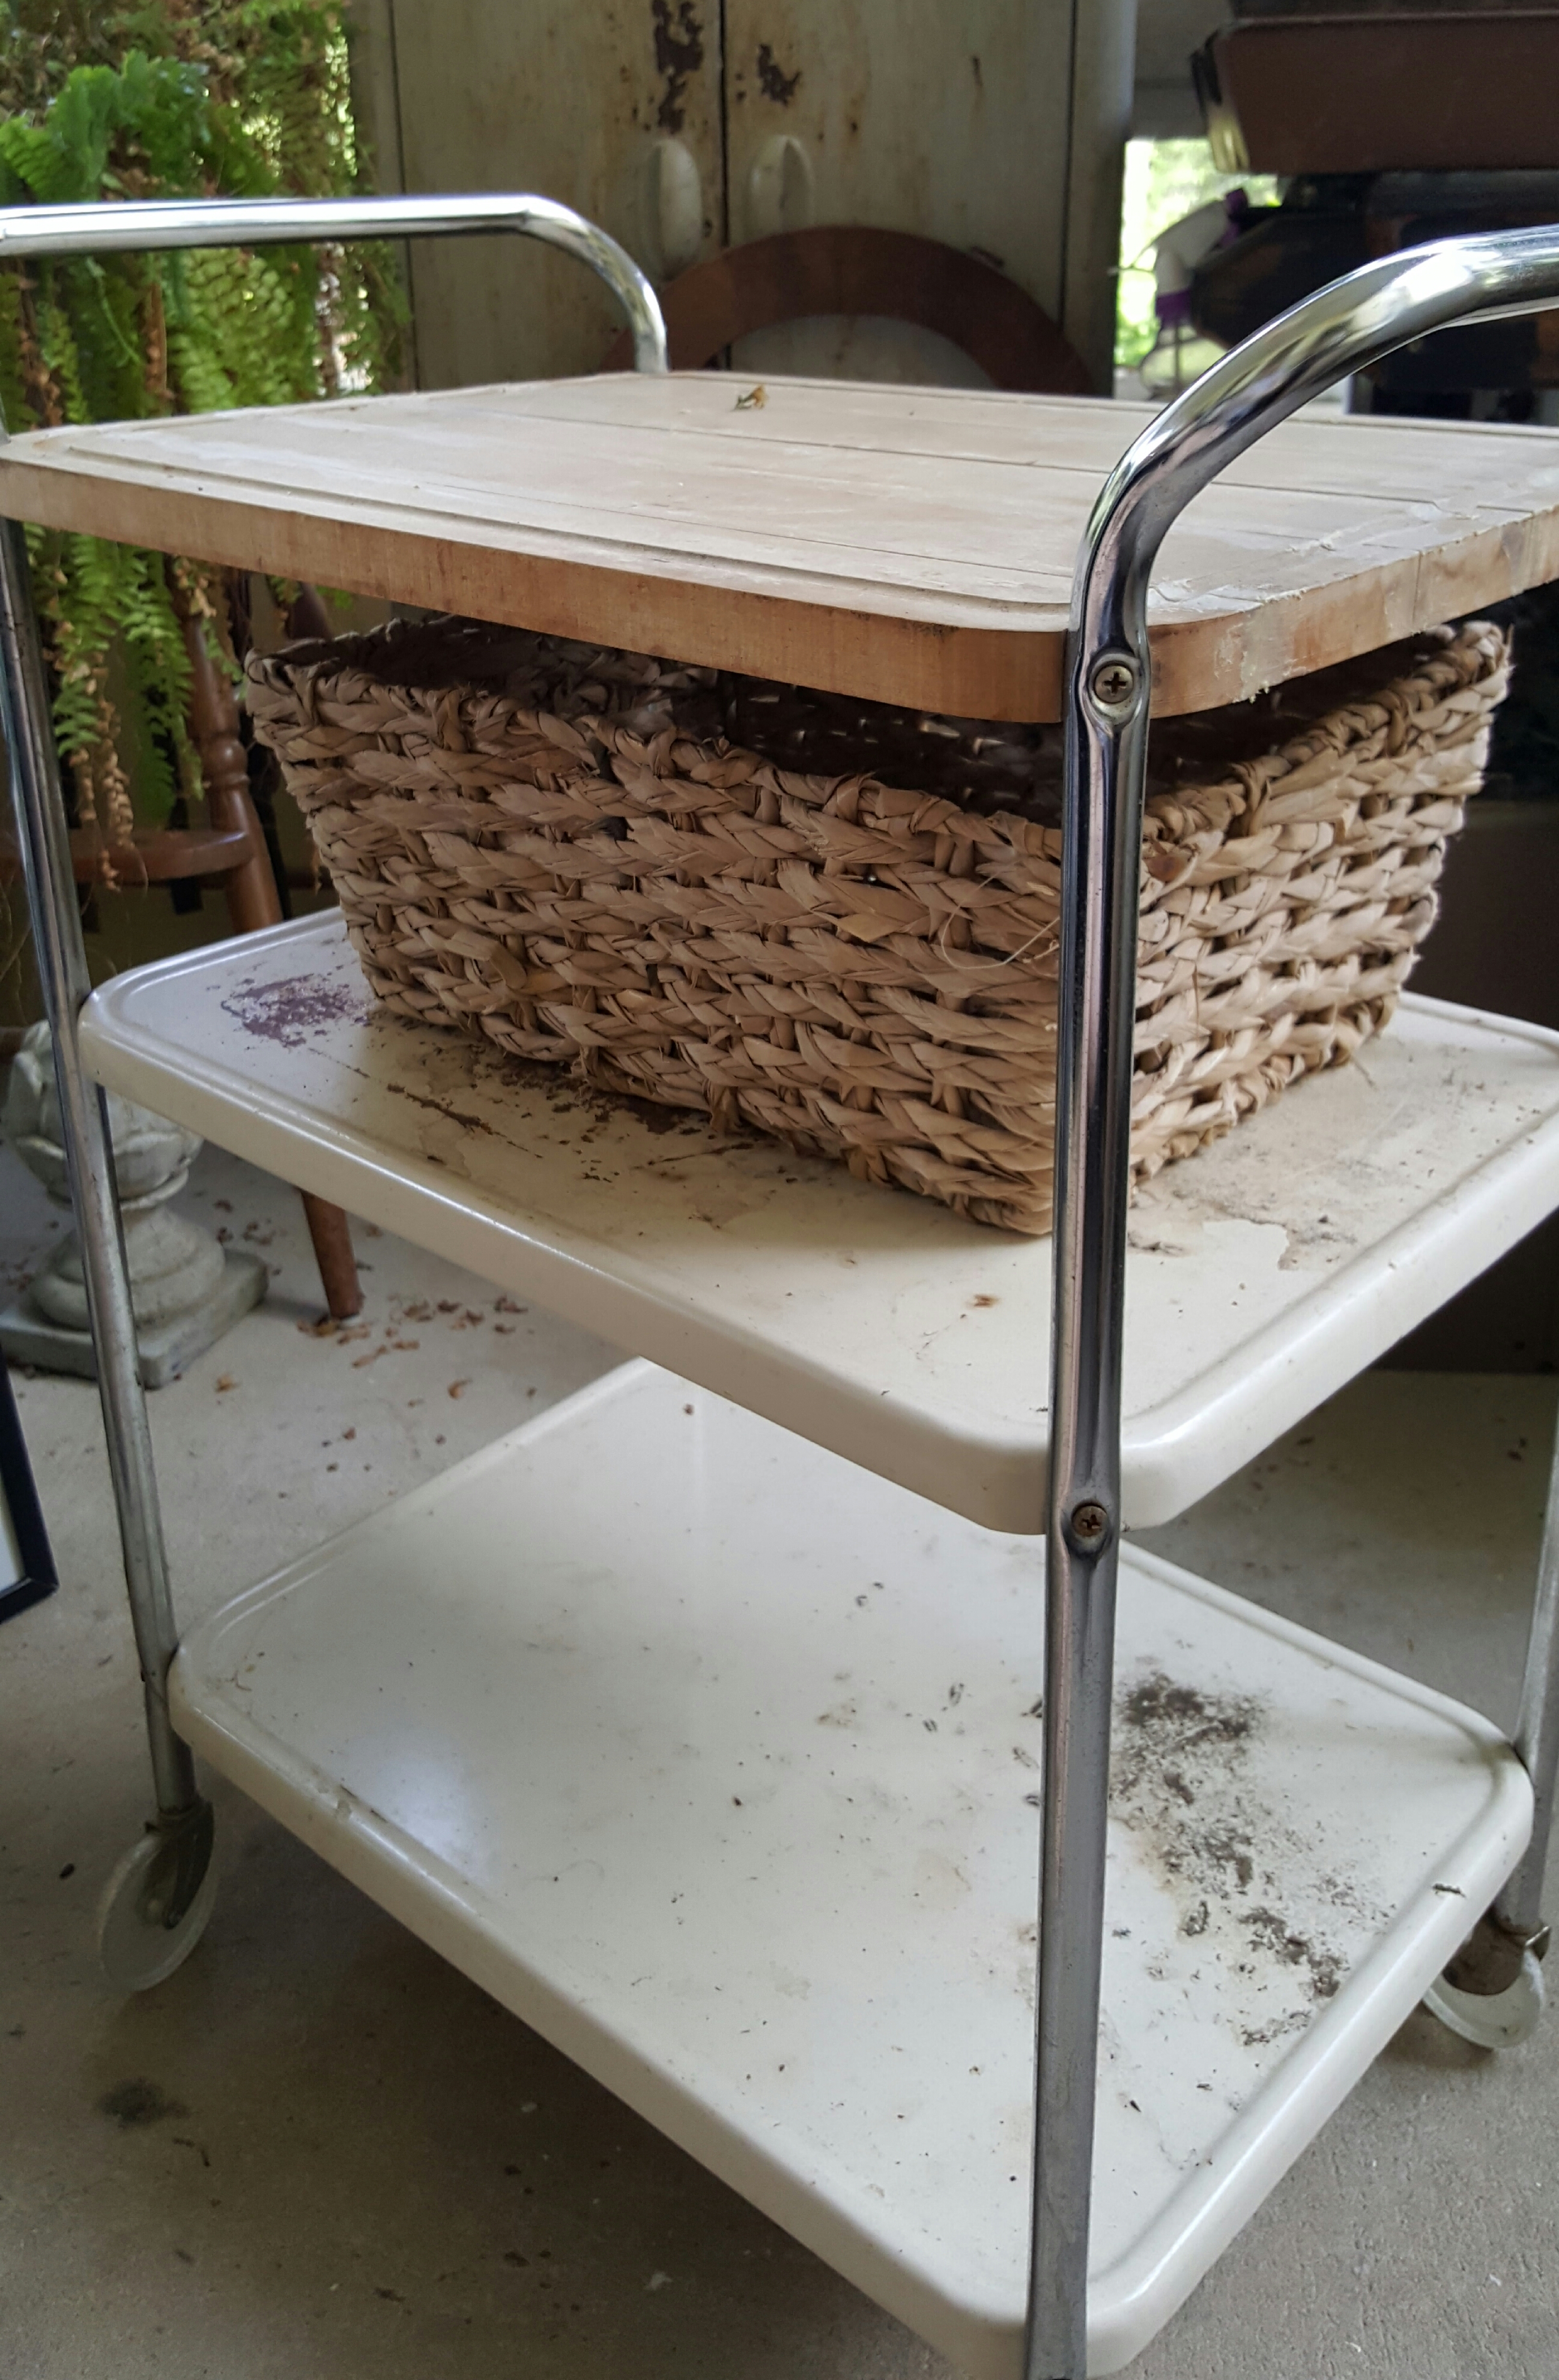
Ok, well I have lots to do and the clock is ticking. On my list to shop for is something for the cabinets (a pop of color), some more hardware and some accessories. I will leave you with another awesome inspiration photo instead of my ugly cart, though she will be pretty soon.
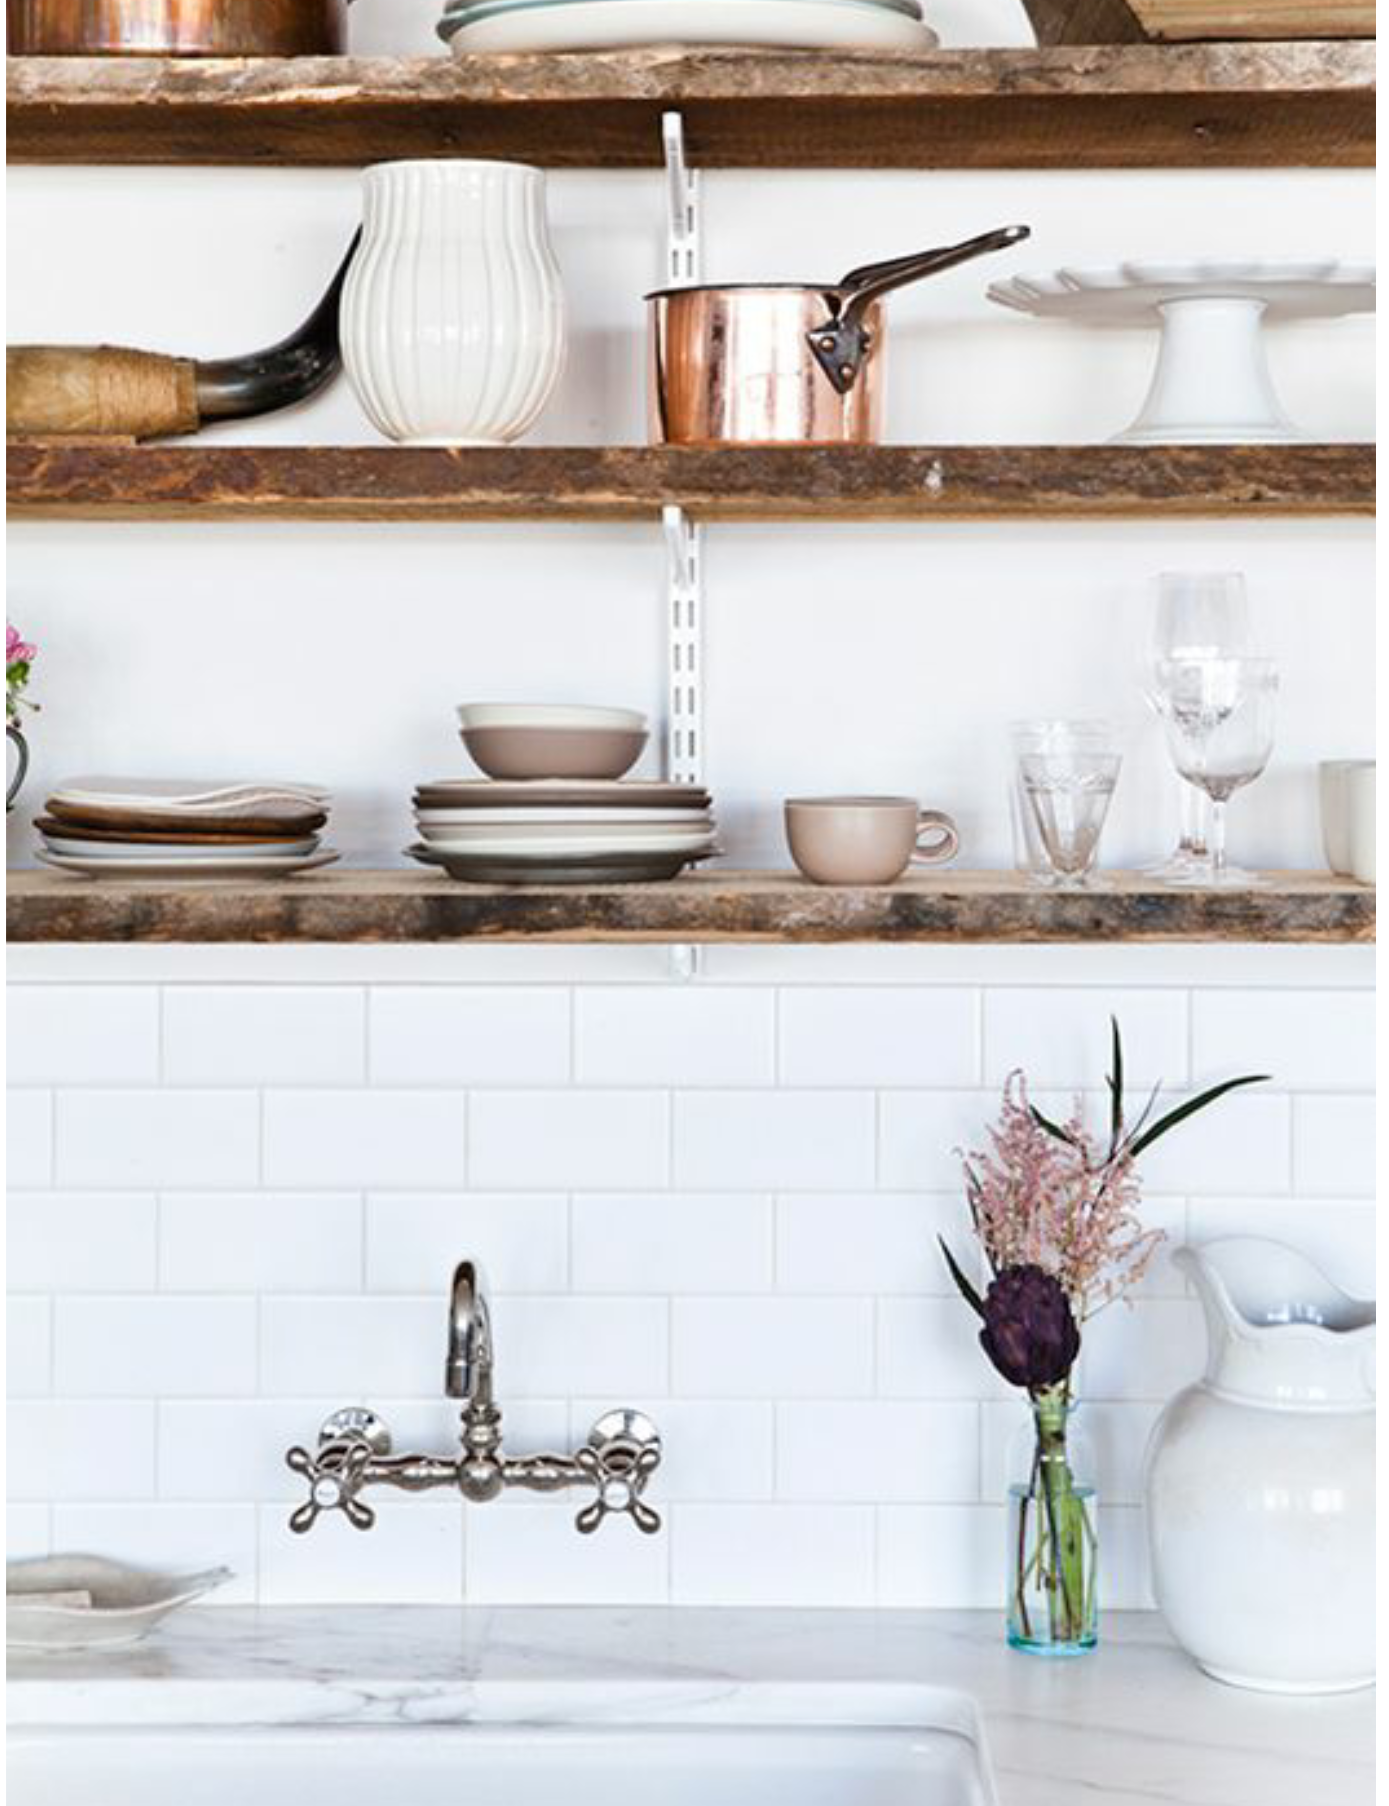
Photo Source : Pinterest sfgirlbybay/victoria smith
Thanks again for joining me and cheering me on. Be sure to follow me on Instagram and check back next Thursday for another update. Take care!
~Holli
 Summer Travel Made Easy, Tips for the Whole Family!
 One Room Challenge Urban Industrial Vintage Laundry Room Week 5
 Kitchen Makeover One Room Challenge, THE REVEAL

Love it!
This is turning out soooo Lovely Holli!! I cant wait to see it all done!!
Thanks Heather!! Means so much from you!!
Holli this is so exciting!!! I need to read the first two posts to catch up from the beginning. I LOVE your inspiration photos and the direction you’re headed. That little kitchen cart…SO great!!! Congrats on starting a blog!!
Thanks so much Heidi!! I figure I can have longer “conversations” with my friends like you this way! 😊 I really appreciate it!!
I love the site and your very talented ,Olivia did a great job ! I will continue to follow you as I have .