Barn Door Coffee Table DIY
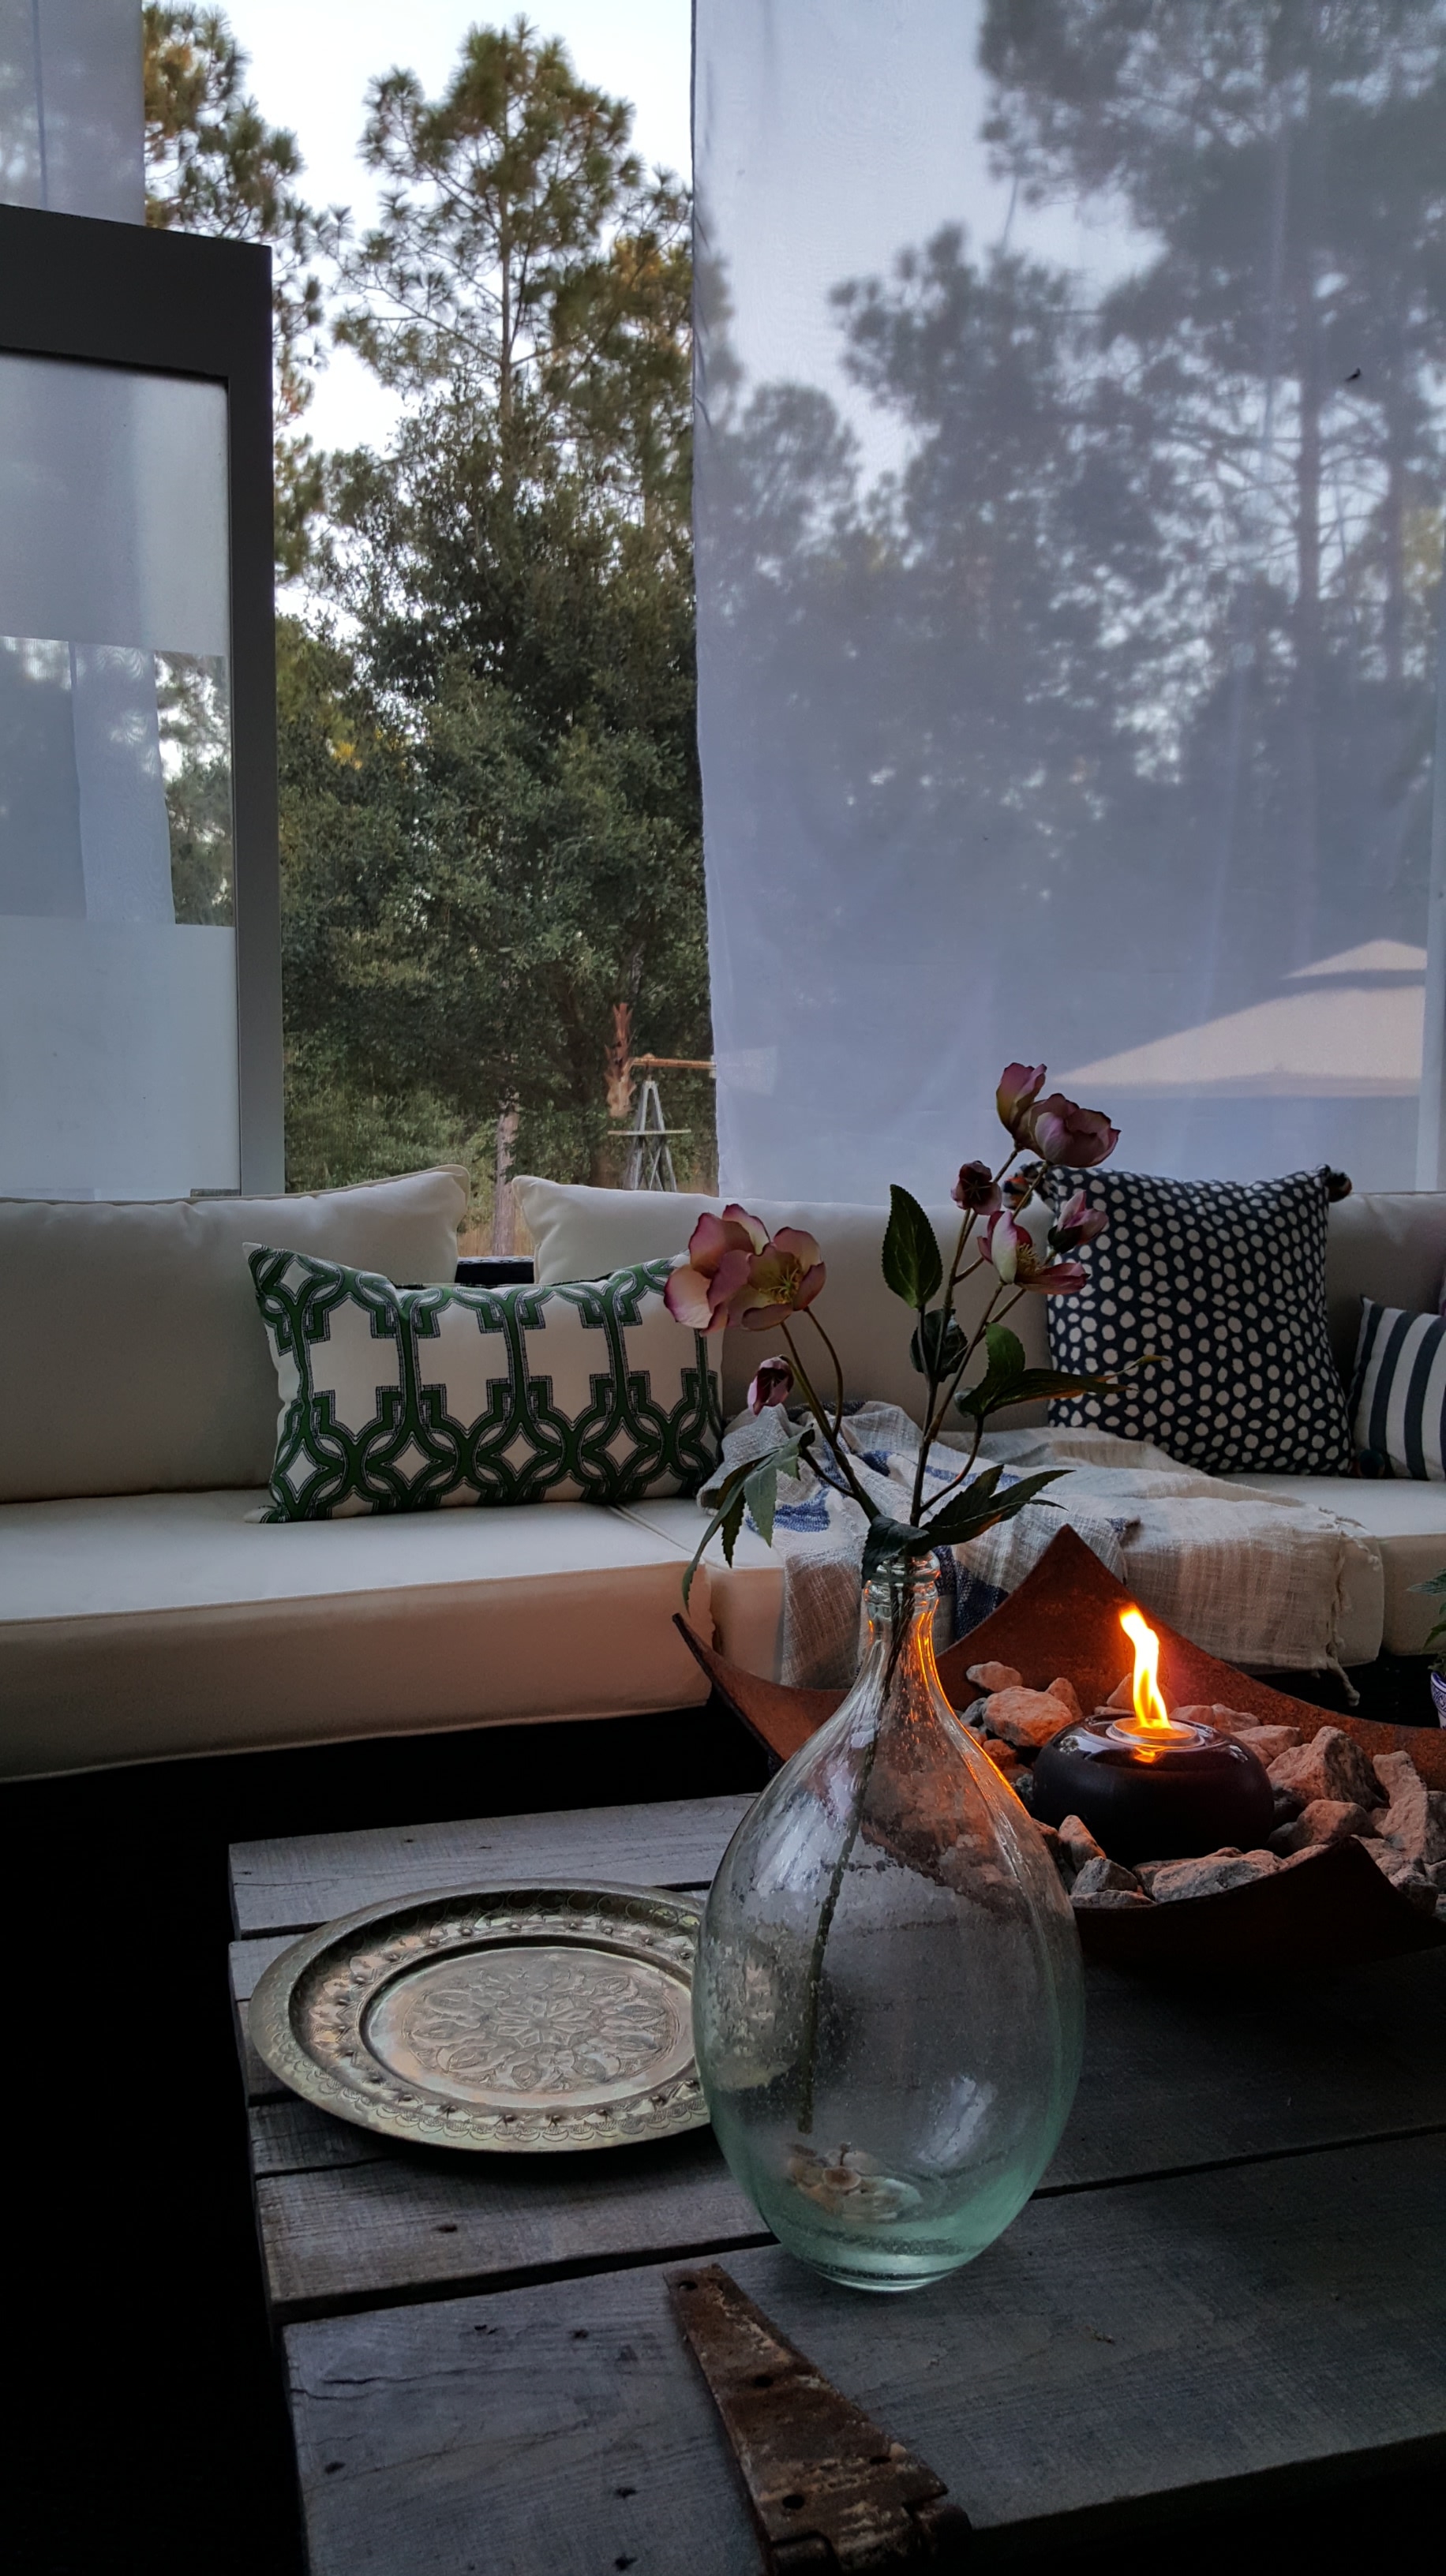
When I was dreaming up what I wanted to do for the One Room Challenge last Fall. I knew I wanted a comfortable space for entertaining and relaxing with family and friends. I also wanted a cool, eclectic feel but as always I needed my touch of vintage and rustic decor. Our new coffee table did the trick. Many have asked about it, so here is a quick tutorial on how we made it.
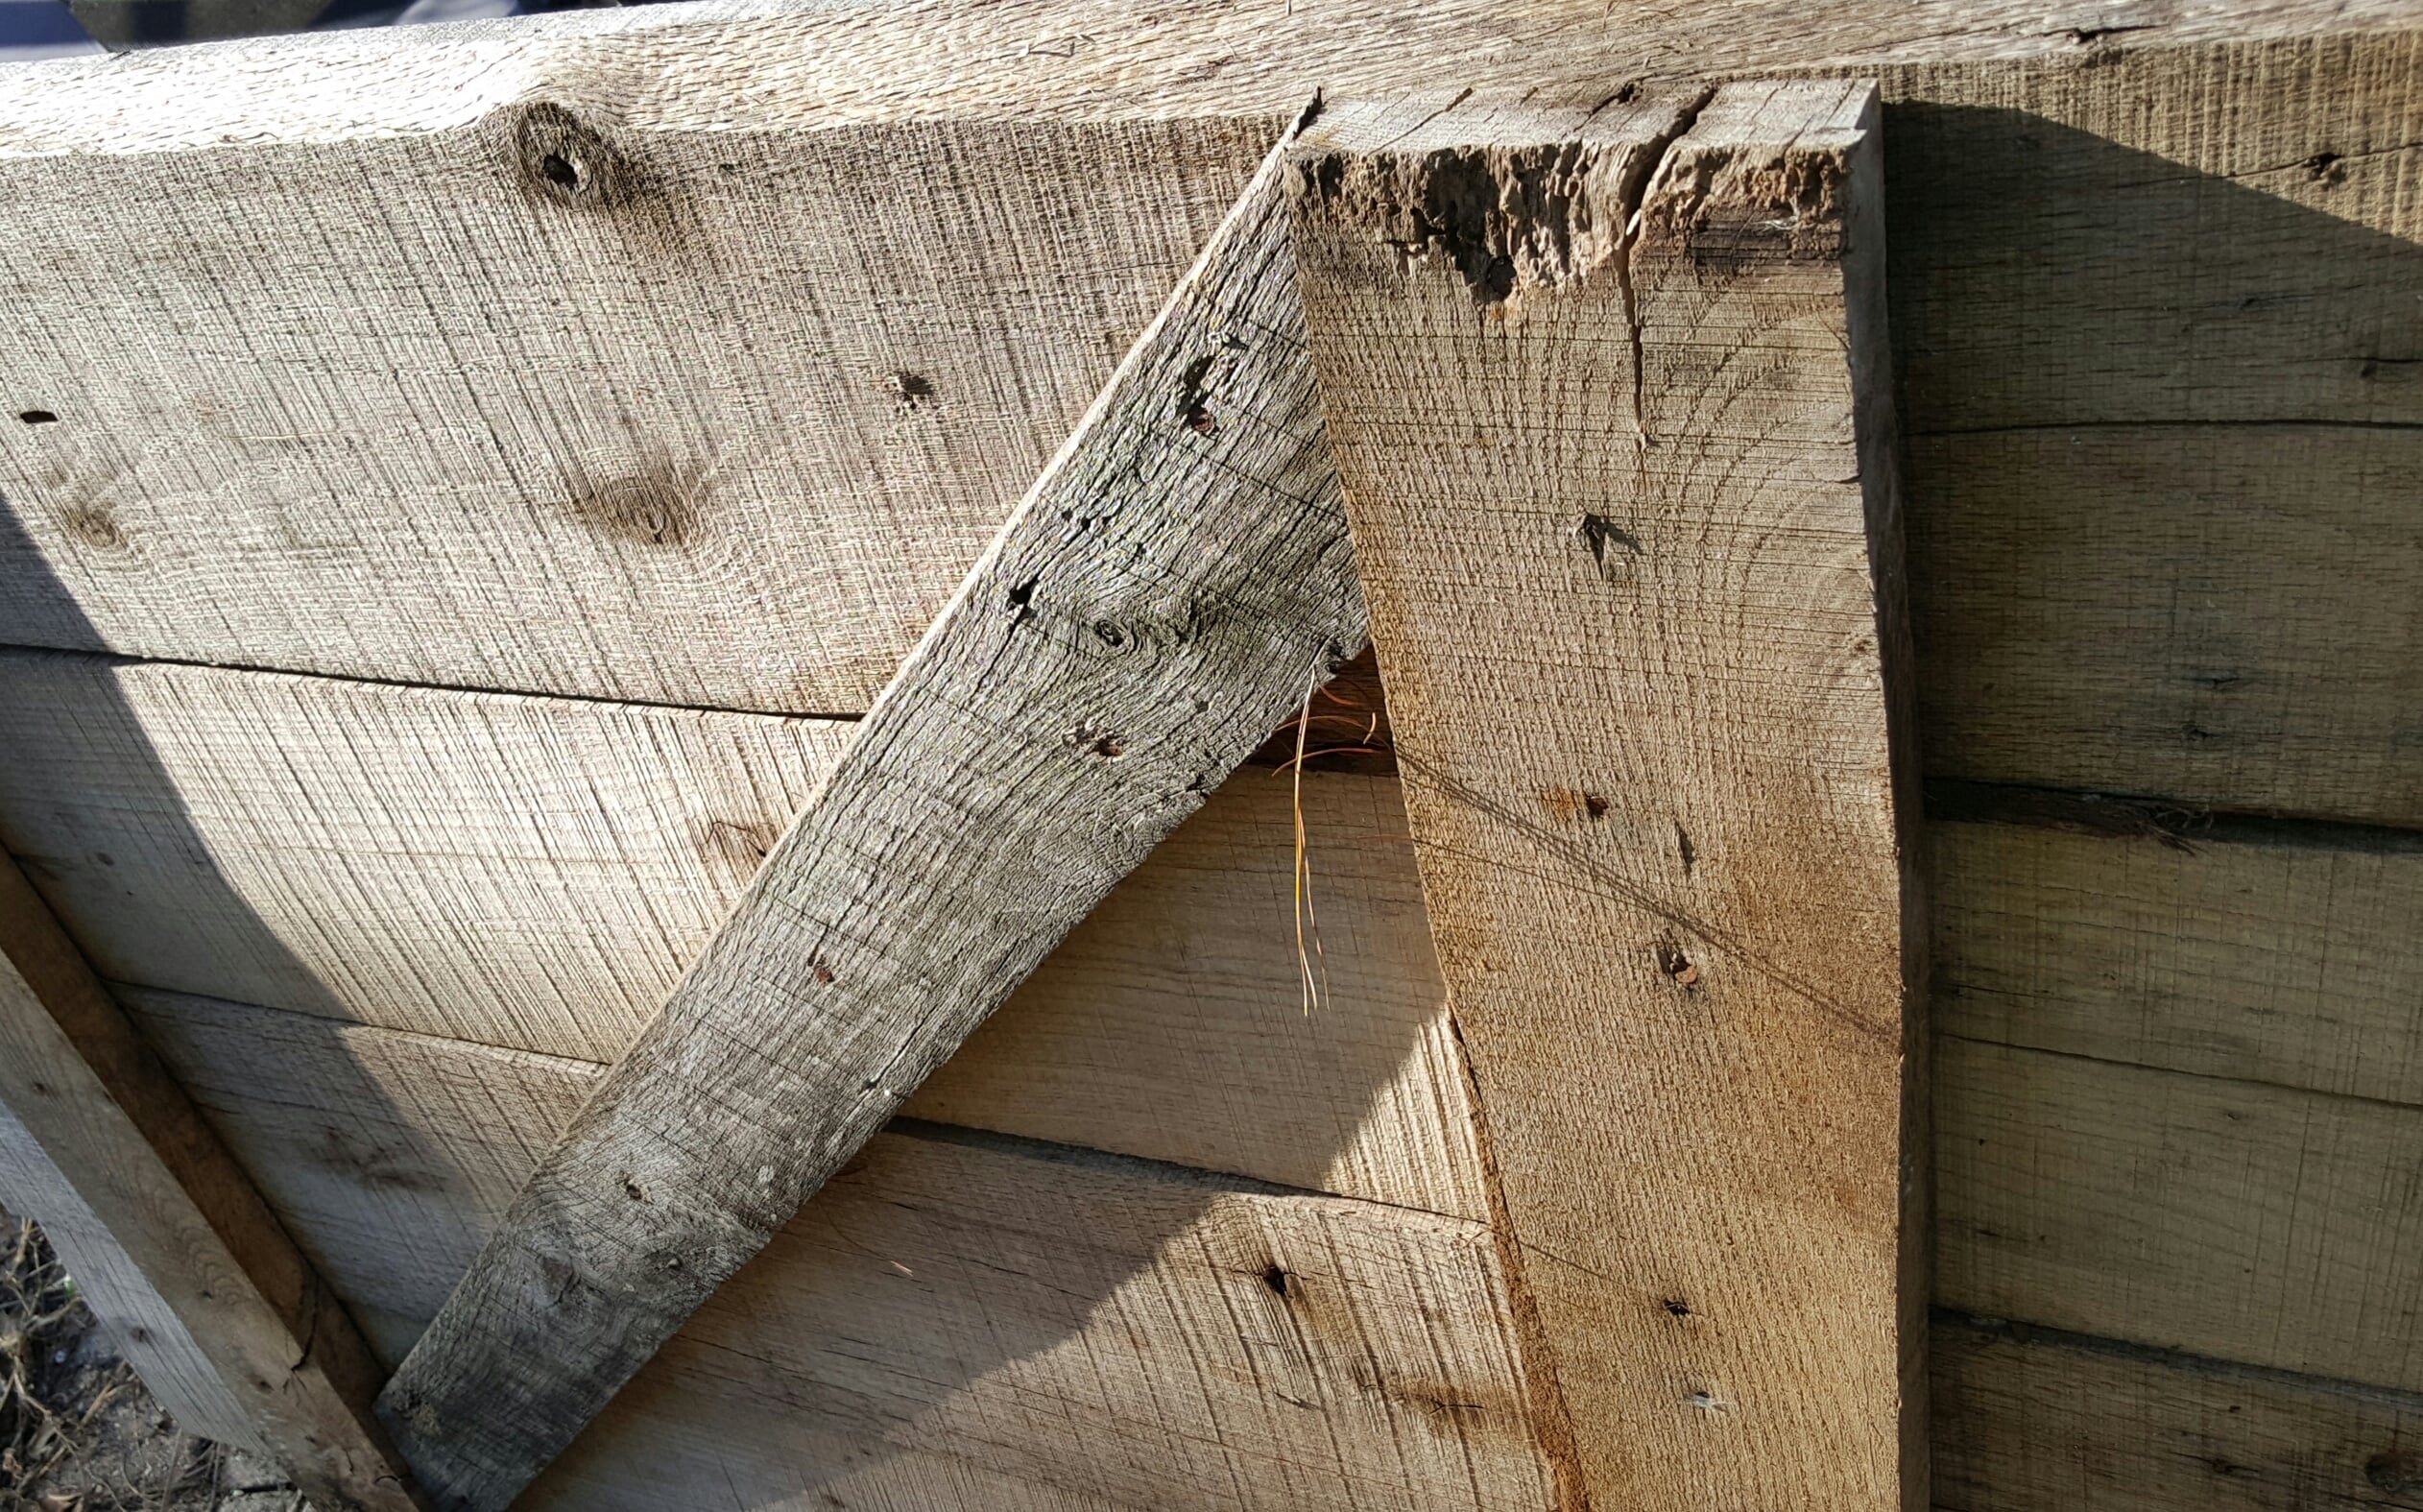
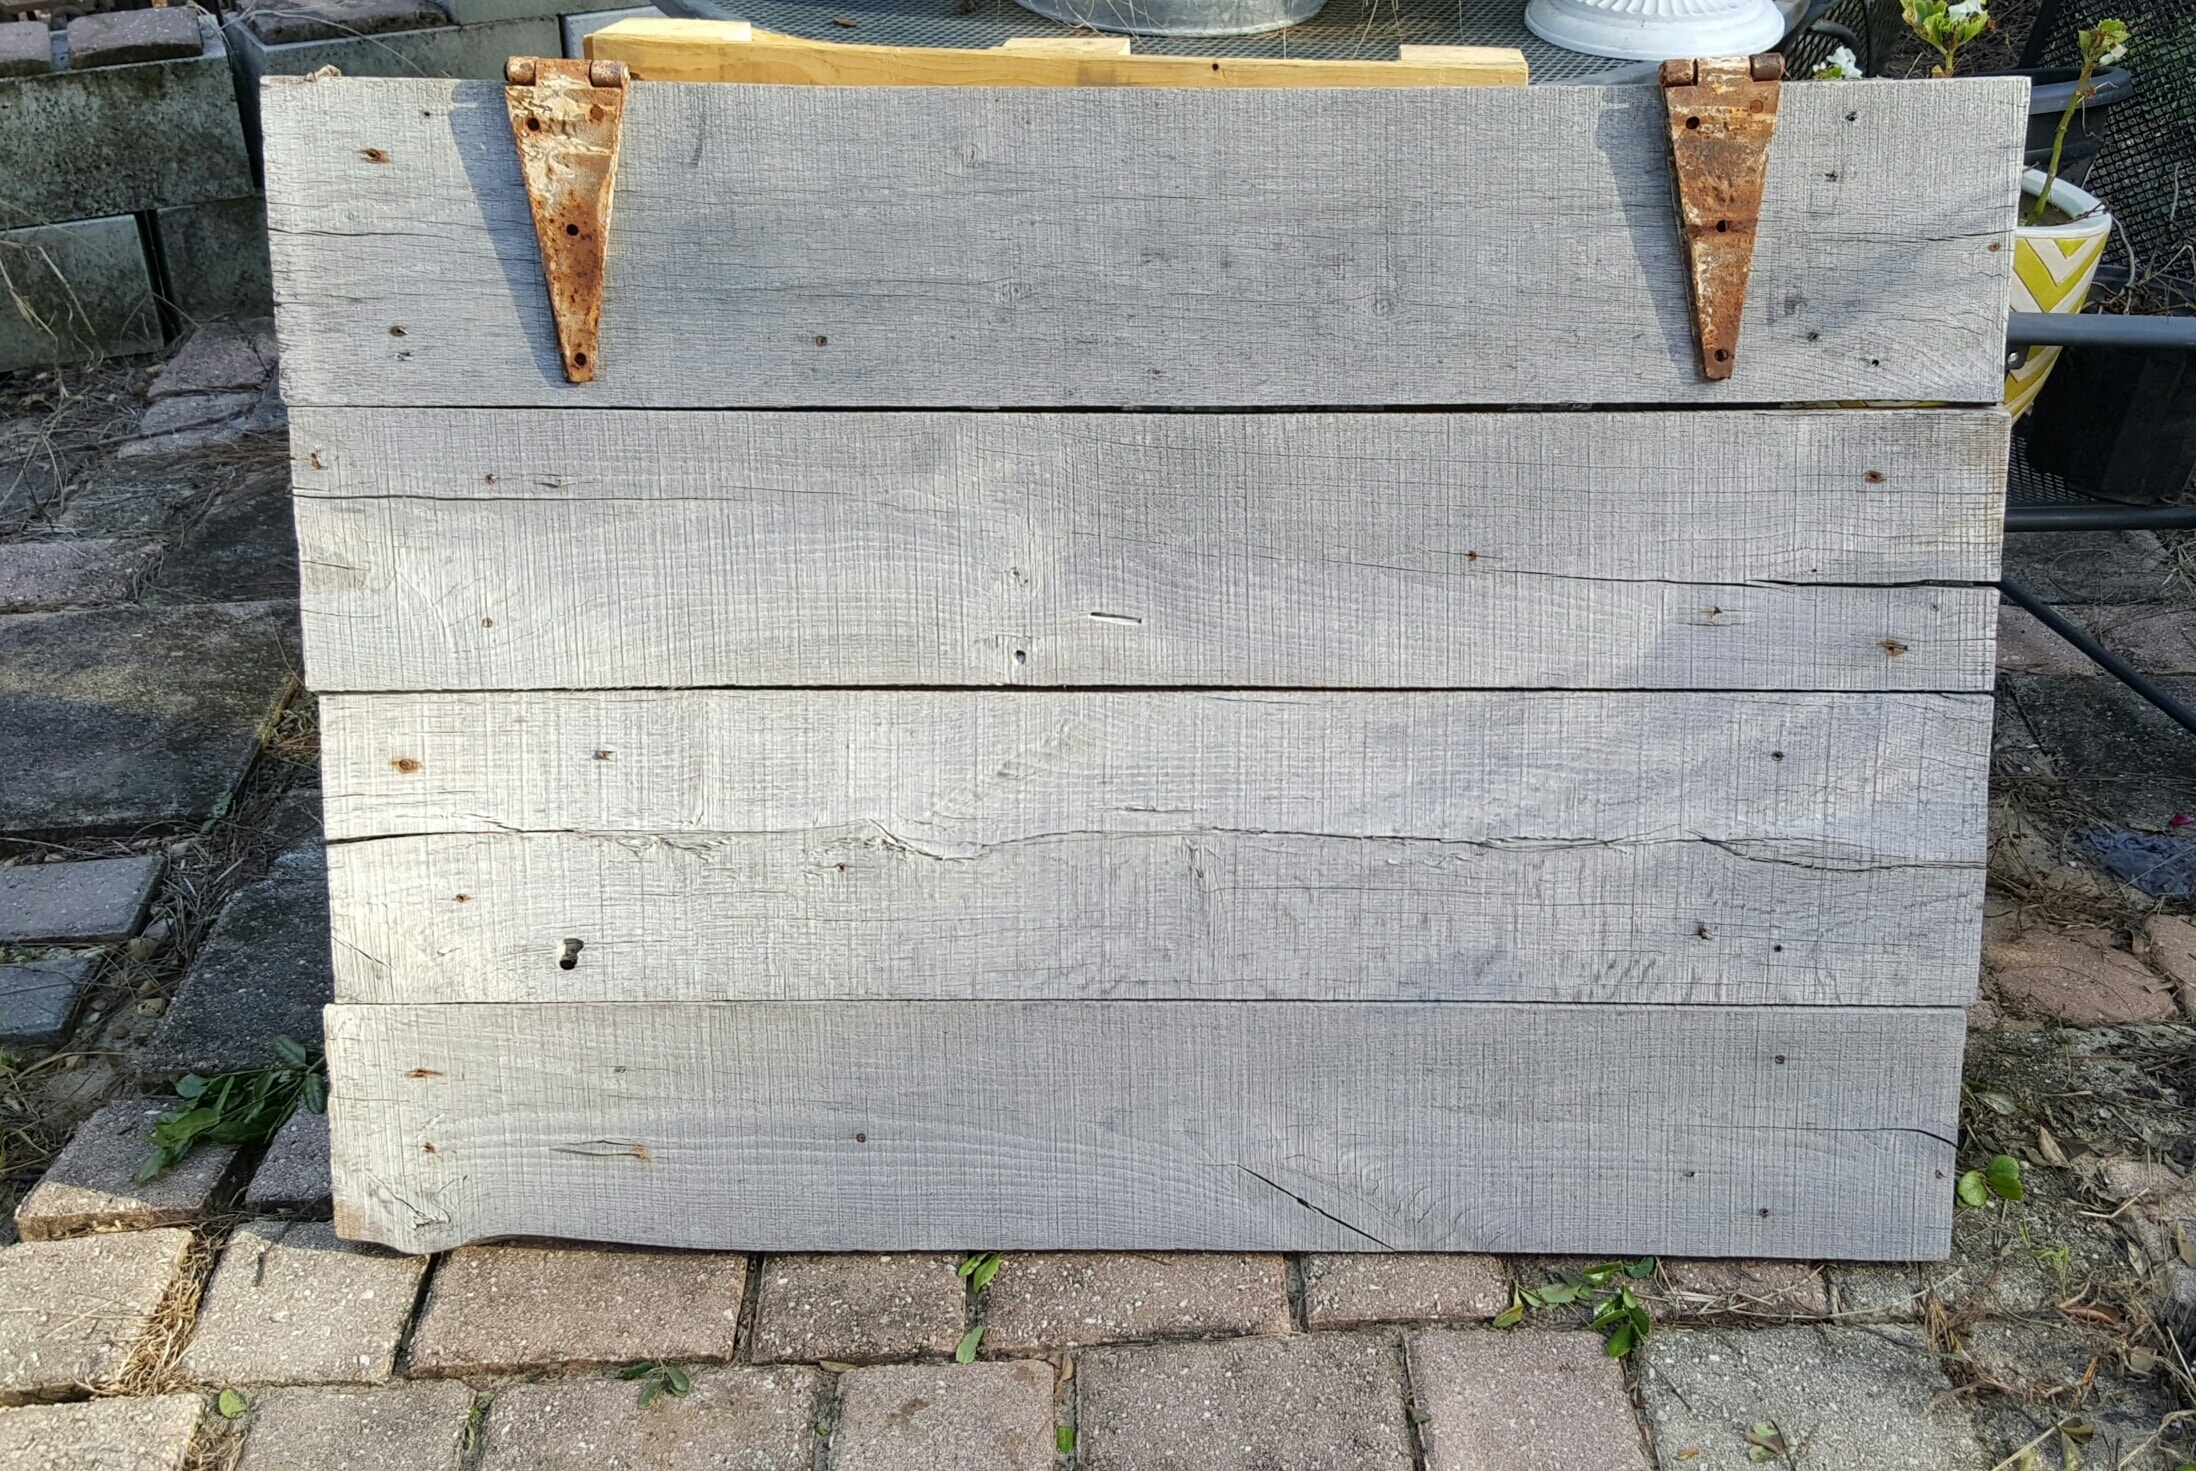
There is a shop in town that always has the best stuff…the real rustic, fresh off the farm and out of the barn stuff. I had seen some old barn doors that were just calling my name but I had no idea where I’d use them. They were half doors like the ones used up high where the hay was stored…cool right? While I was collecting stuff to use in our makeover, I took one home thinking “I have to use this”. It would fill that vintage and rustic need I had for this space.
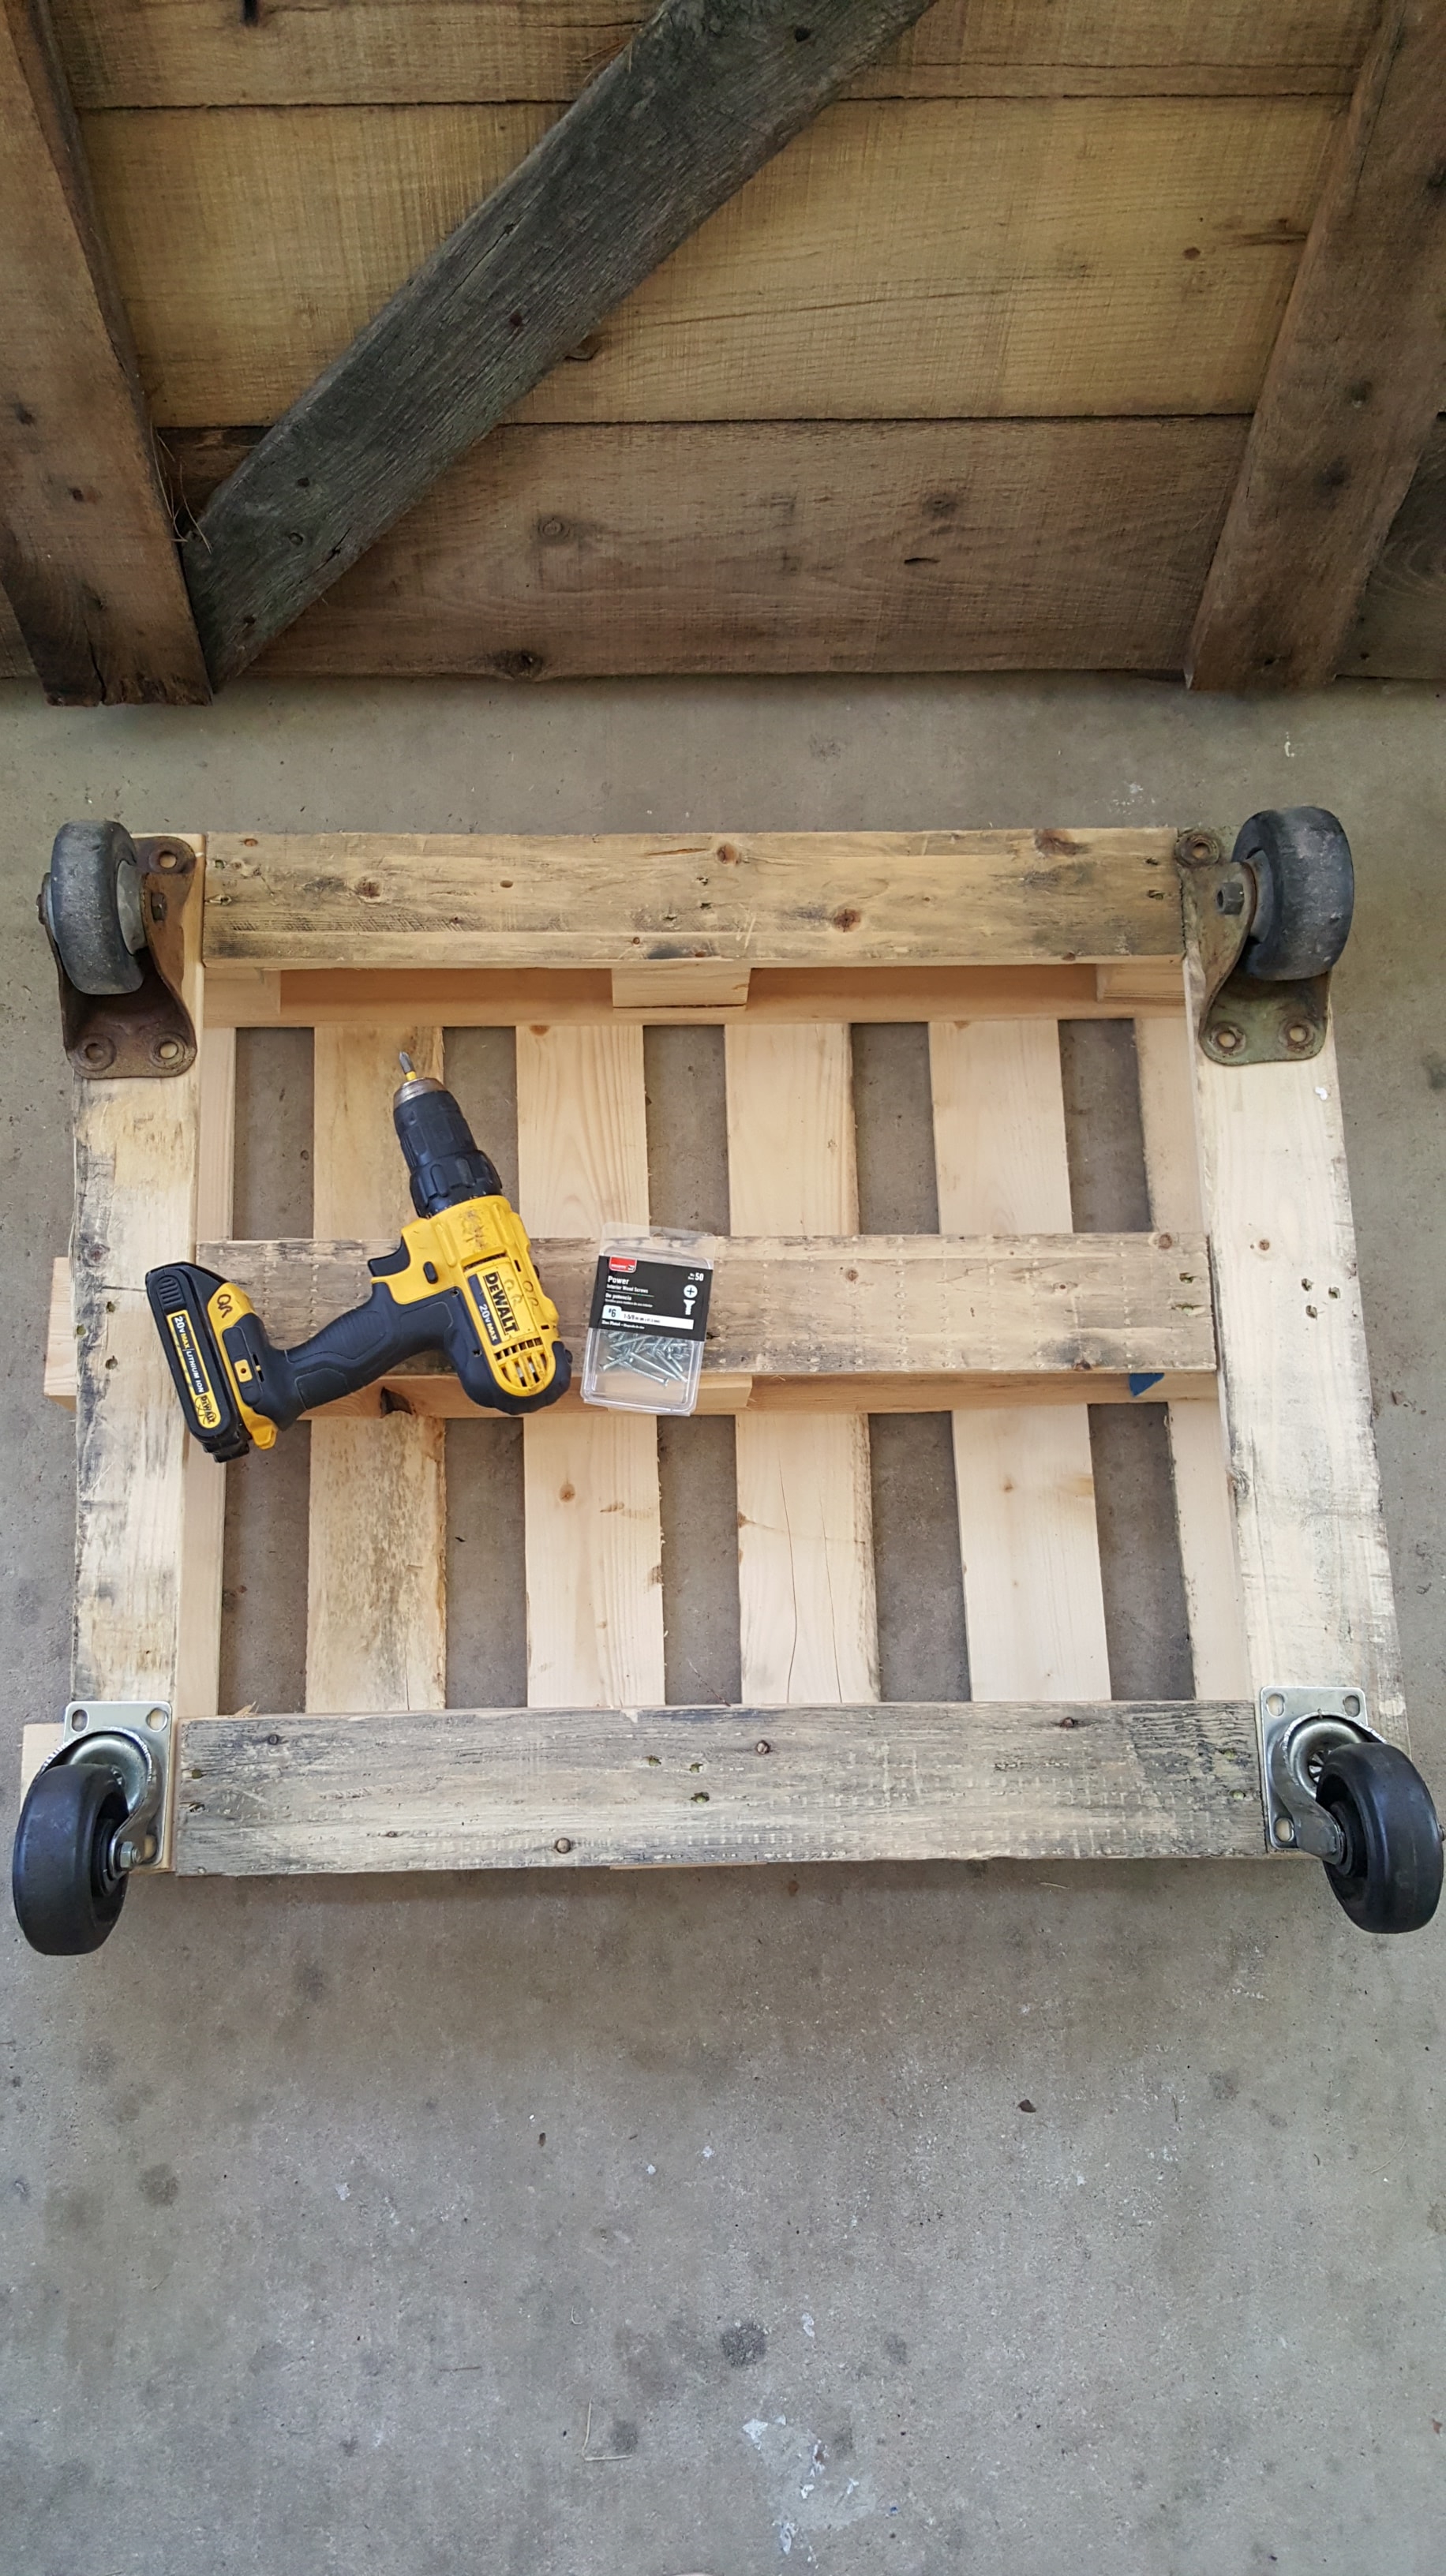
Another thing I do a lot is collect stuff. Some may call it hoarding but if it’s really cool stuff, then it’s called collecting! 🙂 One day while I was hitting up the best yard sale ever, I found large caster wheels, super old, super greasy and got them for $1 each!!!! Tell me that isn’t something to “Collect”??? I have had them in my garage for a couple of years. Now I knew how I could use them.
I also have great friends! Like the kind of friends that call you and say, hey I have some untreated pallets and they are solid and beautiful…want some? Let me think…Um YES!!! Definitely! We even made a bed for my daughter’s room with some. That’s a post for another day.
First I sanded down the barn door to give it a smooth finish. Nothing like getting a splinter while kicking your feet up. 🙂 I sprayed the table down with my favorite secret weapon for so many projects…here is a link to it. I honestly keep a can of this around at all times! Great for drying flowers too…see how here.
Then I got the wheels and pallet ready. Mr. BeesNBurlap is always the willing engineer. I was ready to do this on my own but who am I to turn down help. First, he screwed the wheels onto the pallet using washers and wood screws, making sure the table was level.
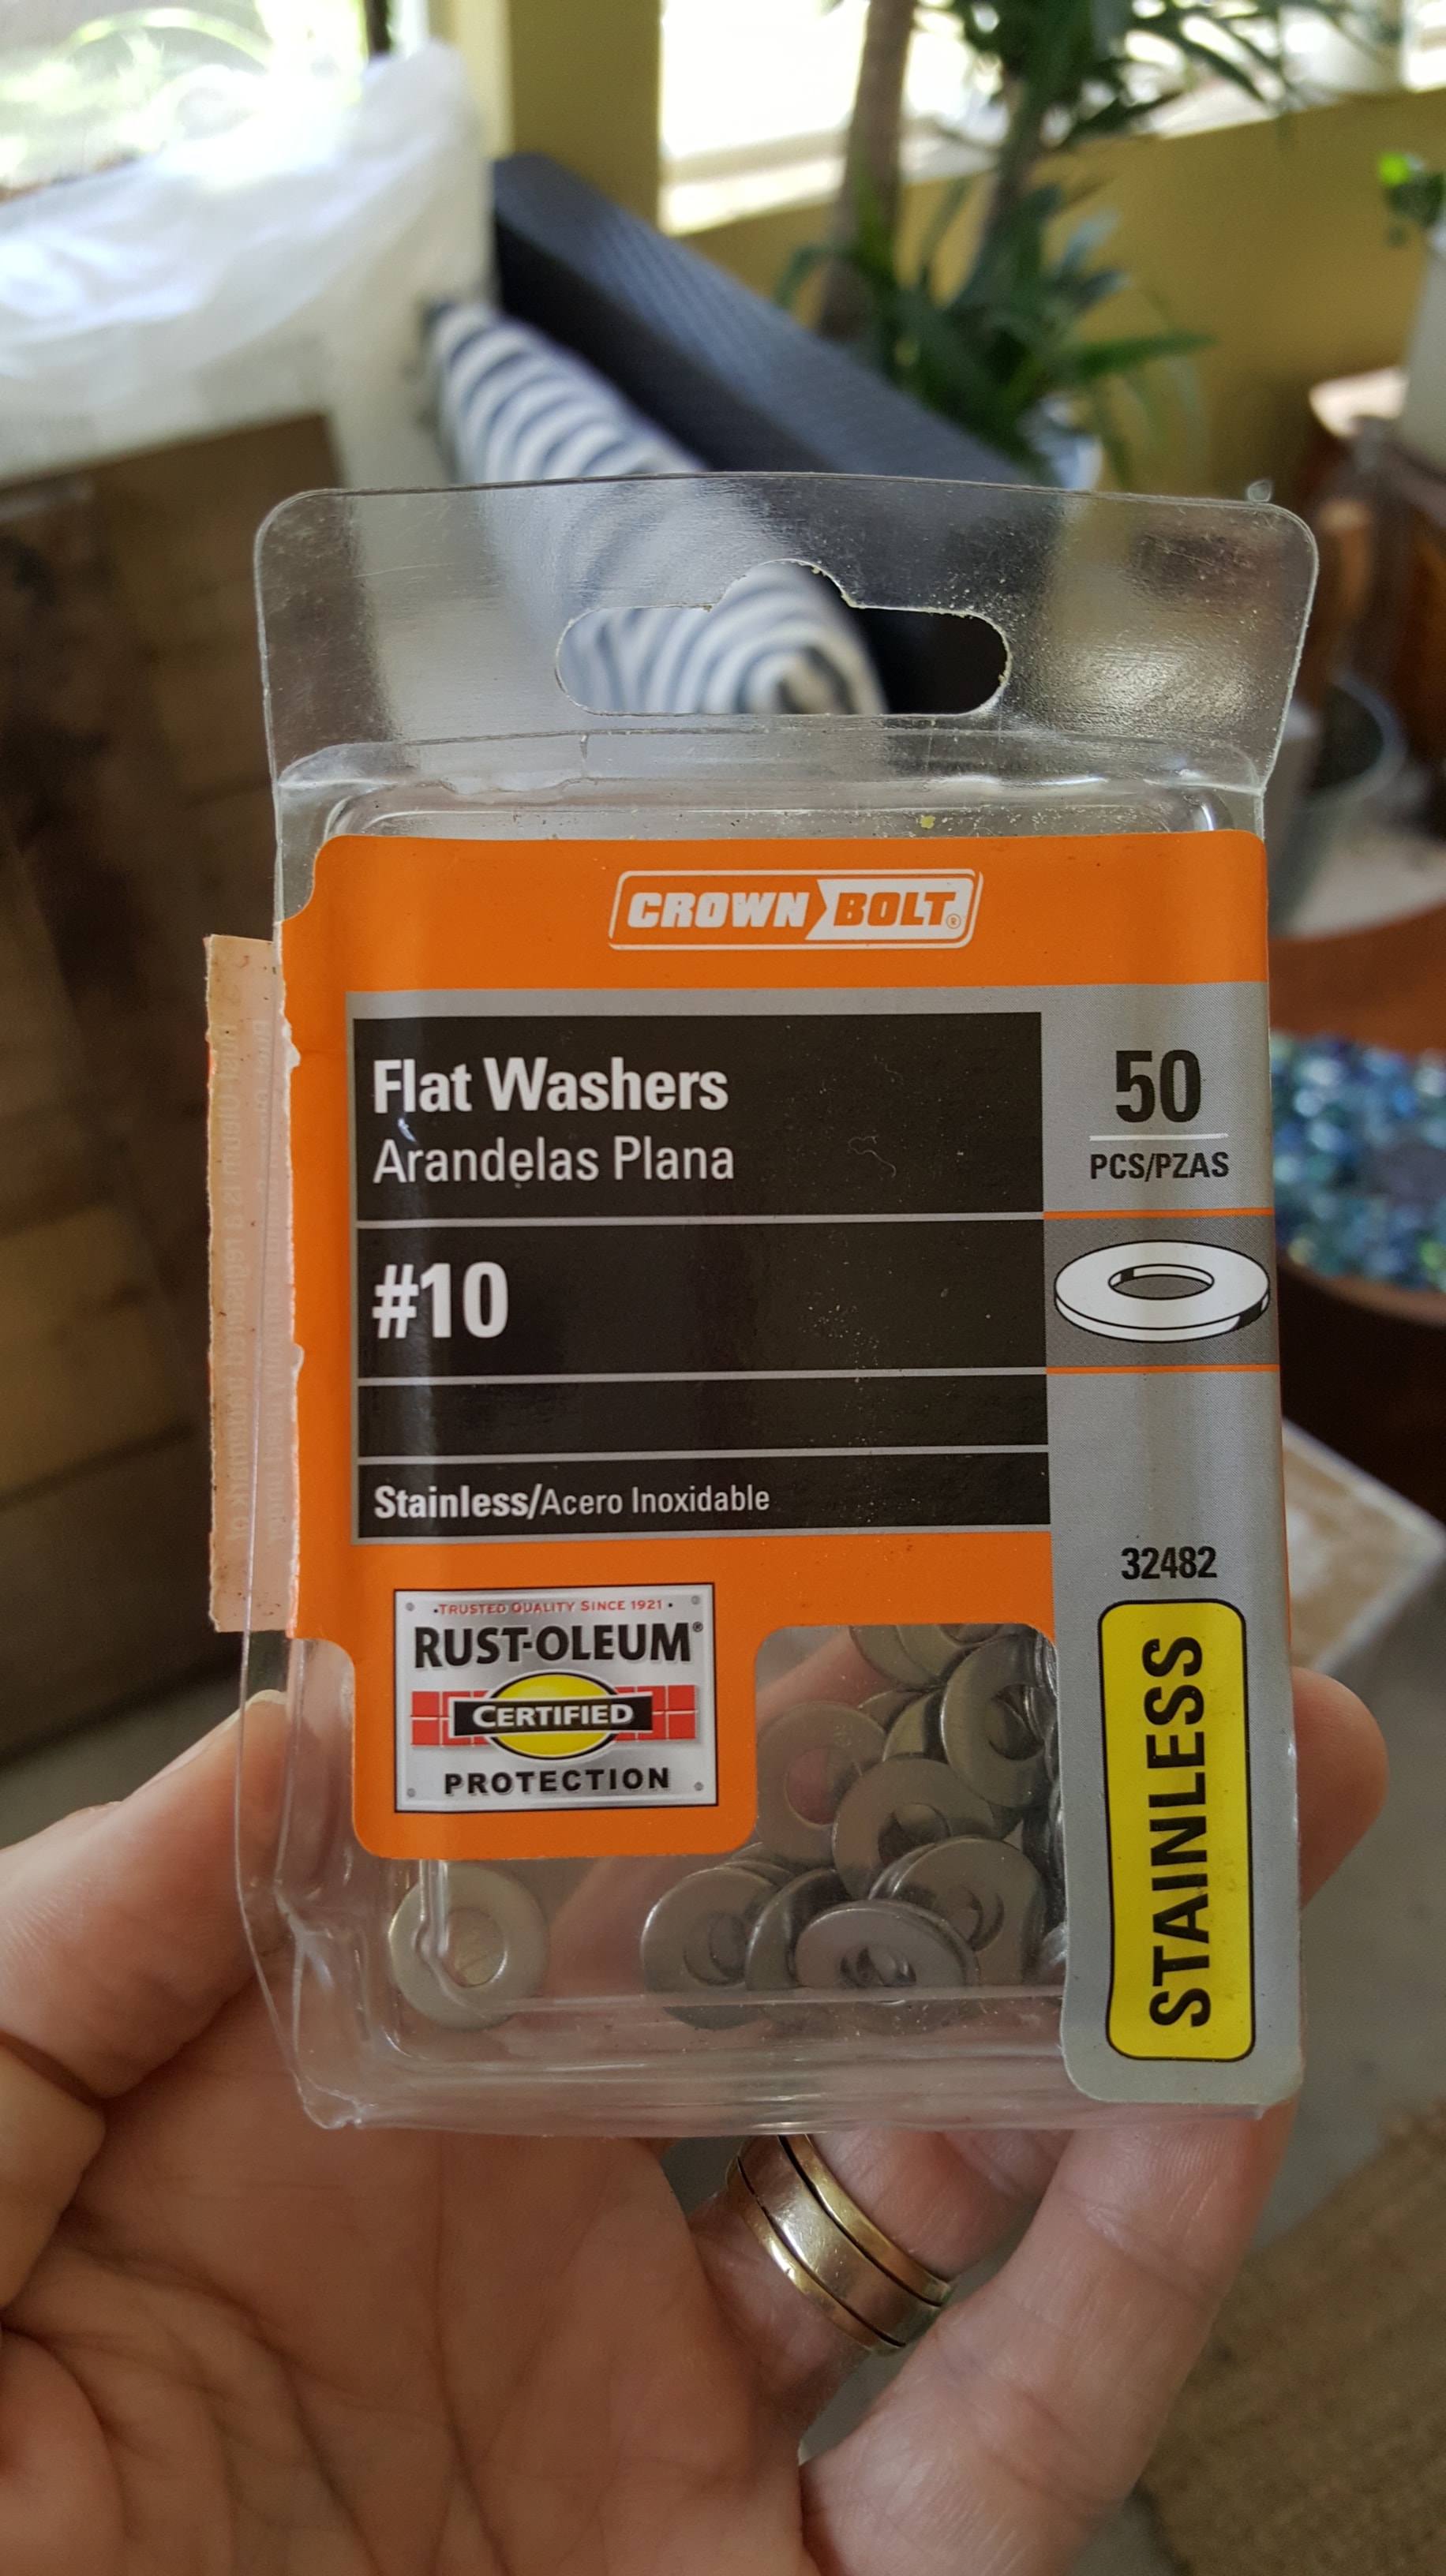
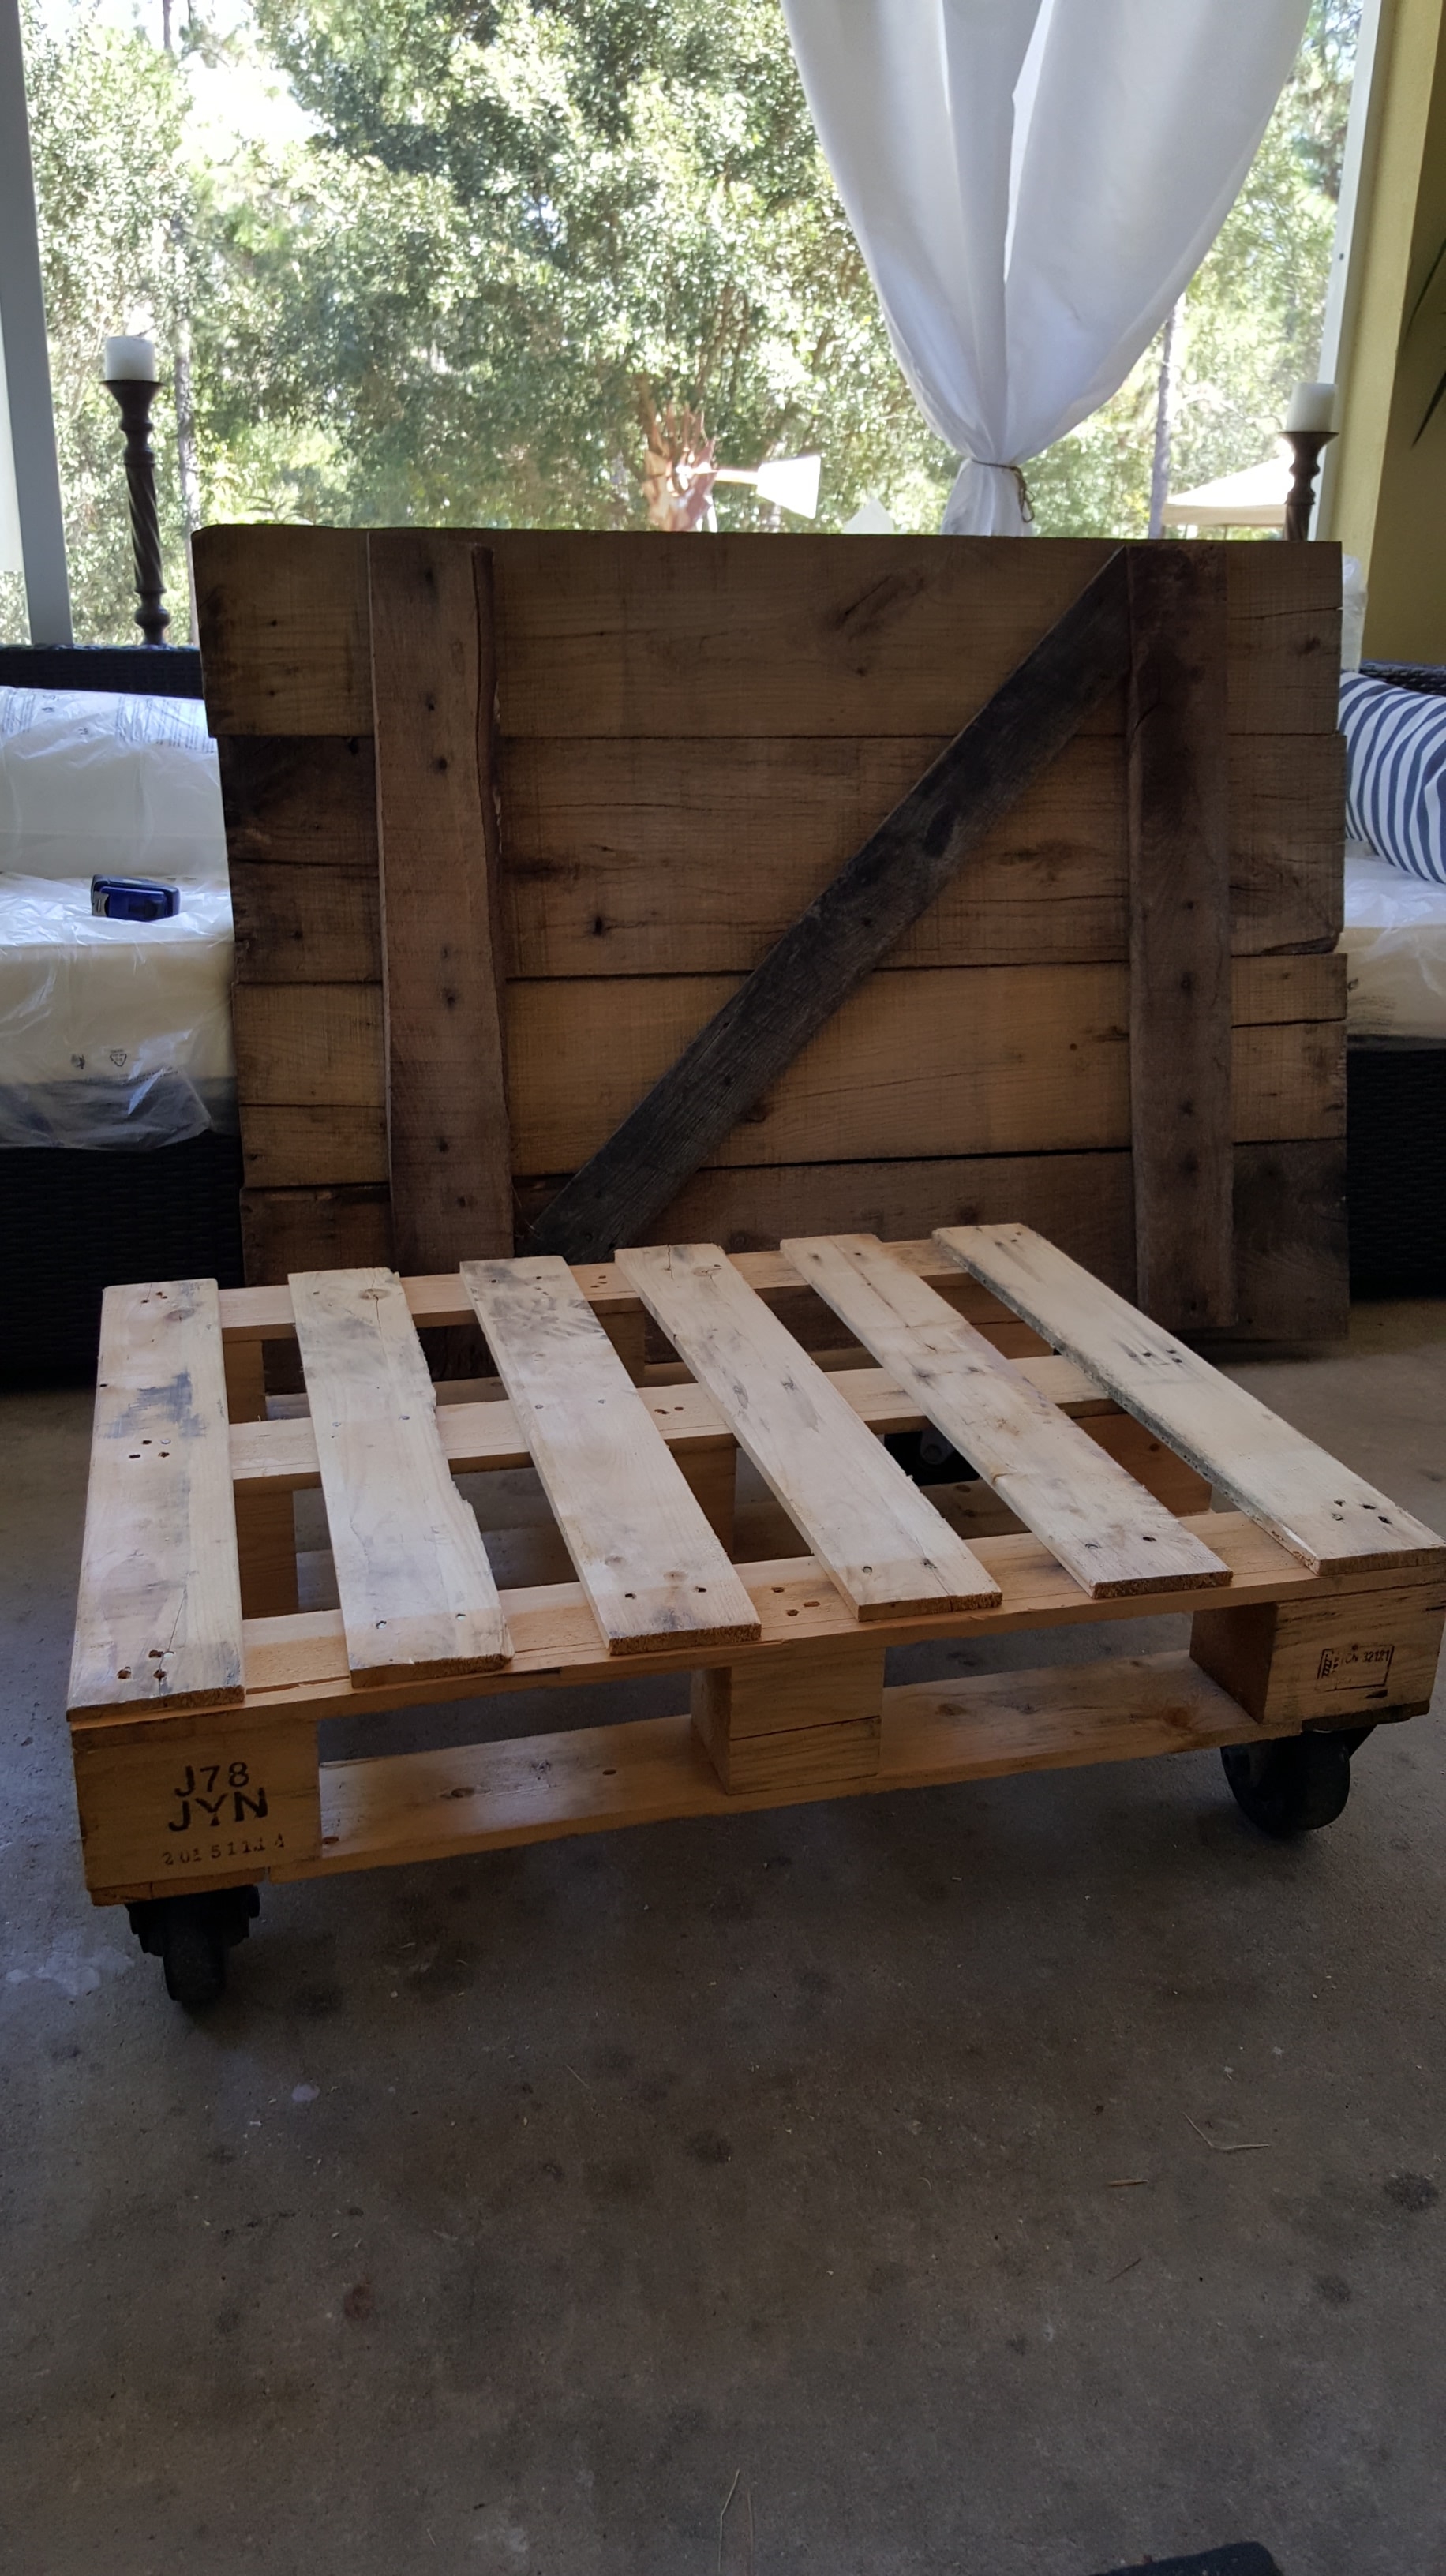
Then he used longer wood screws to attach the pallet base to the barn door. He attached it from underneath so we didn’t have screws showing on the top of the table and take away from the natural markings and patina.
The hinges were rusty and had a little bit of chippy paint on them, I left them alone because frankly, that was one of the best parts. The Shellac helped preserve that look as well. This door, in particular, had a cool raw edge that I loved and I wanted to make sure we didn’t sand it down or ruin it. We did our best to bring out the natural beauty of this piece.
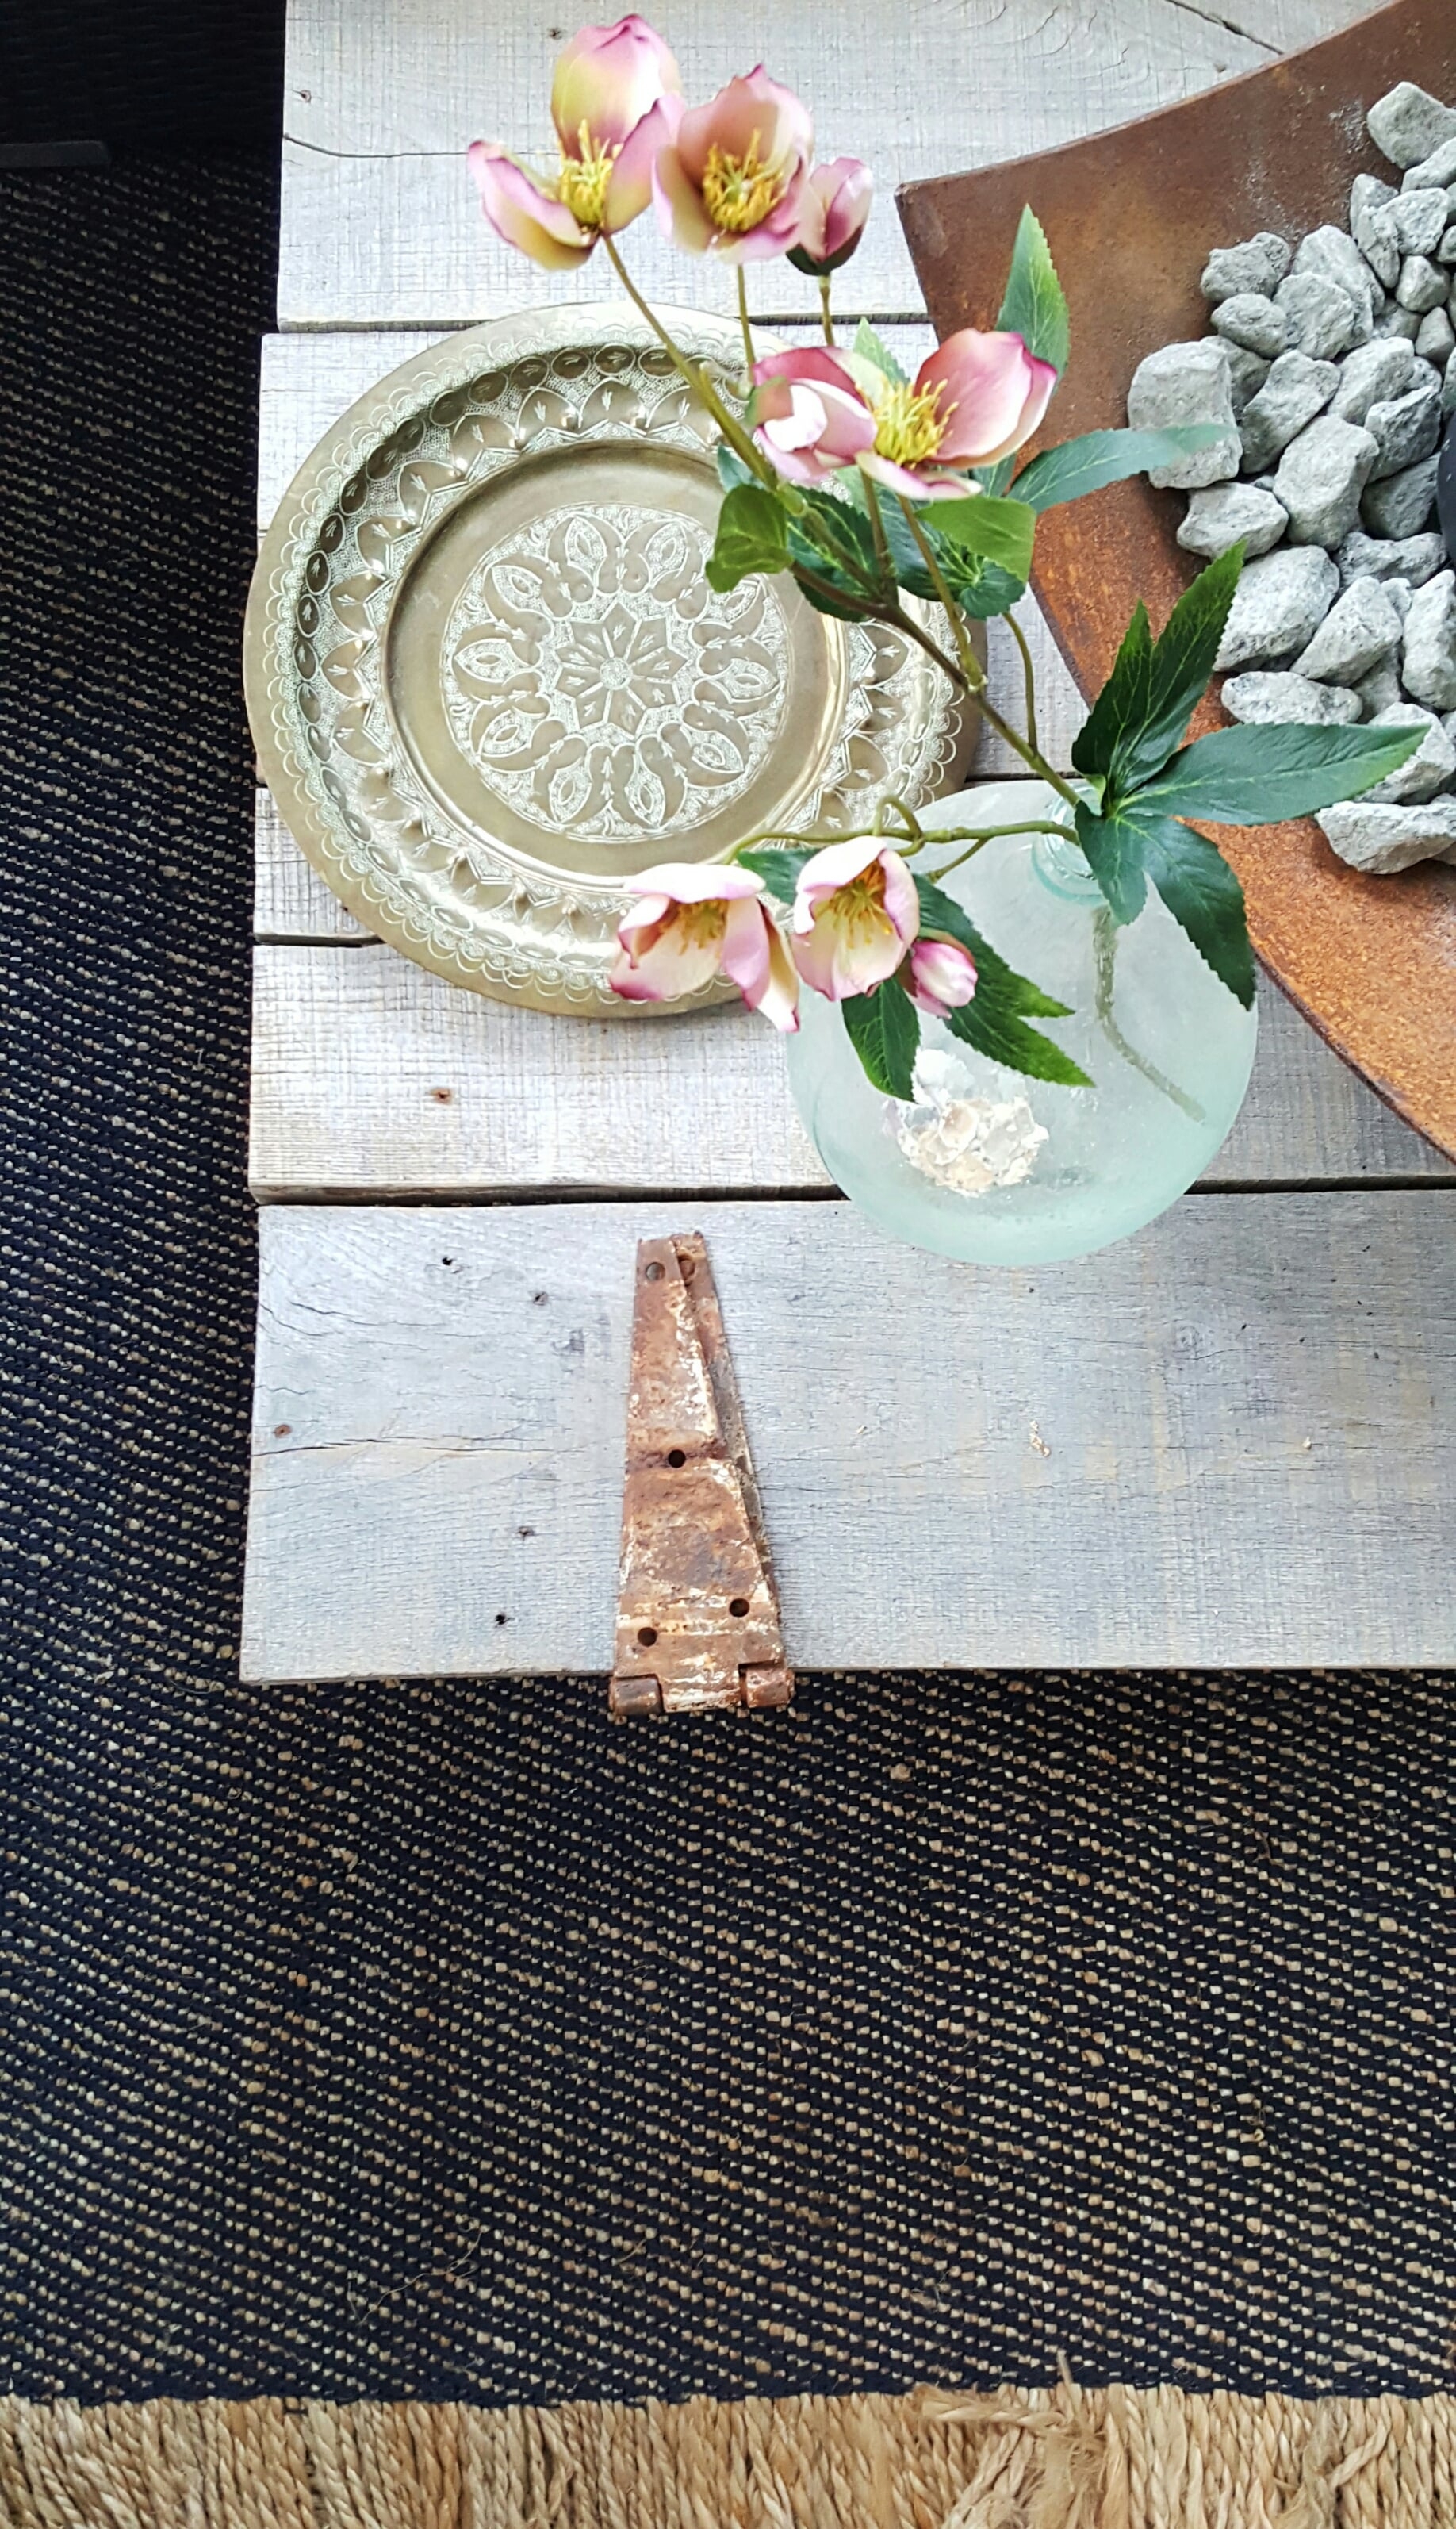
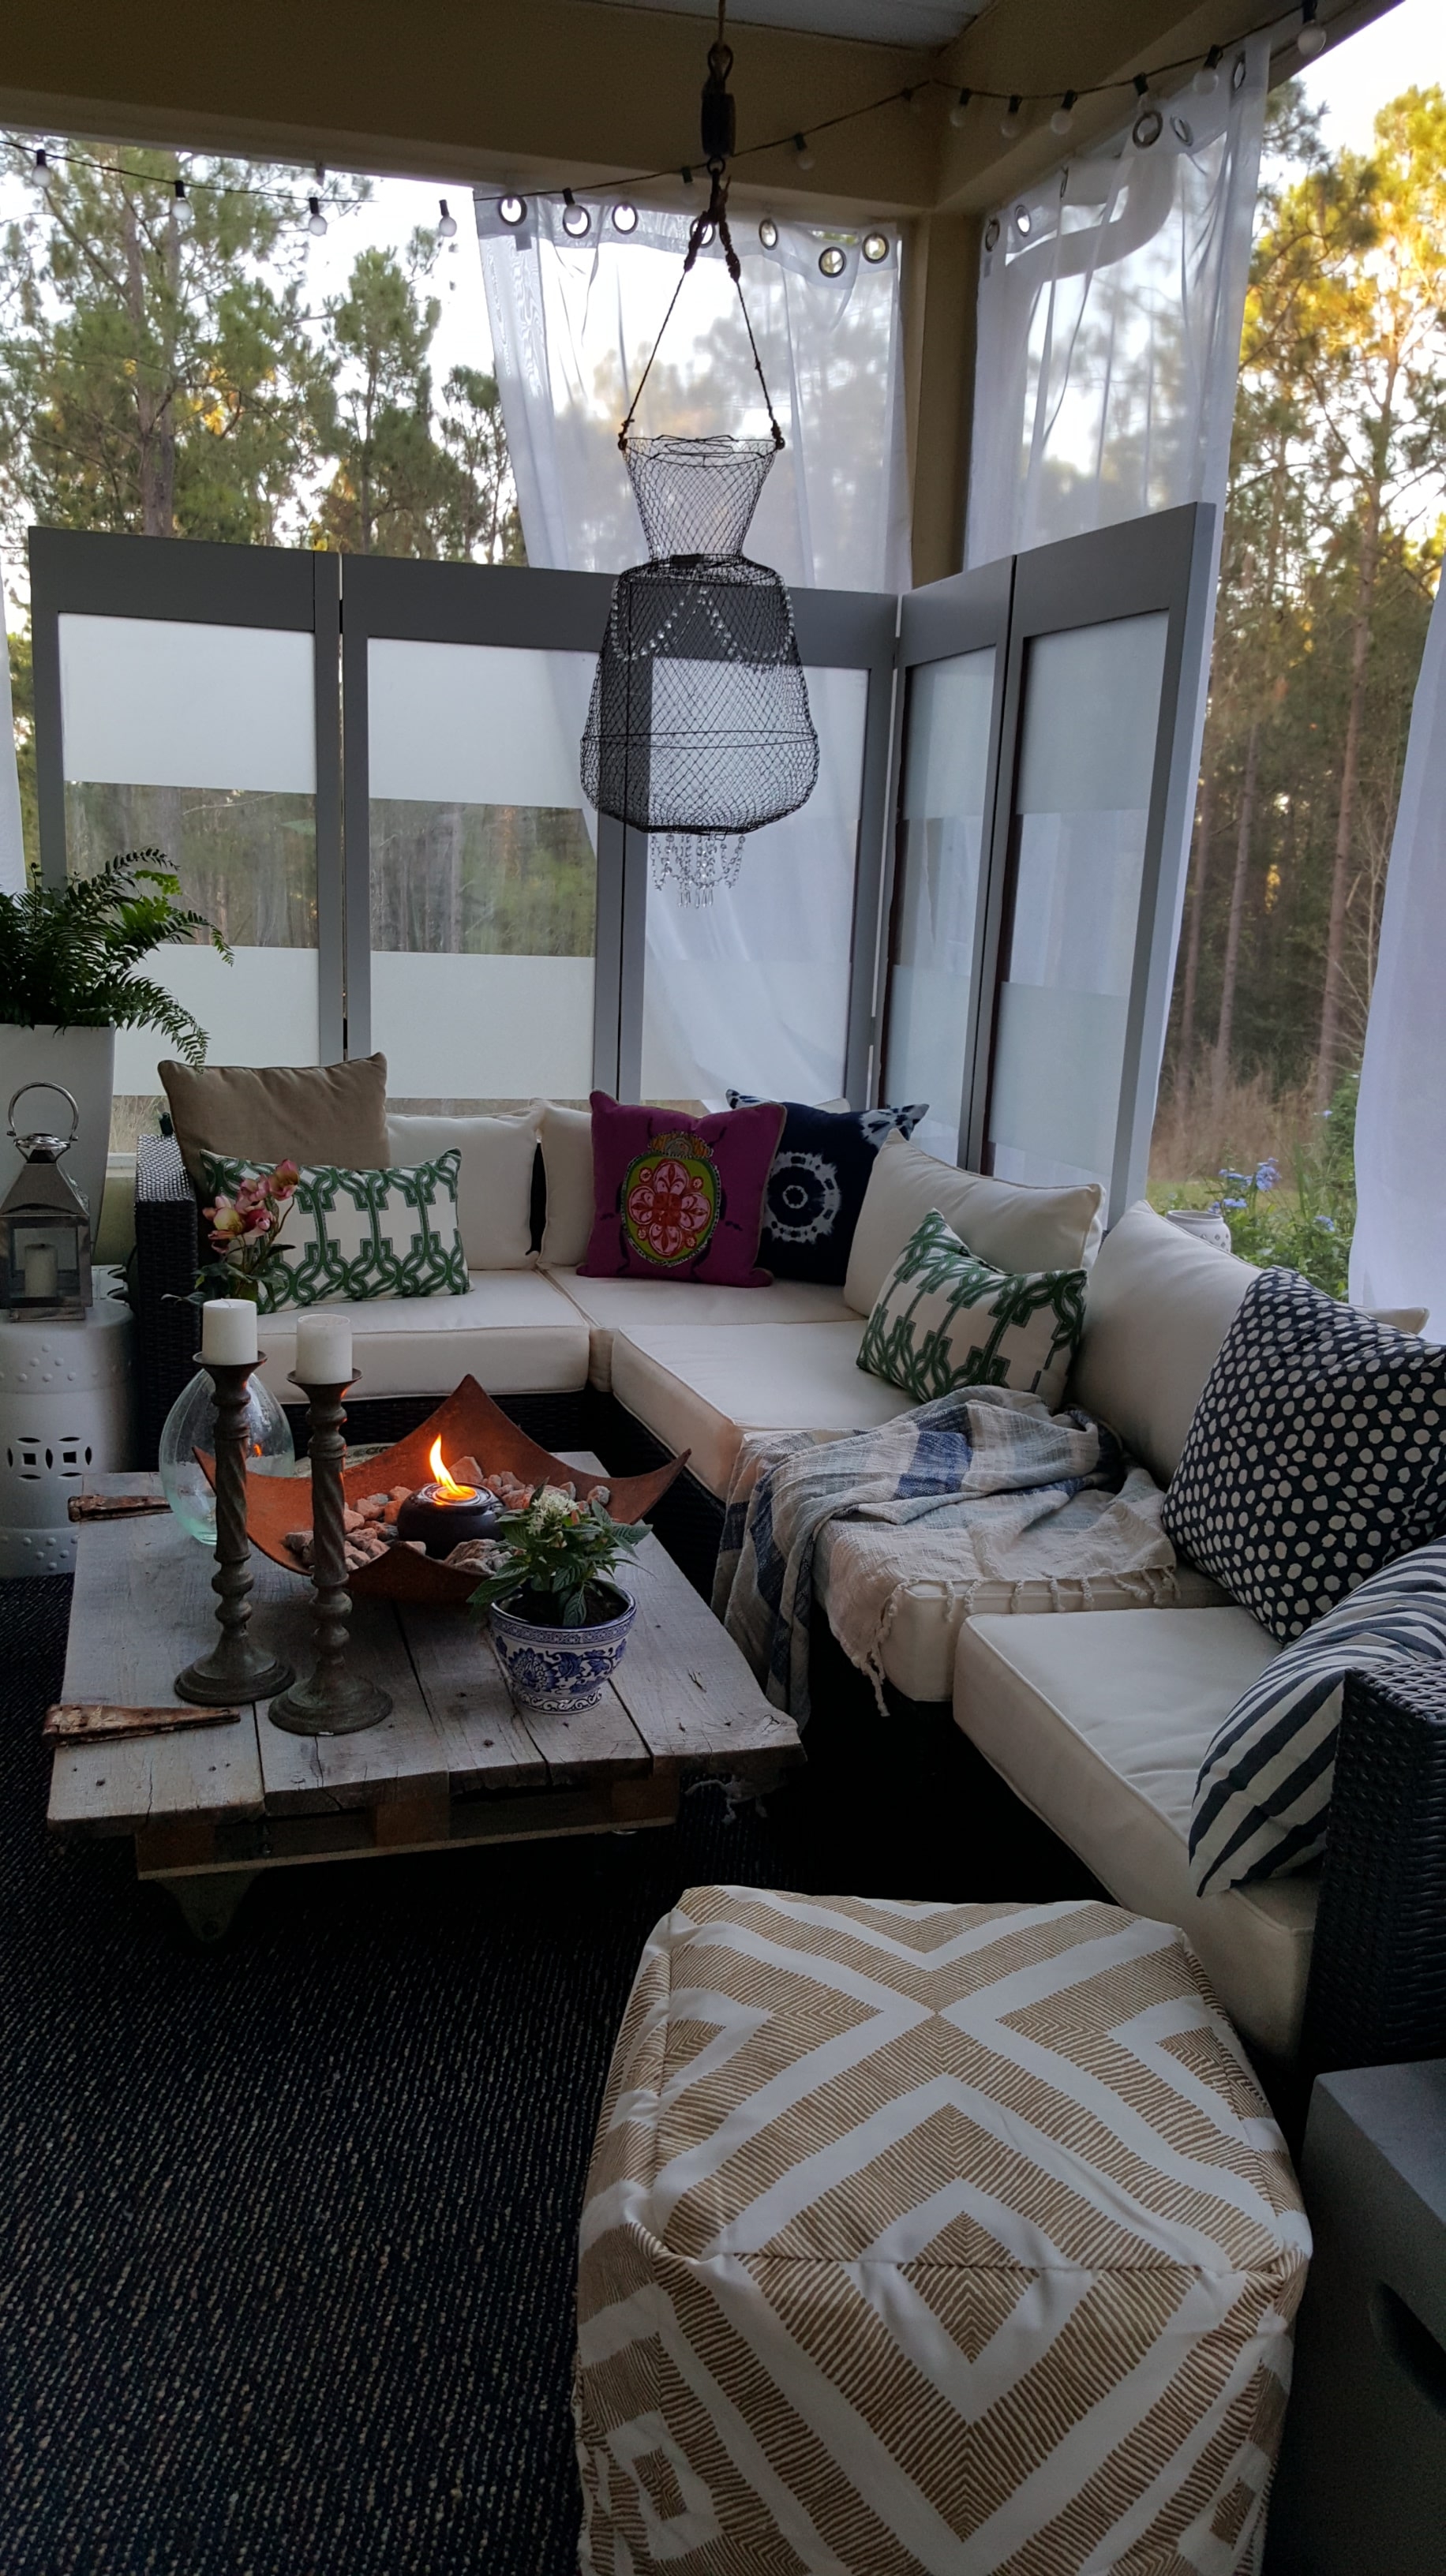
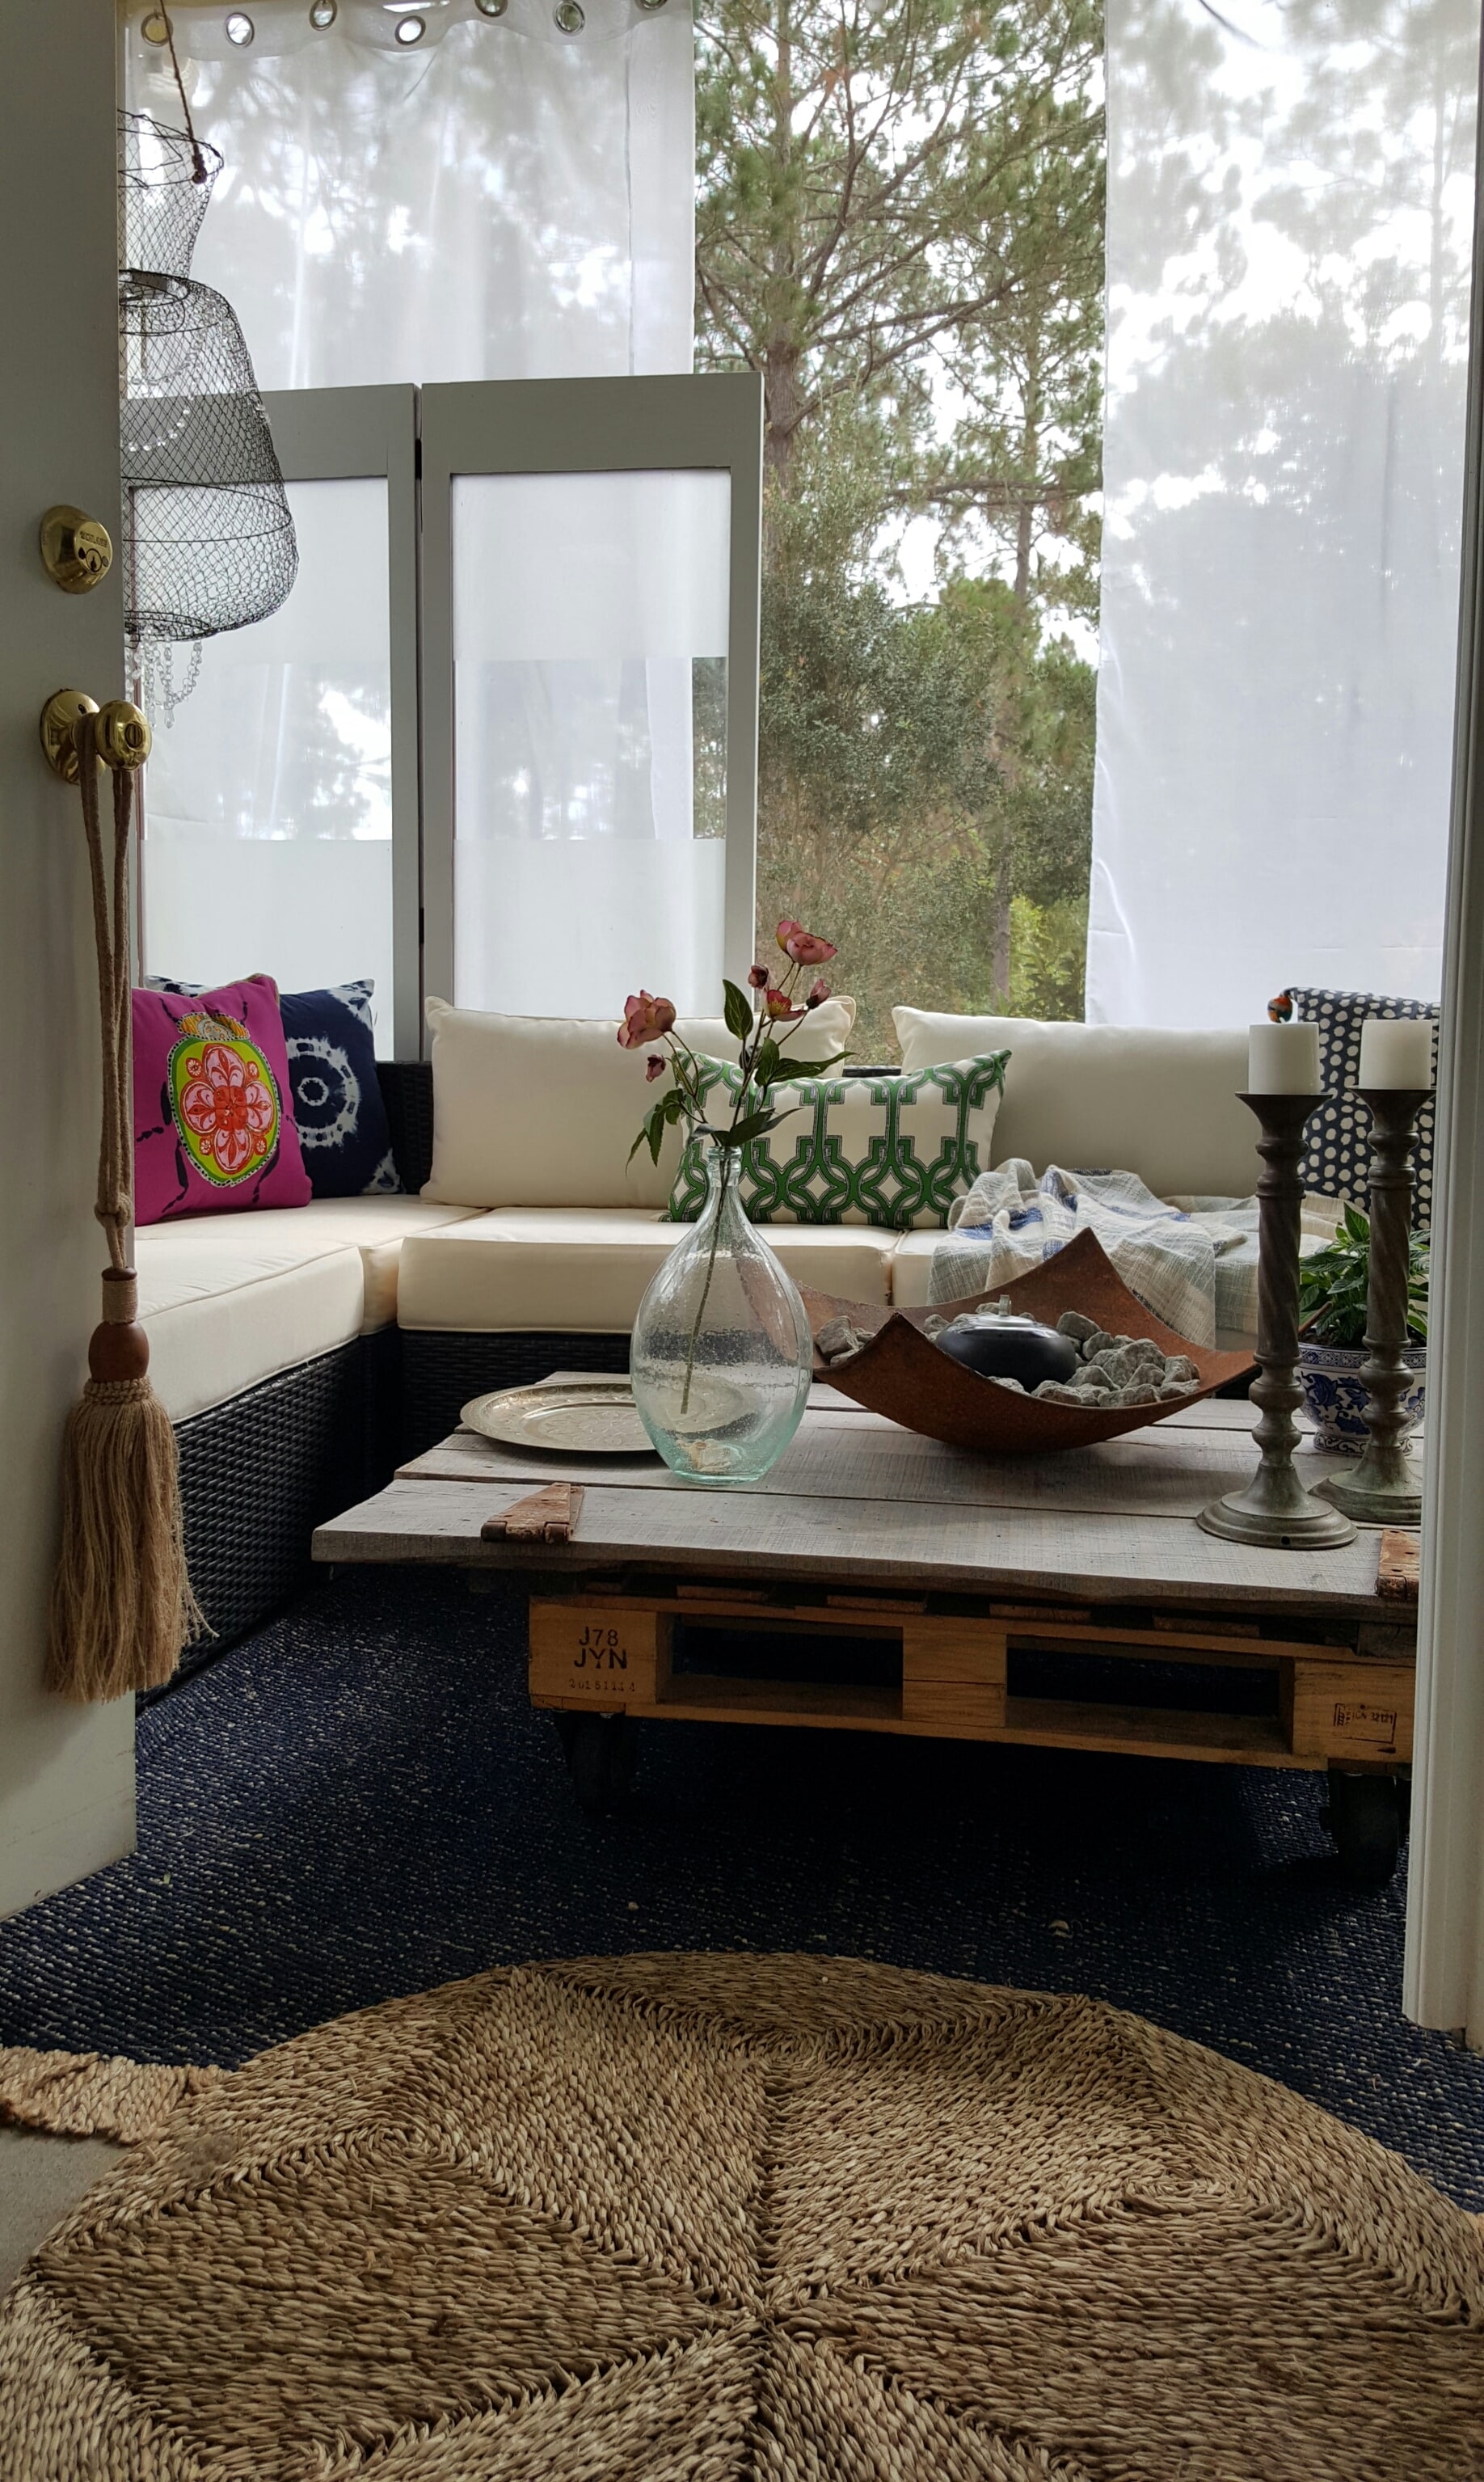
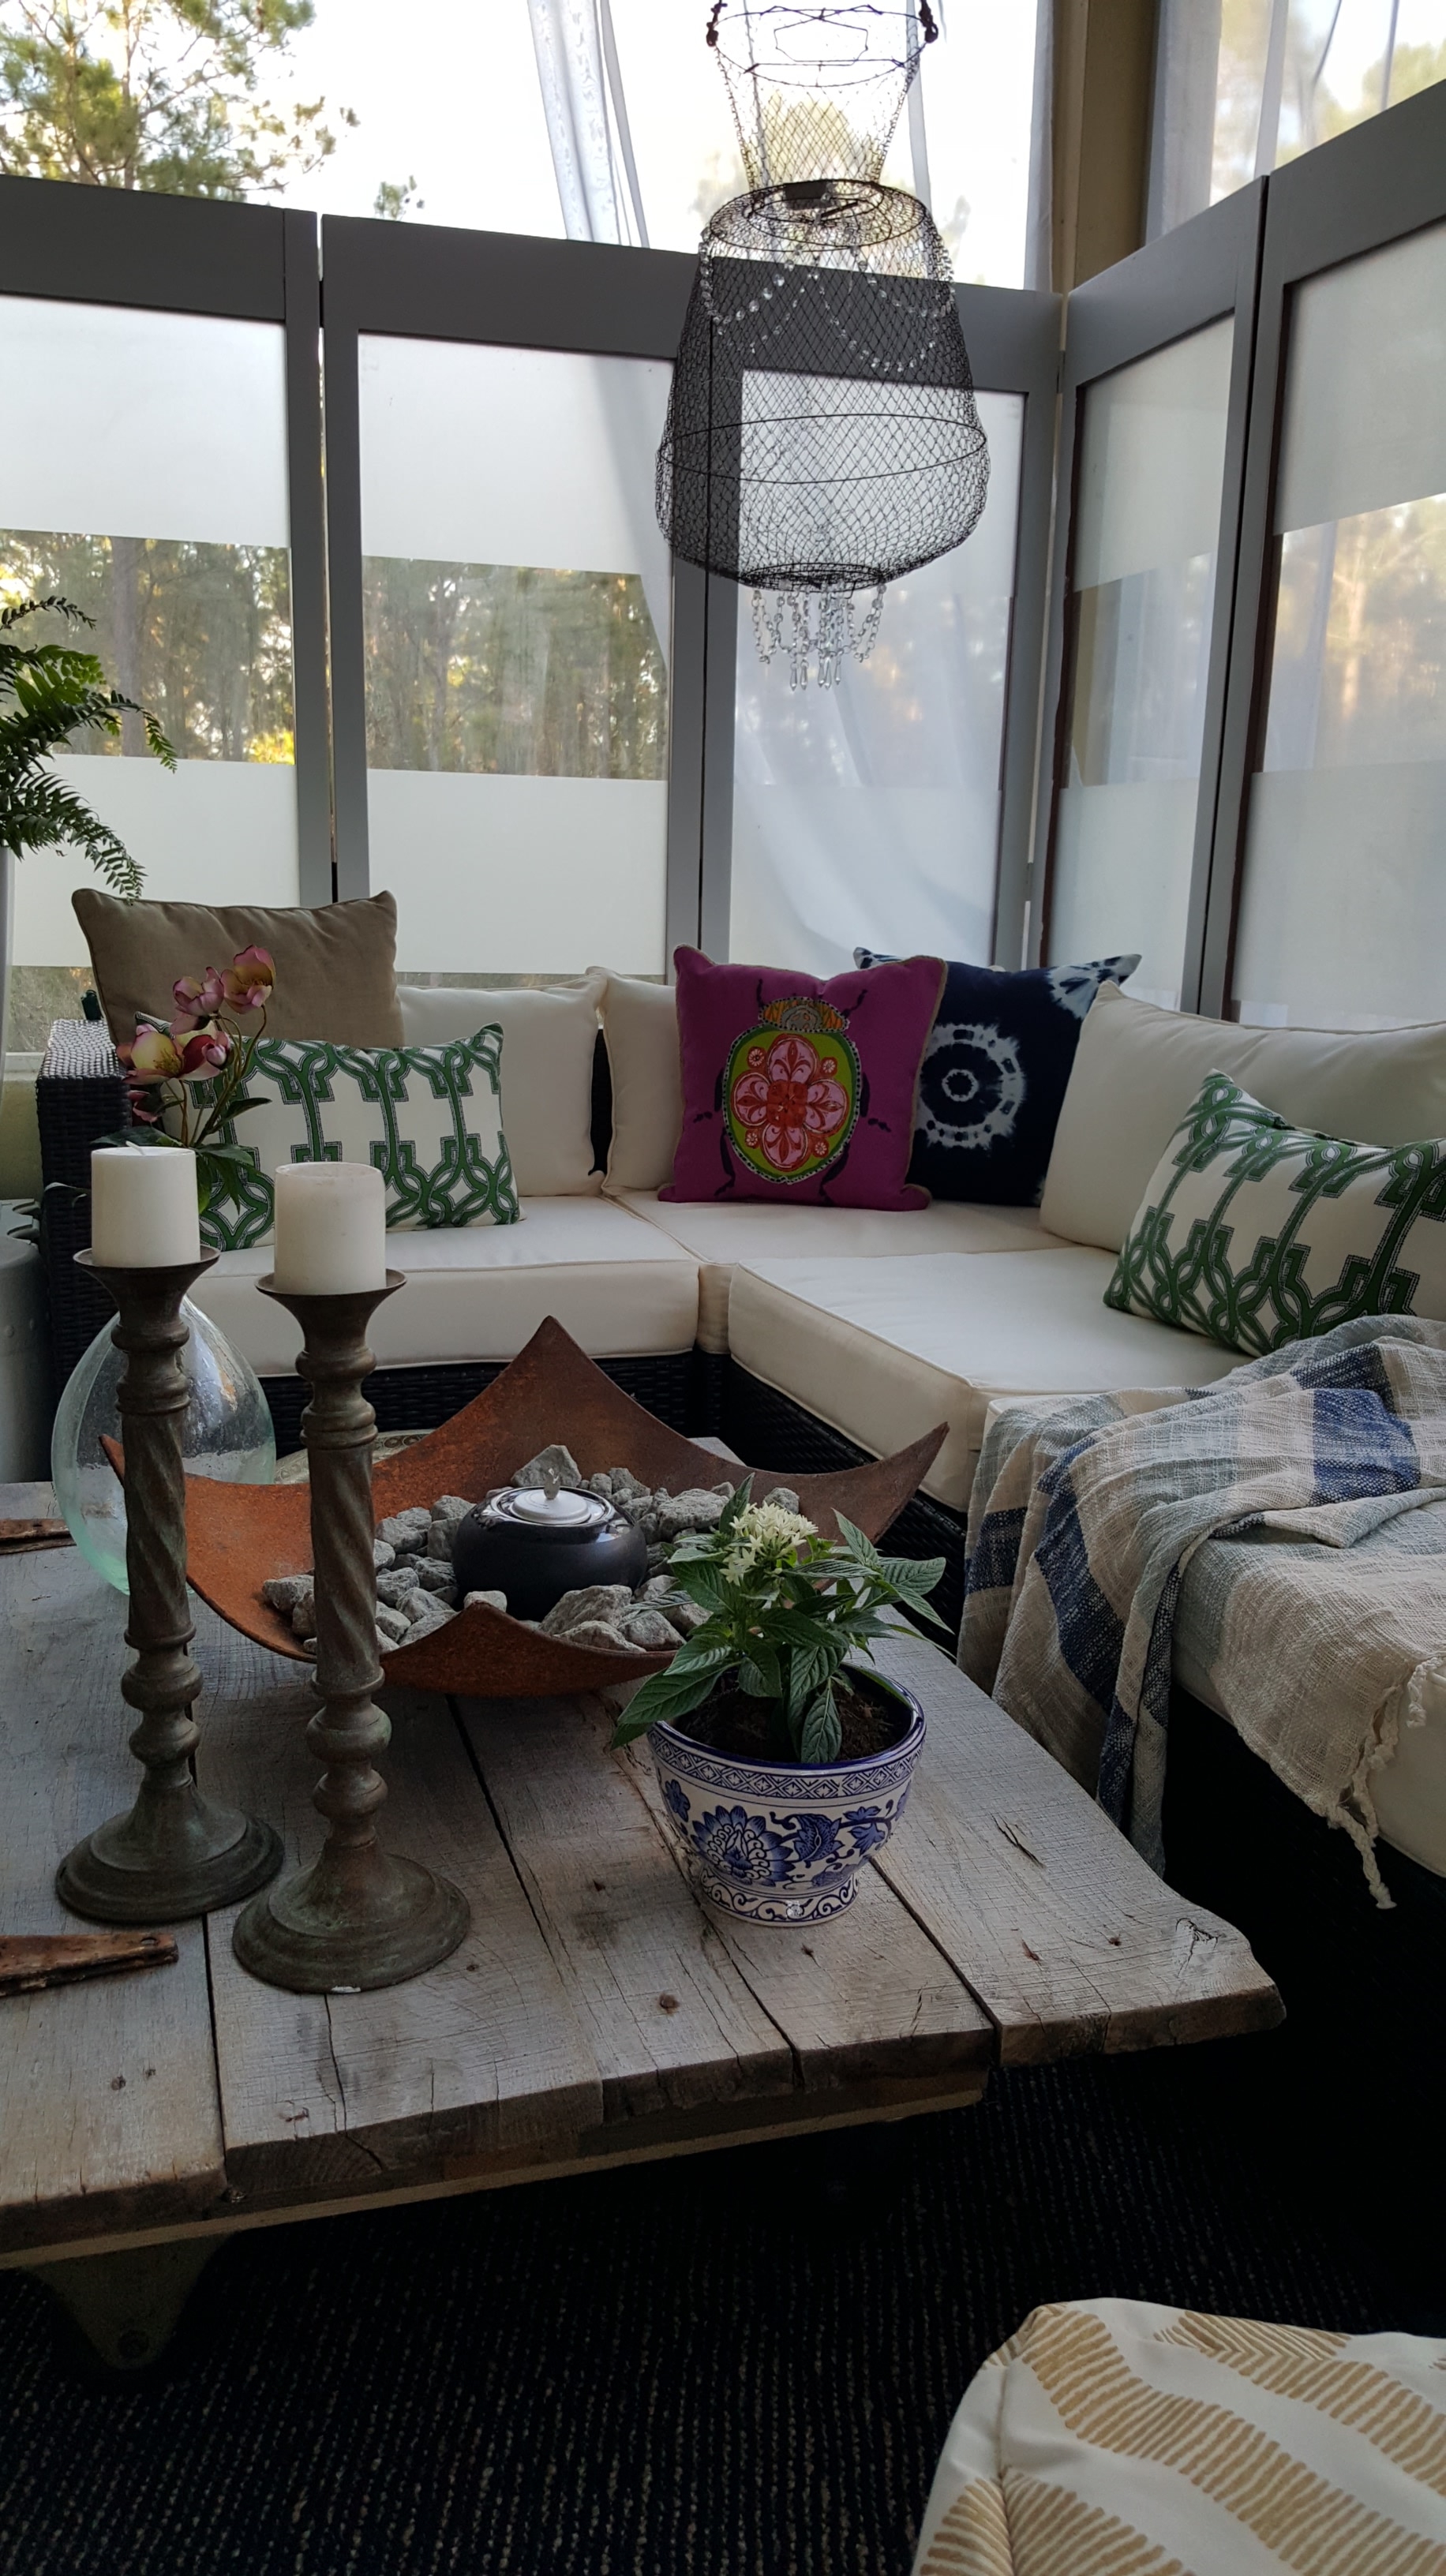
I love how it turned out. It’s great because being on wheels it’s easy to move. It adds that vintage and rustic charm that I was looking for. It’s such an easy DIY to do, I hope you can find a cool door or reclaimed wood piece and give it a try! I’ll be adding more DIY’s from my Vintage Chic Eclectic Retreat makeover here soon! I hope you follow me here on the blog, on Instagram, Pinterest, and Facebook! Tag me if you make your own table, I’d love to see it!
Take care,
~Holli
 Urban Industrial Vintage Laundry Room Makeover Tips, Tricks and Sources
 Paint Your Stone Fireplace for a Whole New Look! Easy DIY!
 Modern Boho Outdoor Living Space with Bed Bath & Beyond

Hi do you mind sharing what kind of camera you use for your pictures?
Hi Holly. Great name. 😊 Funny enough I use my phone. I have the Galaxy Note 5 and it takes incredible pictures. I was raised by a photographer so I learned a little about lighting…that always helps too. But this phone has an amazing camera. 😊